Decorations · DIY Party Crafts · Party Recipes · Weddings

DIY (No Sew) Cake Bunting Tutorial

cake1cake9

Hello! In this post I’m going to show you how to make this delightful cake bunting you see here, with an easy to follow tutorial. If you have a special occasion coming up such as a birthday, wedding, christening, anniversary etc then this is perfect for you!

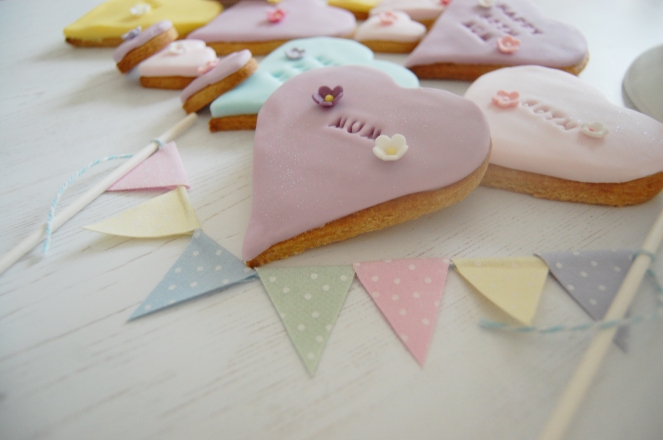
As you may have guessed from the above photographs, my Mother-in-law held a 60th birthday party over the weekend and I offered to bake her a cake. I was so happy when she accepted my offer, even more so when she told me she didn’t have anything specific in mind. This allowed me to have complete creative control which is perfect for me.

cake7

After spending weeks on Pinterest, I was feeling completely inspired (if not a little overwhelmed at the options) and I finally drew up a plan of what I wanted to do. As you can see from the pictures, I chose a simple vanilla layer cake with buttercream. I used a Primrose Bakery recipe from their first book, ‘Cupcakes from the Primrose Bakery’ and can thoroughly recommend all of their books for reliable recipes. I also made some vanilla biscuits from ‘The Biscuiteers, Book of Iced Biscuits’ recipe book, which I can also thoroughly recommend if like myself, you have limited experience of making biscuits.

I decided to get creative with the biscuit recipe and add a fondant topping which the Biscuiteers recipe book does not cover. I purchased a set of inexpensive letter/number biscuit stamps from Amazon alongside some complimenting sugarcraft decorations for the cake and the biscuits.

final-stepcake5

Due to the amount of detail in the cake and biscuits, I opted for some simple fabric cake bunting in complimentary colours, which I am going to show you how to make here. I have a sewing machine, but I will openly admit I am not a huge fan of sewing. If you feel the same (I hear you), then this no sew fabric cake bunting is perfect for you.

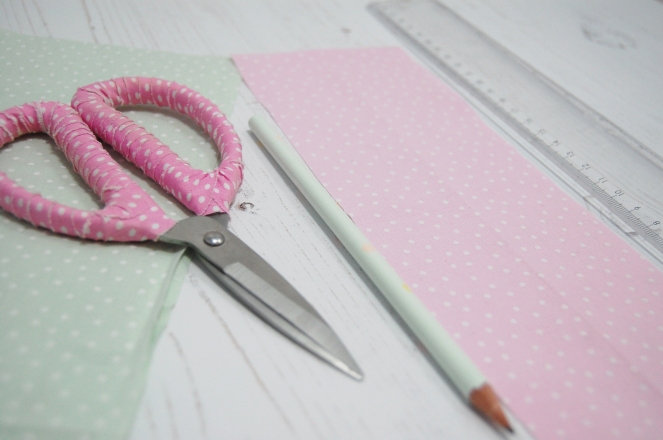
To make this DIY No Sew Cake Bunting you’ll need the following materials:

  • Fabric of your choice (I used patterned cotton from a Hobbycraft fat quarter bundle)
  • Bondaweb (This is a web adhesive on paper, usually sold by the metre – widely available online or from most craft shops)
  • An Iron and Ironing Board
  • Fabric and Paper Scissors
  • Twine or Sewing Thread
  • 2 x White Cake Pop Sticks (you can also use bamboo skewers or paper drinking straws)
  • Pencil, Ruler and Eraser
  • 1 x Piece of Paper or Card

To begin with, turn your iron on and decide which fabrics you intend on using. I opted for 7 triangles in 5 different colourways but you may decide to do this differently.

Turn your fabric onto the wrong side (the side not containing the pattern) and with your ruler and pencil, you’ll measure and mark off your first strip of fabric. Mine measured (Length) 18 centimetres x (Width) 10 centimetres. (As opposed to using a pencil, you can purchase a specific pen for drawing on fabric which allows any marks made to vanish. However, as the side we are drawing on is not visible, this isn’t necessary).

Once you’ve finished measuring your strips, take your fabric scissors and cut them out so you have something which resembles the pink piece of fabric shown below.

step1

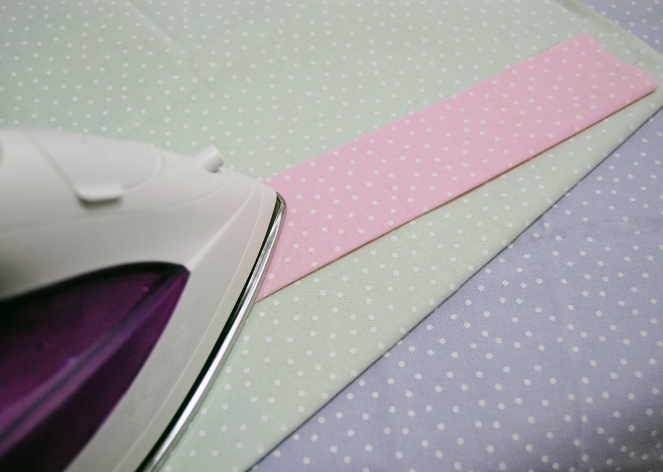
Now the iron should be hot, take your ironing board, fold the strip in half lengthways and iron, until you have something which resembles the pink strip of fabric below. If you have multiple strips, repeat this process for all of them.

step2

Open each strip of fabric. You now need to measure and cut the bondaweb, positioning it textured side down on one side of the fold. You will need one piece of bondaweb per strip of fabric. If you have cut your fabric strips in accordance with the measurements specified above, each strip of bondaweb should measure (Length) 18 centimetres x (Width) 5 centimetres.

step3

Once the bondaweb is positioned, take your iron and iron this onto the fabric. You must ensure you have measured the bondaweb to the exact size and there are no overlaps, otherwise this may leave a sticky residue on your iron, fabric and ironing board etc which will transfer.

step4

Your strips should now resemble the ones shown in the above photograph. Take your paper scissors and cut out a triangular shape out of paper or card. This will be your template for each flag. My triangle measured 4 centimetres (at the widest part) and 4.5 centimetres in length, but they can be cut to any measurement within the size of the fabric strips.

Place the paper triangle template on your first strip of fabric and lightly draw around it. You can use a light coloured pencil to do this or a vanishing/air soluble fabric pen. Repeat the process until you have marked out all of your triangles on each strip of fabric. You can then begin cutting out your triangles which should resemble the ones shown above. (p.s the bunting is easier to assemble if the widest part of the triangle is positioned and cut on the fold of the fabric).

step6

Once you’ve cut out all of your triangles, position them into the order you’d like them to be. Take your twine or string and cut to the width you’d like your bunting to be, ensuring you’ve left approximately 10 centimetres on each side for tying the bunting on to the sticks.

Once you’ve cut your thread or twine to size, take a darning needle and thread the twine/thread through each triangle one at a time. You can easily reposition the triangles during this stage if they are a little close together, so don’t worry. Once they are positioned how you’d like them, tie each end of the bunting onto your sticks – you can just tie a small knot around the end of each cake pop stick and this will be substantial. Any excess thread/twine can be cut off. I like to have some hanging down at each end but this is personal preference.

cake3

Voila! You’re now done and you can proudly position it on your cake! I hope your cake bunting looks beautiful. I’d love to see your creation, so feel free to post it here as a comment or hit the ‘hello’ button above to send me a photograph of it via email. Happy baking/crafting!

Makers Monday · Party Themes · Weddings

Makers Monday, featuring Shopwillynilly

I’m not really one for setting new years resolutions, I usually just set myself a series of goals relating to my personal/work life. One of my many work goals was to start a regular feature on my blog which others will hopefully love to read and will find lots of inspiration from. Some of you may already know how much I LOVE Instagram. I dedicate a lot of time to it and as a result, have been introduced to some absolutely wonderful makers. My idea for ‘Makers Monday’ revolves around me dedicating an entire blog post to an inspirational maker each week, meaning my blog will be full of not only craft tutorials (and general ramblings) but will also be a wonderful resource for staying inspired and up-to-date with current makers.

il_fullxfull.897355371_dwzw

Let me introduce to you to Shopwillynilly set up by Chelsey, who is based in Truro, England. I’ve been admiring Chelsey’s work for some time, mostly through her Instagram account. Her photographs are just wonderful and capture her products beautifully. You can clearly see her excellent attention to detail, wonderful eye for colour, pattern and texture and most importantly, her strong sense of originality.

il_fullxfull.796513308_np1b

Chelsey’s shop is the perfect place for any bride-to-be’s, looking for stylish, shabby chic wedding decor, made with lots of love and TLC. Chelsey’s shop is perfect for special gifts and wedding favours too.

il_fullxfull.763133262_738p

I bought lots of these adorable jars for my own wedding, as you may have seen on an older post here and wish I had of seen these personalised hearts back then. Homemade jam and chutney have been popular wedding favour ideas for a while now and I can definitely imagine these hearts looking fabulous if used to adorn culinary delights of that sort.

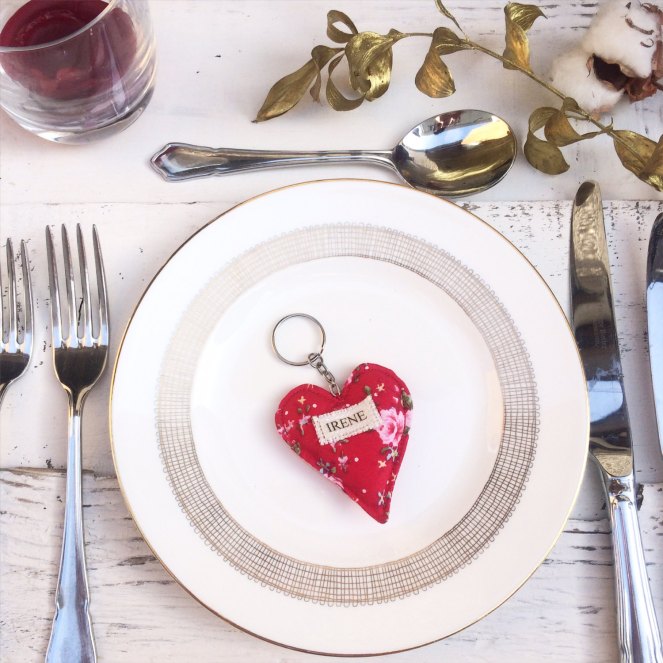
il_fullxfull.836879323_rpyt

I would be overjoyed to receive a beautiful keyring such as this one at a loved ones wedding. It’s such a special thought that your guests will be holding on to something forever from your big day. This seems so much more thoughtful (and useful) than the standard place card. The same thought which comes into my head again and again, of ‘why didn’t I see/think of this for my own wedding?’ makes me giggle! There is just far too much inspiration out there.

There is much more to see and swoon over in this beautiful shop. If you do go and take a peek, be warned that you are likely to want to buy everything in sight and may need to exercise some sort of self control!

I hope you’ve enjoyed my first ‘Makers Monday’ post, I really can’t wait to share the next one with you. If you’re planning your wedding at the moment, feel free to pin away! (Gosh, the hours I spent on Pinterest whilst planning my own wedding…)

If you’re reading this and would really like to be featured on one of my other instalments, please comment below and I’ll be in touch. I’d love to hear from you and support fellow makers!

Weddings

Wedding Wednesday: Beautiful Cake Toppers

Happy Wednesday folks!

If you’re a regular reader you hopefully enjoyed last weeks Wedding Wednesday post, completely dedicated to wedding stationery. Due to the fabulous feedback received, I’m pleased to be featuring more inspiring designers in this weeks instalment.

Cake toppers are an essential part of any special wedding celebration and are one of the most important wedding decorations that will be purchased for your big day. I’ve been completely obsessed with beautiful cakes for many years now and I really enjoy browsing through my cake related Pinterest boards on a regular basis. (Unless you have unlimited sweet treats to hand, it’s always best to do this on a full stomach if you’re anything like me!)


Thinking back to last year when I was planning my own wedding, I remember sending my cake decorator endless Pinterest links containing lots of amazing wedding cakes. I eventually found an absolutely stunning handmade cake topper to go alongside the beautiful cake, which I wrote all about here. The cake decorator took full inspiration from my cake topper and designed the cake around it. How amazing is that? I absolutely love browsing the web for wedding related decorations, so it only felt right to feature some of the most stunning cake toppers on my blog.

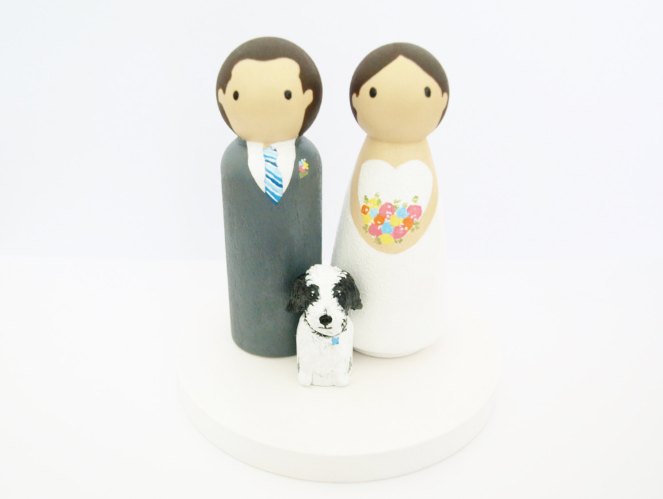
Pictured above, are two amazingly adorable wooden peg cake toppers, handmade by Rose at Blossom Cake Toppers. These cake toppers are hand painted with plenty of love and care and are fully customised to look like the happy couple. This really is something that can be cherished for a very long time and will always bring back memories of your special day. I would be very happy to proudly display these cake toppers on my dresser, showing them off a million times over. Yes, really! When my husband and I got married last year, we didn’t have Felix (our miniature poodle) at the time, but if we did I definitely would have liked to have seen him in hand painted peg form, thats for sure.

il_fullxfull.375734645_86jxil_fullxfull.375734587_dymu

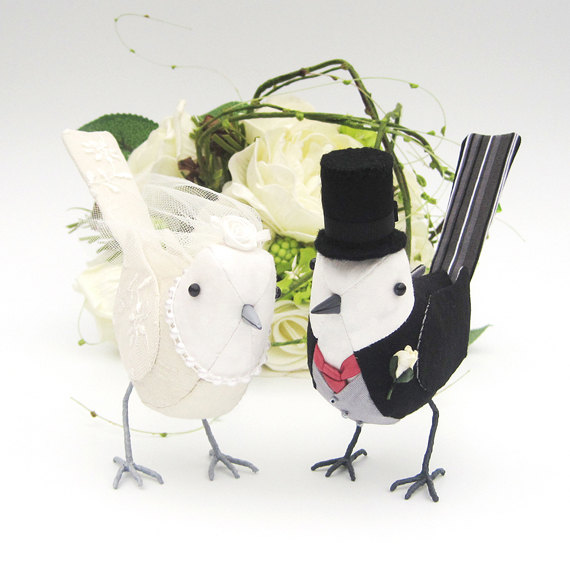
Next on the inspiration list are these wonderful fabric wedding birds, beautifully handmade by Emma at The Cotton Potter. Can you imagine these sitting pretty on top of your special cake? I certainly can. Emma’s birds are all completely handmade and are made to order. Each bird is carefully sewn together from Harris tweed and other pure wool fabrics. Having your birds individually designed means that your cake topper will be completely unique and truly special. How exciting does that sound?

Emma’s attention to detail is beyond words and her photography completely brings her fabulous creations to life. I imagine any wedding photographer would have plenty of fun photographing these, and you’re bound to want to display these for years to come, as you would with Rose’s peg cake toppers above. Please tell me you’re feeling inspired now? If so, you’ll definitely enjoy the rest!

il_fullxfull.772213697_jkw8

This marvellous creation above is made by Louise at Pops of Colour. Who doesn’t love confetti? Have you ever thought of having a confetti wedding cake topper? It’s something I would absolutely consider if I could plan my special day all over again. It’s such a fun idea and such a great way to bring lots of bright colour into your decor. Louise offers a choice of colours, meaning you can customise your confetti in accordance with your wedding theme. You can also choose from a range of confetti letters, so if you feel like having a ‘Mr & Mrs’ or ‘Love’ cake topper, it just might be possible! Yay! How awesome?

il_fullxfull.789256406_nl7g il_fullxfull.789015999_8wj5

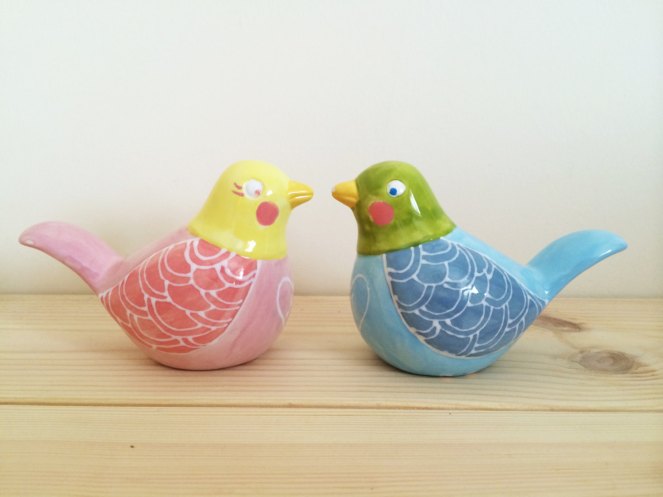
You’re noticing a theme here aren’t you? More birds! Why not? These beauties are lovingly handmade by Manmeet at White Rain Designs. These ceramic songbirds can be personalised to match your wedding theme. You can even add your own initials. All of Manmeet’s products are designed and painted by herself using earthenware ceramics and non toxic paints and glazes. I for one adore bright colours and anything personalised, so these would definitely suit me to the ground. How about you?

il_570xN.789375377_ofuqil_570xN.789375367_7n6i

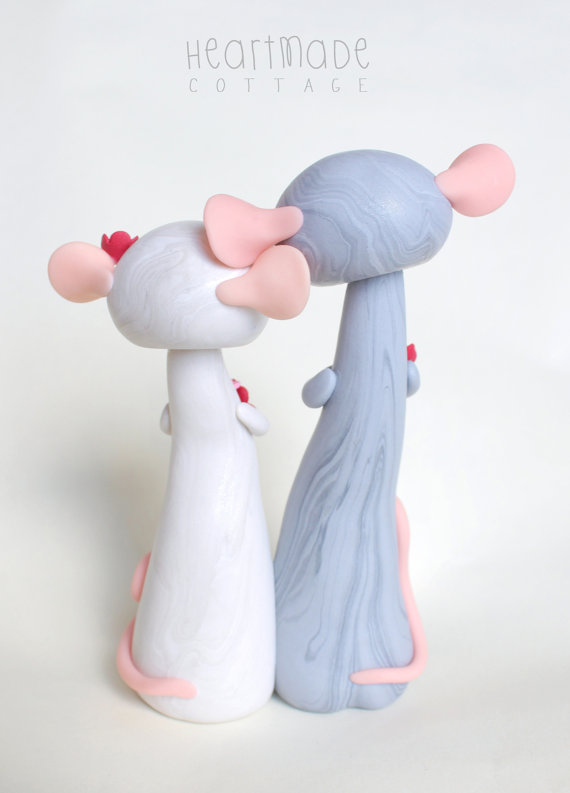
Last but certainly not least, are these utterly adorable hand sculpted ‘love mice’ cake toppers, made by Natalia at Heartmade Cottage. Natalia uses polymer clay and offers a selection of finishes. Each item is handcrafted to order, meaning your mouse couple will be one of a kind. I love the sound of that! Don’t you think they are absolutely adorable? Did you let out a little squeal of cuteness? I certainly did.

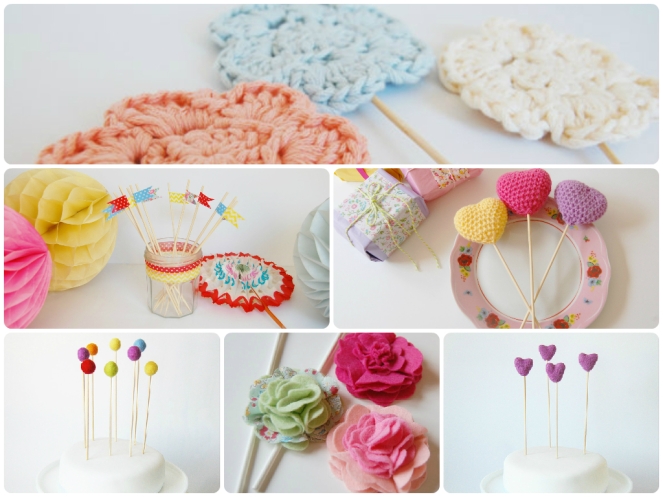
FotorCreated cake toppers

I really hope this post has inspired you and given you plenty of wedding cake topper ideas. If you’ve clicked through to Paper Doily Party Shop before, you may have noticed that I absolutely love making cake toppers myself and offer a very colourful selection of them, all lovingly handmade in my home studio in Bath, Somerset. I’ve made cake toppers for many happy couples and it’s such a wonderful feeling to know that my creations have been part of lots of amazing wedding celebrations across the globe. I have no doubt that the wonderful designers featured above have experienced the same feeling.

I hope you’ve enjoyed reading and please let me know if you’d like to be featured on Wedding Wednesday’s, I’d love to hear from you.

Happy wedding planning!

Weddings

Wedding Wednesday: Inspiring Wedding Stationery

Hello folks!

I’ve decided to start an exciting new blog feature which you’ll see from the title. If you’re a regular reader, you’ll begin to notice that Wednesday’s will be entirely dedicated to weddings, which will give me the perfect opportunity to feature some of the most talented wedding designers and craftspeople out there.

After planning my own wedding last year, I will admit that I really miss browsing through inspirational wedding photographs and products, and creating endless Pinterest boards. I may have been creating three or four boards a week at one point! Those who are married have all been there right? Do tell me yes!? I must mention that I’m very happily married, but these blog posts will rather selfishly allow me continue to fulfil my wedding planning desires, whilst inspiring many other soon-to-be weds. Win, win all round, right?

il_fullxfull.777890297_57ib

This week is all about wedding stationery. It’s a vital part of any wedding celebration and in my experience, one of the first items I purchased after finalising certain aspects of the day. There are so many wedding invitations out there, how do you even begin to narrow the choice down?

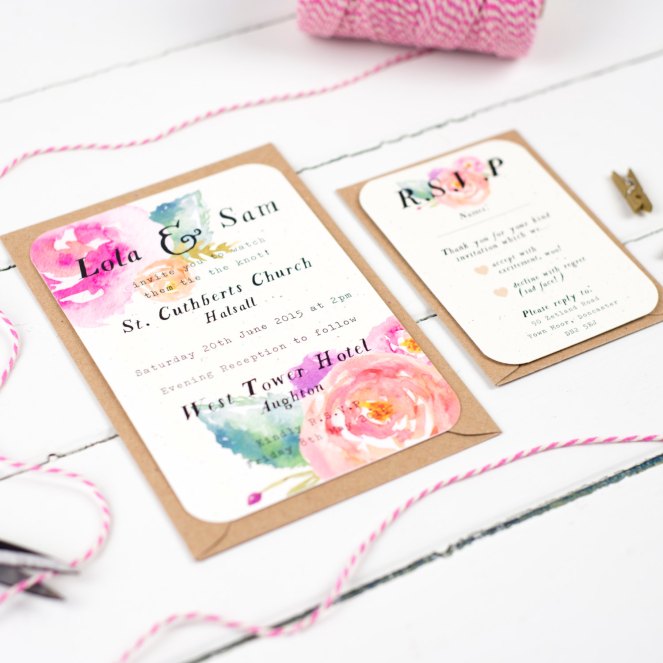
The best thing about Nina Thomas Studio, is the amount of options available. There’s bound to be something you love in her collection… or in my case, I love everything and would find it a rather large task to choose. Nina Thomas Studio specialises in vintage inspired wedding stationery and paper goods. Her Summer Bloom collection, featured here, is one of my favourites.

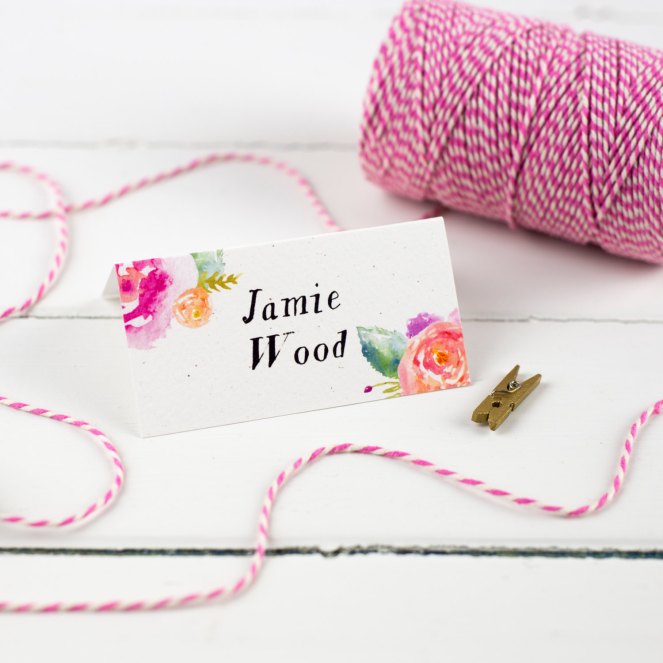
We’ll start with the save the date cards as they are pretty important, right? The painterly effect is just stunning. The colours are fresh and beautiful, the collection is styled in an incredibly inspiring way and the font makes the whole design look pretty dreamy. Do you agree? The Summer Bloom wedding invitations, RSVP cards and place settings are also absolutely gorgeous. What a remarkable collection.

il_fullxfull.739830383_75fuil_fullxfull.741314149_170m

Next on the agenda is an amazing selection of wedding stationery, designed by Norma & Dorothy. Norma & Dorothy offer an outstanding selection of handmade wedding stationery of a very unique, whimsical and rustic style.

il_fullxfull.791809827_apawil_fullxfull.791722327_i83l

The surface pattern designs presented on these cards are so inspiring. There are many flower girl and bridesmaid cards available in the handmade marketplace, but these ones offer a very special, personalised touch, particularly by including the recipients name on the front. These are the type of cards of which I for one would cherish forever and I’d also be very proud to send them to my family and friends.

il_fullxfull.775363586_cu5ril_fullxfull.787925333_ro9d

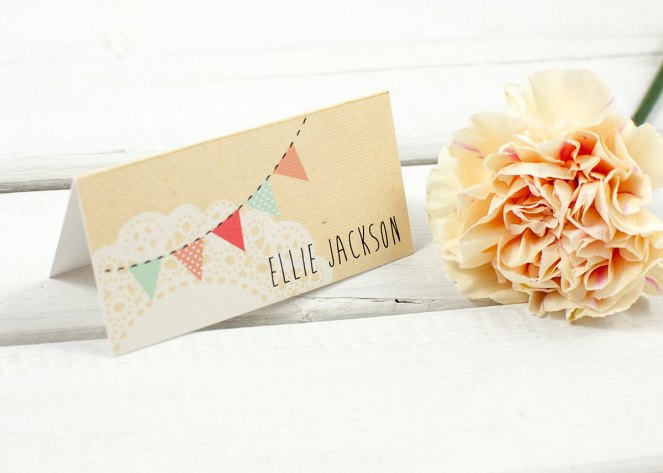
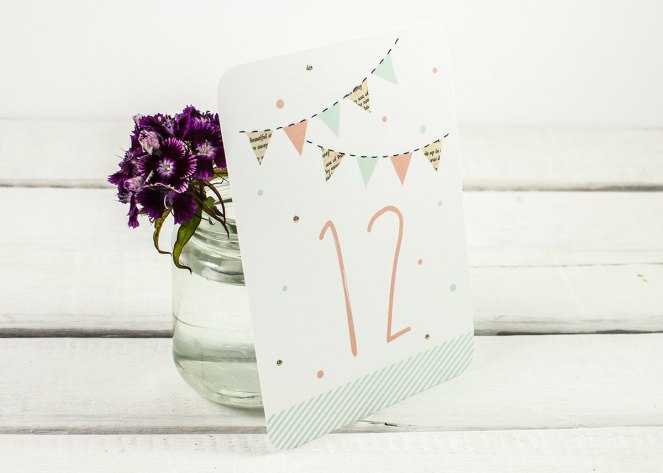
The place name cards and table numbers pictured above, also designed by Norma & Dorothy are the perfect addition to your wedding table, if you happen to be a bunting and doily addict like myself.

il_fullxfull.759815524_t86kil_fullxfull.786919851_9tkp

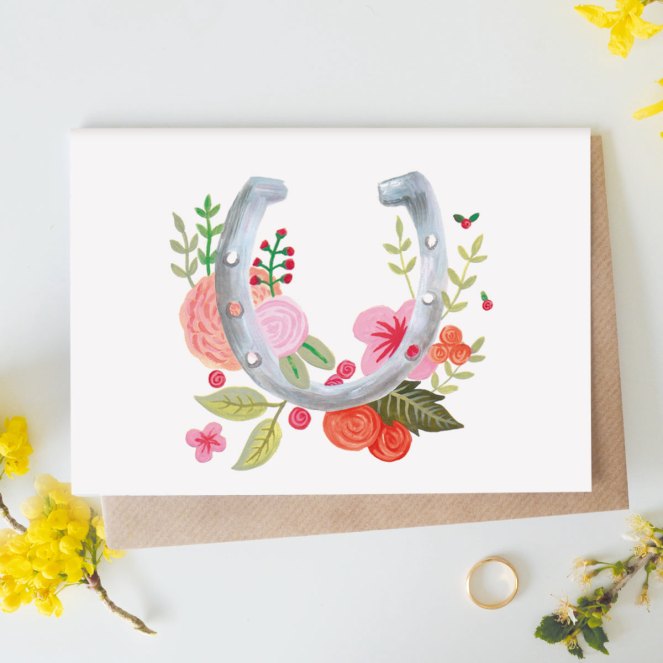
You may have noticed from the features above, that I have a rather large soft spot for hand painted stationery and lettering. Jade Fisher specialises in sweet and simple stationery and is the amazing illustrator of these greeting cards. I can clearly see that these have been designed with so much love and attention to detail. Greeting cards are a very important part of any wedding celebration, and what better way to send your love and best wishes? The colours used by Jade, work brilliantly together and Jade’s photography always makes me want to dive straight in and purchase everything! Are you experiencing the same effect? It certainly wouldn’t suprise me!

il_fullxfull.736753910_j3wyil_fullxfull.736731150_gmx7 il_fullxfull.736719936_ik0a

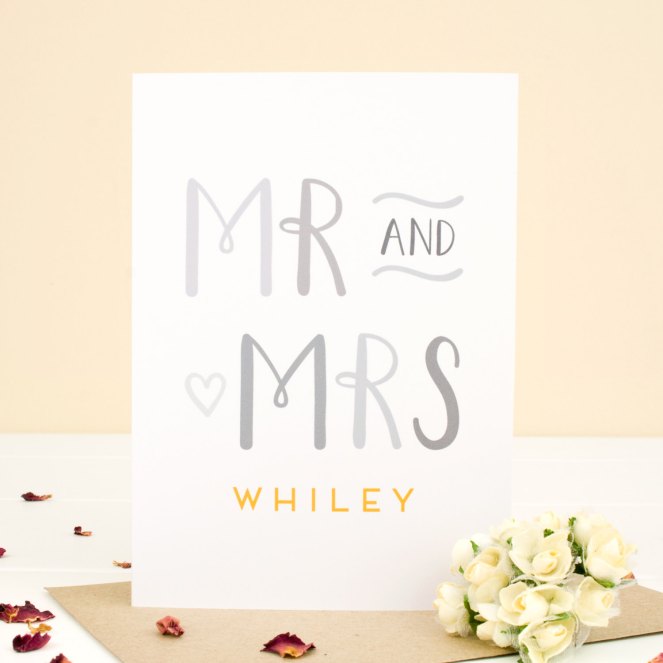
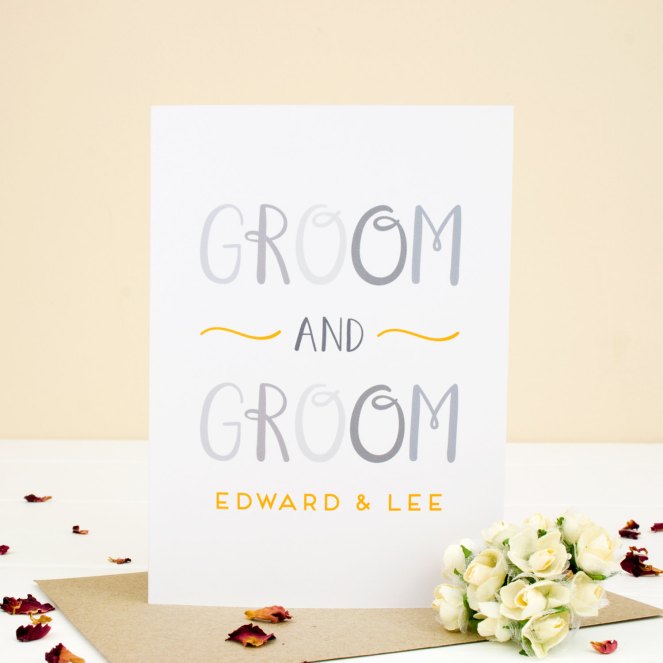
Last but absolutely never least, are these awesome greeting cards designed by Joanne Hawker. I love how the cards can be personalised to feature the special couple’s names. As Joanne very rightly explains, they are perfect for congratulating the happy couple, and I personally couldn’t think of a nicer way to do so, how utterly sweet! These greeting cards are simple, yet very effective. Something which is often quite hard to create.

Are you feeling fully inspired now? I really hoped you’ve enjoyed this weeks instalment of Wedding Wednesday. As cheesy as it may sound, I’m thinking it’s one of my best ideas for the blog as of yet, and will hopefully inspire many happy couples out there. Would you like the be featured in the next instalment of Wedding Wednesday, or can you recommend a special someone I should check out? If so, I’d love to hear from you.

In the mean time, you may like to have a browse through my own stationery collection which is sold on Etsy and Notonthehighstreet. I offer a lovingly designed range of cards and stickers, which are all designed in my home studio. Here is a sneaky peek!

il_fullxfull.785371056_mwc9il_fullxfull.773884293_gxws

Happy wedding planning!

DIY Party Crafts · Weddings

DIY Envelope Liners

Beautiful envelope liners seem to be cropping up everywhere at the moment and I can definitely see why. If you’re anything like me and love print and pattern, they provide the perfect opportunity to compliment your cards, letters or invitations. They are perfect for extra special party or wedding invitations. In fact, I received a beautiful wedding invitation last week which contained an envelope liner. It created a very large smile and just felt so much more interesting and personalised than using plain envelopes.

I’ve created a tutorial for you, which I hope will be very useful if you have any special mail to send within the coming months. It’s one of those tutorials which is very simple, yet extremely effective which is always a bonus for me.

You’ll Need:

An envelope in any shape or size

Paper of your choice

Ruler

Scissors

Glue or double sided selotape

Pencil

Eraser

Blue Tack

Method:

step1

Step 1

Place your envelope on top of the paper you have chosen and draw around it using a pencil.

step2

Step 2

Take your scissors and cut out your template. One finished with the scissors, use an eraser to remove any pencil marks. Slip the liner into the envelope to assess whether you are happy with the shape. You will notice that the liner is covering the adhesive part of the envelope, which we do not want. This is where the next stage comes in handy.

step3

Step 3

Take the liner and position the top of it directly underneath the adhesive seal, ensuring it’s in line with all sides of the envelope. You’ll need to turn the envelope over, so you can use some blue tack at this stage to temporarily keep it in place. You’ll notice the excess paper at the bottom of the envelope. This needs to be trimmed off. Take your ruler, measure the excess and make yourself a straight cutting line. If you’re unsure about the measurement, just cut small amounts of paper off at a time and continue to place it into the envelope to check the size. Erase any pencil marks and remove the blue tack.

step4

Step 4

Once you’ve trimmed the excess paper off from the bottom of the liner, place the liner into the envelope and position it. It should look like this. If you’re making a lot of envelope liners, then I would suggest making a template out of plain paper at this stage, which you can use for the rest.

step5

Step 5

Keeping the liner secure, fold the envelope over as if you are sealing it (but don’t). You can use a ruler to score it at this point. Your liner should now have a sharp fold. Take your glue stick (or double sided selotape) and glue the envelope as shown above. Position the top of the envelope liner over the glue and it should all match up nicely. Rub your hands over the paper and fold the envelope over and back again just to make sure everything stays where it should.

step7 step6step8

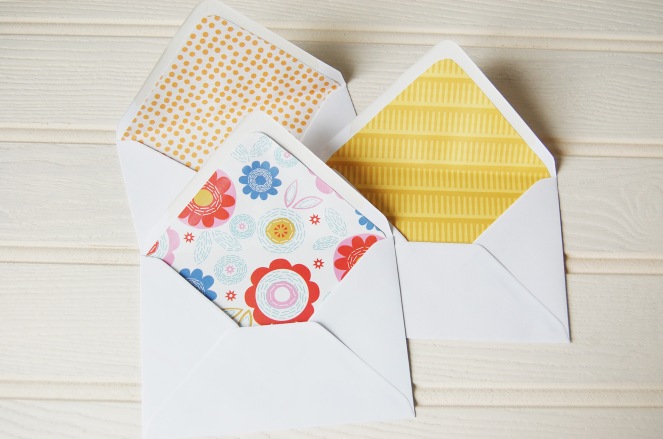
Voila! You have yourself a beautifully patterned envelope liner. Don’t feel like you have to use the same paper either, you can experiment with different pattern and colour combinations and go wild! You may have seen my earlier post on illustrated stationery? If so, these envelopes are made for this kind of thing. At present, I have a small range of illustrated cards and I’m really considering offering custom designed printed envelope liners as an extra option. How amazing would that be?

Do let me know if you decide to get creative and use my tutorial. I would love to know! Do you have any special mail that you’ll be sending within the coming months? If so, have fun and I hope you enjoyed reading.

A polite reminder: This tutorial is for personal use only and should not be reproduced or sold. ©Paper Doily Party Shop

Children's Parties · Decorations · DIY Party Crafts · Weddings

Wool Felt Ball Garland Tutorial

I just love wool felt ball garlands and thought I would share a quick and easy tutorial with you. If you have a party coming up and you are feeling creative, then you must try making one. They do a wonderful job of transforming party spaces, particularly when used on or near dessert tables or hanging from feature walls.

Felt balls are relatively cheap and readily available online. A quick google search will provide you with plenty of choice, particularly in size and colour. For this tutorial, I used 14, 2cm x 2cm felt balls in a variety of vibrant colours.

If you’re feeling inspired, then go and grab your supplies along with a lovely mug of tea (and some biscuits), quick!

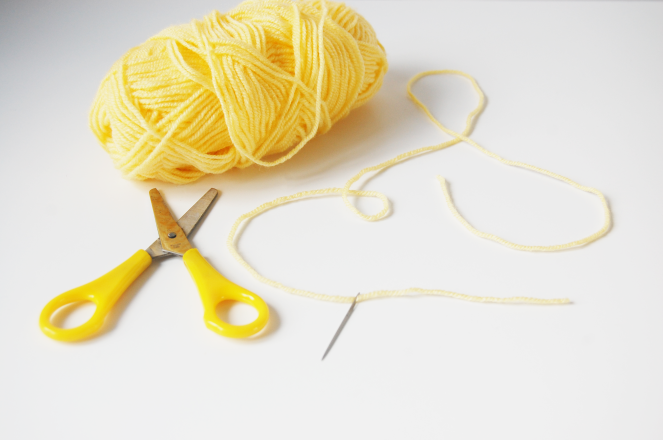
You’ll need:

A selection of Wool Felt Balls (Mine are 100% Wool Felt)

Yarn

Scissors

Tape Measure or Extra Long Ruler

Thick Sharp Needle

felt-balls-1 Screen Shot 2015-04-30 at 10.01.27

Step 1:

Decide which felt balls you intend on using and choose your yarn. The yarn will be used to assemble the garland and will be visible, so choose a complimentary colour. Grab a tape measure and scissors and cut a piece of yarn to your desired garland length. Add approximately 10 centimetres to this length to allow for the hanging loops at each end of the garland. My yarn measured 127 centimetres. Take your needle, and thread the yarn through it like so:

step2

Step 2:

At this point, I position my felt balls in the order I would like them to appear on the garland. Take your first felt ball and carefully thread the needle through the centre of it. If your needle is big and sharp enough, it should easily thread through the felt balls, but may need a little tug! Continue threading each felt ball onto your garland, until each one is attached:

step3

Step 3:

Once all of your felt balls are threaded through the yarn, lay the garland out and position your felt balls exactly where you would like them. (If you’re anything like me, you’ll like to ensure that the felt balls are fairly evenly spaced at this point!) There should be an extra 5 centimetres of yarn at each end of the garland (or more if you’ve accounted for it) to enable you to make 2 equally sized hanging loops. Thread each of the yarn tail ends into the two end felt balls at either side of the garland. Cut the excess yarn, and voila, you have a loop. Your garland should now be looking similar to this:

loop

loop2

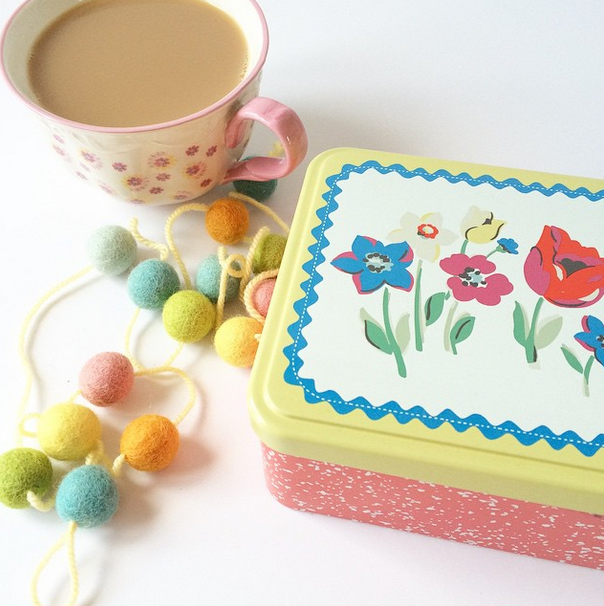
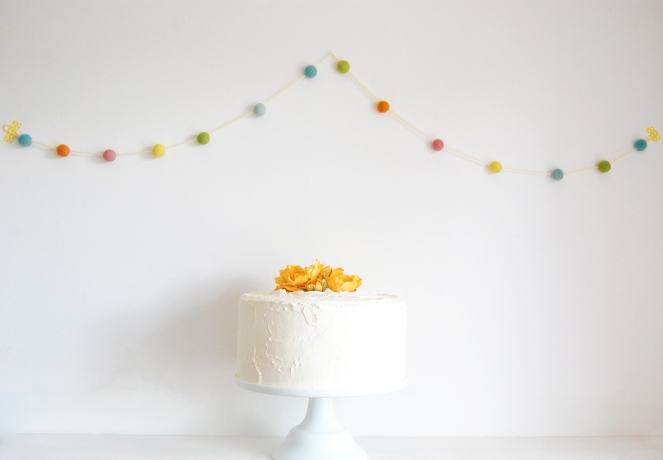
I adore the colour yellow. and you’ll see below that I used some beautiful yellow flowers as a cake centrepiece. The great thing about felt ball garlands, is that there are so many colour combinations to choose from. This means they can be made to perfectly suit your party decor. Enjoy, and please share the results if you decide to make a garland.

twitter jpg

A polite reminder: This tutorial is for personal use only and should not be reproduced or sold. 

Children's Parties · Party Recipes · Weddings

Sugar Hearts

sugar cubes1 sugar3sugar1

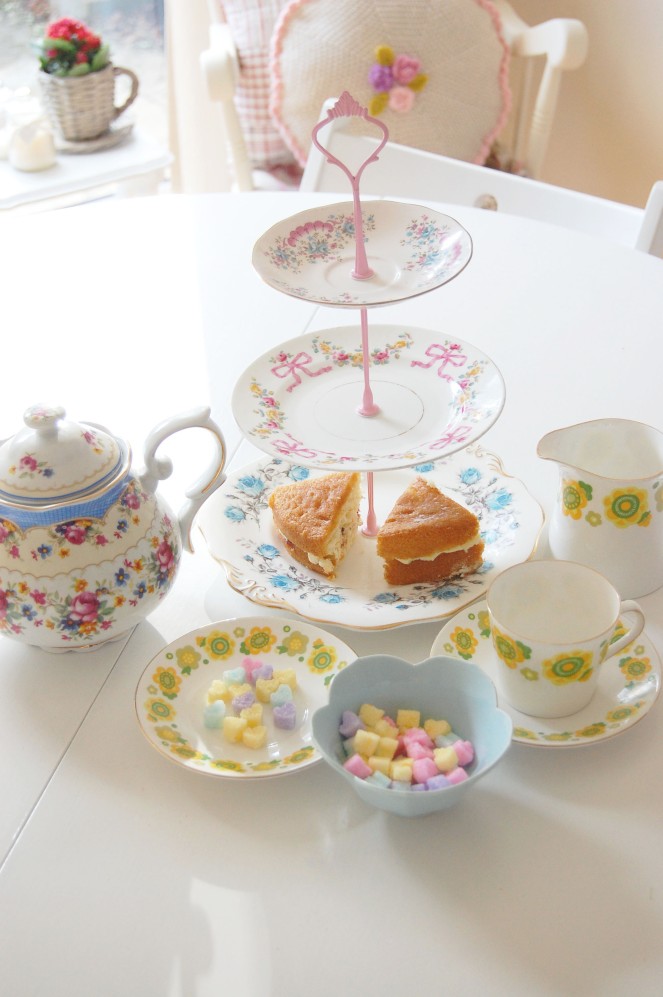
Today at Paper Doily it is all about quintessentially English tea parties. Before I elaborate, you will notice the emptiness of the beautiful cake stand. I’ve been browsing through my cookery books planning special tea party bakes and will be posting more about that shortly, so do keep your eyes peeled for more tea party related posts.

For now, this post is all about the cheerful sugar hearts, pictured above. I think they are a wonderful addition to the table and definitely add a rather unique touch. With Valentines Day approaching they also offer plenty of inspiration.

These sugar shapes are a creative twist on standard sugar lumps, which can sometimes look a little plain. They are extremely easy to make, take very little effort and can be made in advance of any occasion. They can be used in a variety of ways. If you aren’t hosting a tea party, they will be wonderful as small wedding favours with ‘love is sweet’ stickers, placed in little jars or clear wrappers. They also make lovely gifts and can be packaged creatively in a variety of ways to make them look even more special.

If this is something you would like to try, do feel free to use the recipe below. I would love to hear from you if you are intending to or have made them.

You will need:

250g of Granulated Sugar

1 tsp of Water

Small drops of Food Colouring in your desired colours

A silicone chocolate mould or ice cube tray

Instructions:

1. If you are intending to have multiple coloured sugar cubes, take some clean bowls and measure out equal amounts of sugar.

2. Add a few tiny drops of water into each bowl of sugar and mix thoroughly. The mixture should not be too wet, neither should it be too dry. The sugar should form small lumps.

3. Dip a cocktail stick or other small instrument into your desired food colouring pots and mix a small amount of food colouring in with the sugar, stirring thoroughly until each sugar bowl contains your desired colour.

4. Take your mould and fill each shape with sugar. Pat each shape down with a clean spoon to ensure you have an adequate amount of sugar.

5. Leave to set overnight.

6. Carefully place a plate under the mould and press out each sugar heart. They should come out easily.

7. Enjoy!

DIY Party Crafts · Weddings

Valentines Day Crafting

valentines pegs 5 final

I always become very excited about valentines day crafting and usually begin lots of love themed crafts around this time of year, sometimes before Christmas even! I thought I would share some of my favourite makes, some available at Paper Doily and some just for eye candy! All of the items pictured above are simple, enjoyable to make and very effective.

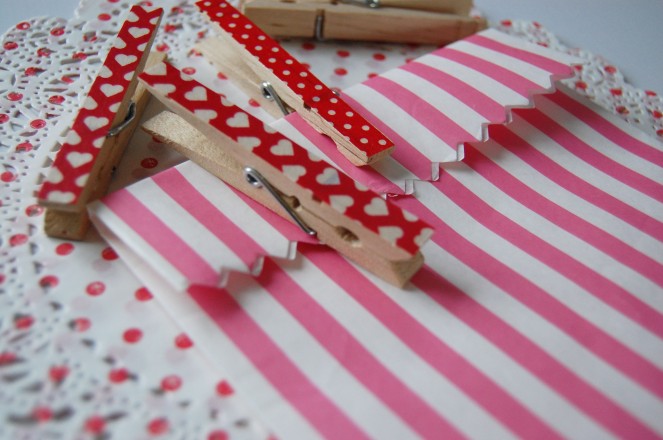
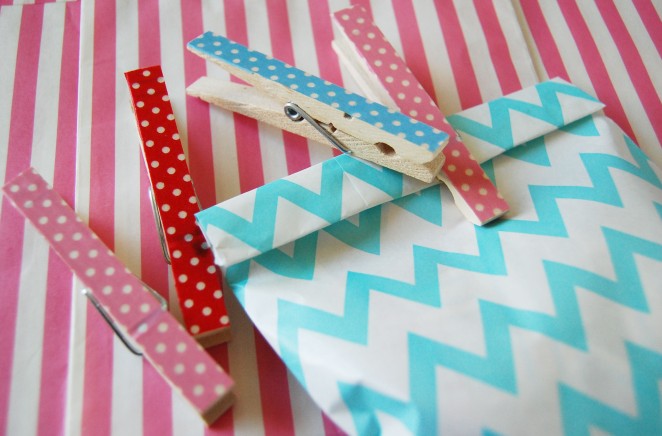
The wooden washi tape pegs are perfect for prettifying gifts, dessert tables or used around the house to hang favourite cards or photographs. Wooden pegs are so easy to find and it’s quite amazing how a simple piece of patterned tape can transform such a plain item! If you’re anything like me and have jars full of washi tapes, this is a great way to use your stash! I’ve also seen patterned fabric tape in a fair few craft shops, which is a lovely alternative.

I could imagine these pegs used on wedding favours/wedding dessert tables. I had several sweet jars on my dessert table at my own wedding in April of last year and I wish I had thought of this idea back then. They are the perfect addition to sweet bags if guests wish to take away sweet treats without getting covered in sugar.

The heart gift tags were also very enjoyable to make. I always seem to have lots of patterned wrapping paper left over from gift wrapping and I thought this was a really good way to use it up. I’m also a sucker for patterned paper packs and have so many floating around my craft room. The glitter paper is my favourite at the moment. I actually had hundreds of beautiful paper straws left over from my wedding and decided to use the glitter paper to add heart embellishments to them. As of yet, I haven’t started any valentines themed crochet projects, but this could be on the pipeline!

valentines day makes1

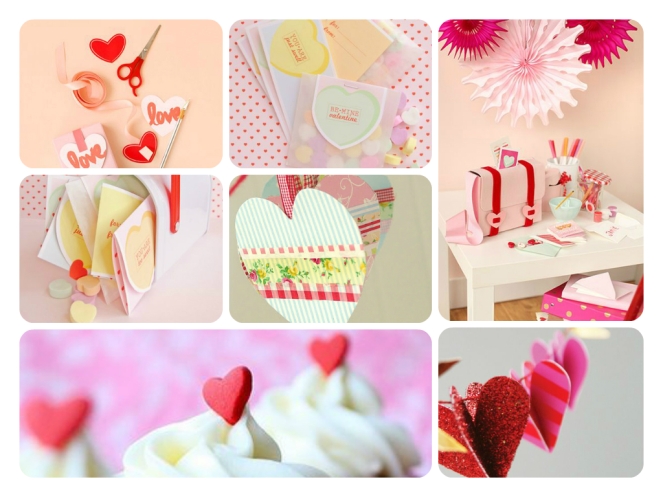
I’ve been browsing the web for lots of crafting inspiration and wow, I certainly found it! I thought this would be a lovely way to end the post. If you’re anything like me and spend hours on pinterest, you’ll know how hard it was to choose such a small selection of favourites! Will you be doing any valentines day crafting this year and do you get as excited as I do?

The beautiful products in the above grid are courtesy of: LaLibeLula, A Field Journal, Annie’s Eats, Sisters Guild

Happy new year and happy crafting!
Children's Parties · Decorations · DIY Party Crafts · Weddings

Wool Felt Cake Toppers

I’ve really enjoyed browsing and making cake toppers since my wedding in April of this year. So much so, I’ve began making lots of them out of the most colourful and ever so soft wool felt, a new material I have recently discovered and absolutely love! These fluffy little shapes are so versatile and wonderful to work with. There are endless party crafts that they are perfect for, including garlands which I have made a fair amount of and will definitely be posting another tutorial on.

I have put together a very easy and hopefully helpful tutorial on the process behind making wool felt cake toppers. if you have a birthday party, wedding or any other special occasion coming up, these could be the perfect addition to your special bakes.

First of all, I ordered a few bags of wool felt balls and shapes from a company called Blooming Felt. I did a lot of browsing online prior to ordering and this company seemed the most reasonable. Everything arrived in good time and was packaged well, which is always a great bonus. This beautiful glass jar is the perfect storage solution and definitely brightens up my craft room shelf! The other good thing about this storage method is that I can see when supplies are running low!

tutorial

To construct the cake toppers, begin by choosing your favourite wool felt shapes. You will then need to take a small pair of sharp scissors. Embroidery scissors work best but if you don’t have those, then any sharp, reasonably large sewing needle will do the job.

tutorial3

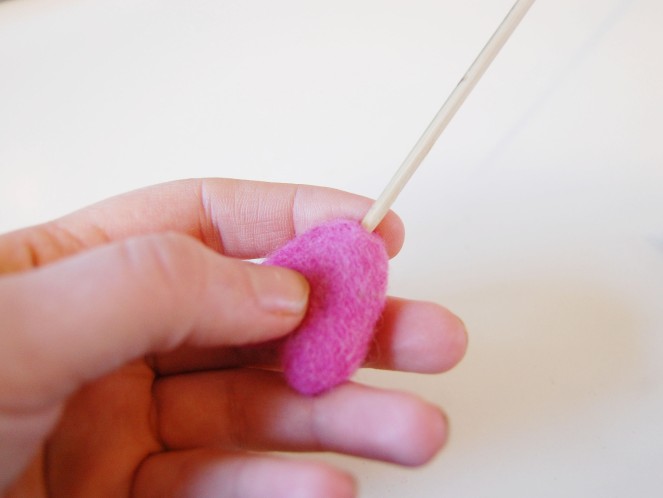
Pierce a small hole through the bottom of one of your wool felt shapes. The hole does not need to go through the entire shape at this stage, it just needs to be deep and large enough for you to place a thin skewer stick through it as below.

tutorial 1

tutorial4

You should be able to twist and turn the skewer stick most of the way through the wool felt shape until it has reached the top. It should not be visible at the top of the cake topper, so if you have pushed it all the way through, just pull it back out slightly. You can, if you wish add a very small amount of PVA glue into the hole with a small cocktail stick before pushing the skewer stick in. However, this hasn’t been necessary for me as I keep the hole fairly small to ensure it is sturdy.

il_570xN.677919926_8j2h

FotorCreated

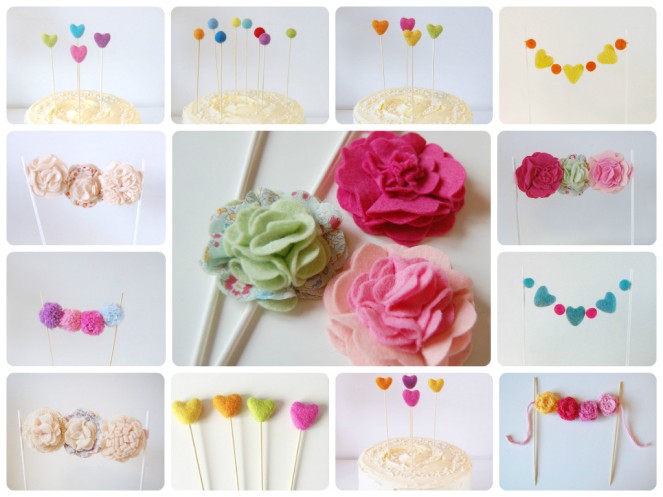
Once finished, have fun placing them on your special cake and await the lovely compliments, as they really do look something special. As you can see above, I’ve really enjoyed experimenting with different shapes, colours and materials. The beauty of the wool felt cake toppers are that they are very quick to make, so you can spend time baking and making other beautiful party products!

I would love to hear from you and see your photographs if you have made these! If you love what you see but would prefer a ready made cake topper, there are several cake toppers available to purchase from Paper Doily Parties as pictured above, alongside many other handmade party products.

Happy crafting!

Children's Parties · Decorations · DIY Party Crafts · Party Shop · Weddings

Decorative Wooden Pegs

Paper Doily Pegs 3 pegs 5 final Paper Doily pegs 2 final

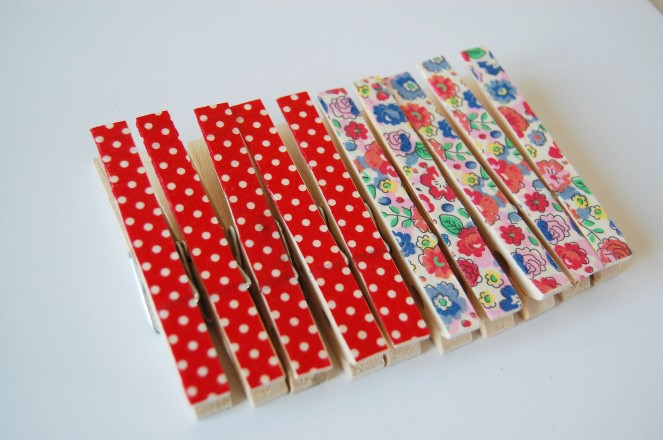
We’ve been very busy making lots of adorable pegs for our Etsy shop recently and we thought we would share! They are absolutely perfect for prettifying wedding favour bags or wrapped gifts. They would also look lovely in the home, perhaps hanging from a lovely piece of twine with your favourite photographs or artwork attached.

These pegs are just standard clothes pegs and are very easy to find in most hardware stores or supermarkets. I purchased a large pack of these from my local supermarket. I searched online for patterned washi tape and came across such an amazing selection, mainly on Etsy. The great thing about these pegs, is that you only need a very small amount of washi tape to cover them. This means that you will have lots of tape left for coordinating party crafts, should you be having a big DIY session.

I have decided to sell these in lovely packs of 10 here but if you decide to get creative yourself, then let me know. I would love to see!

A very kind reminder: Paper Doily tutorials are for personal use only. Please do not reproduce the above content for resale.