Hello! How are you doing? Did you happen to see my last blog post? If so, you’ll know that I shared a little snippet of my latest hand embroidery pattern & tutorial whilst I was working hard to finish it. Well, I’m pleased to tell you it’s done and it’s now listed on my Etsy store as an instant download, yay!
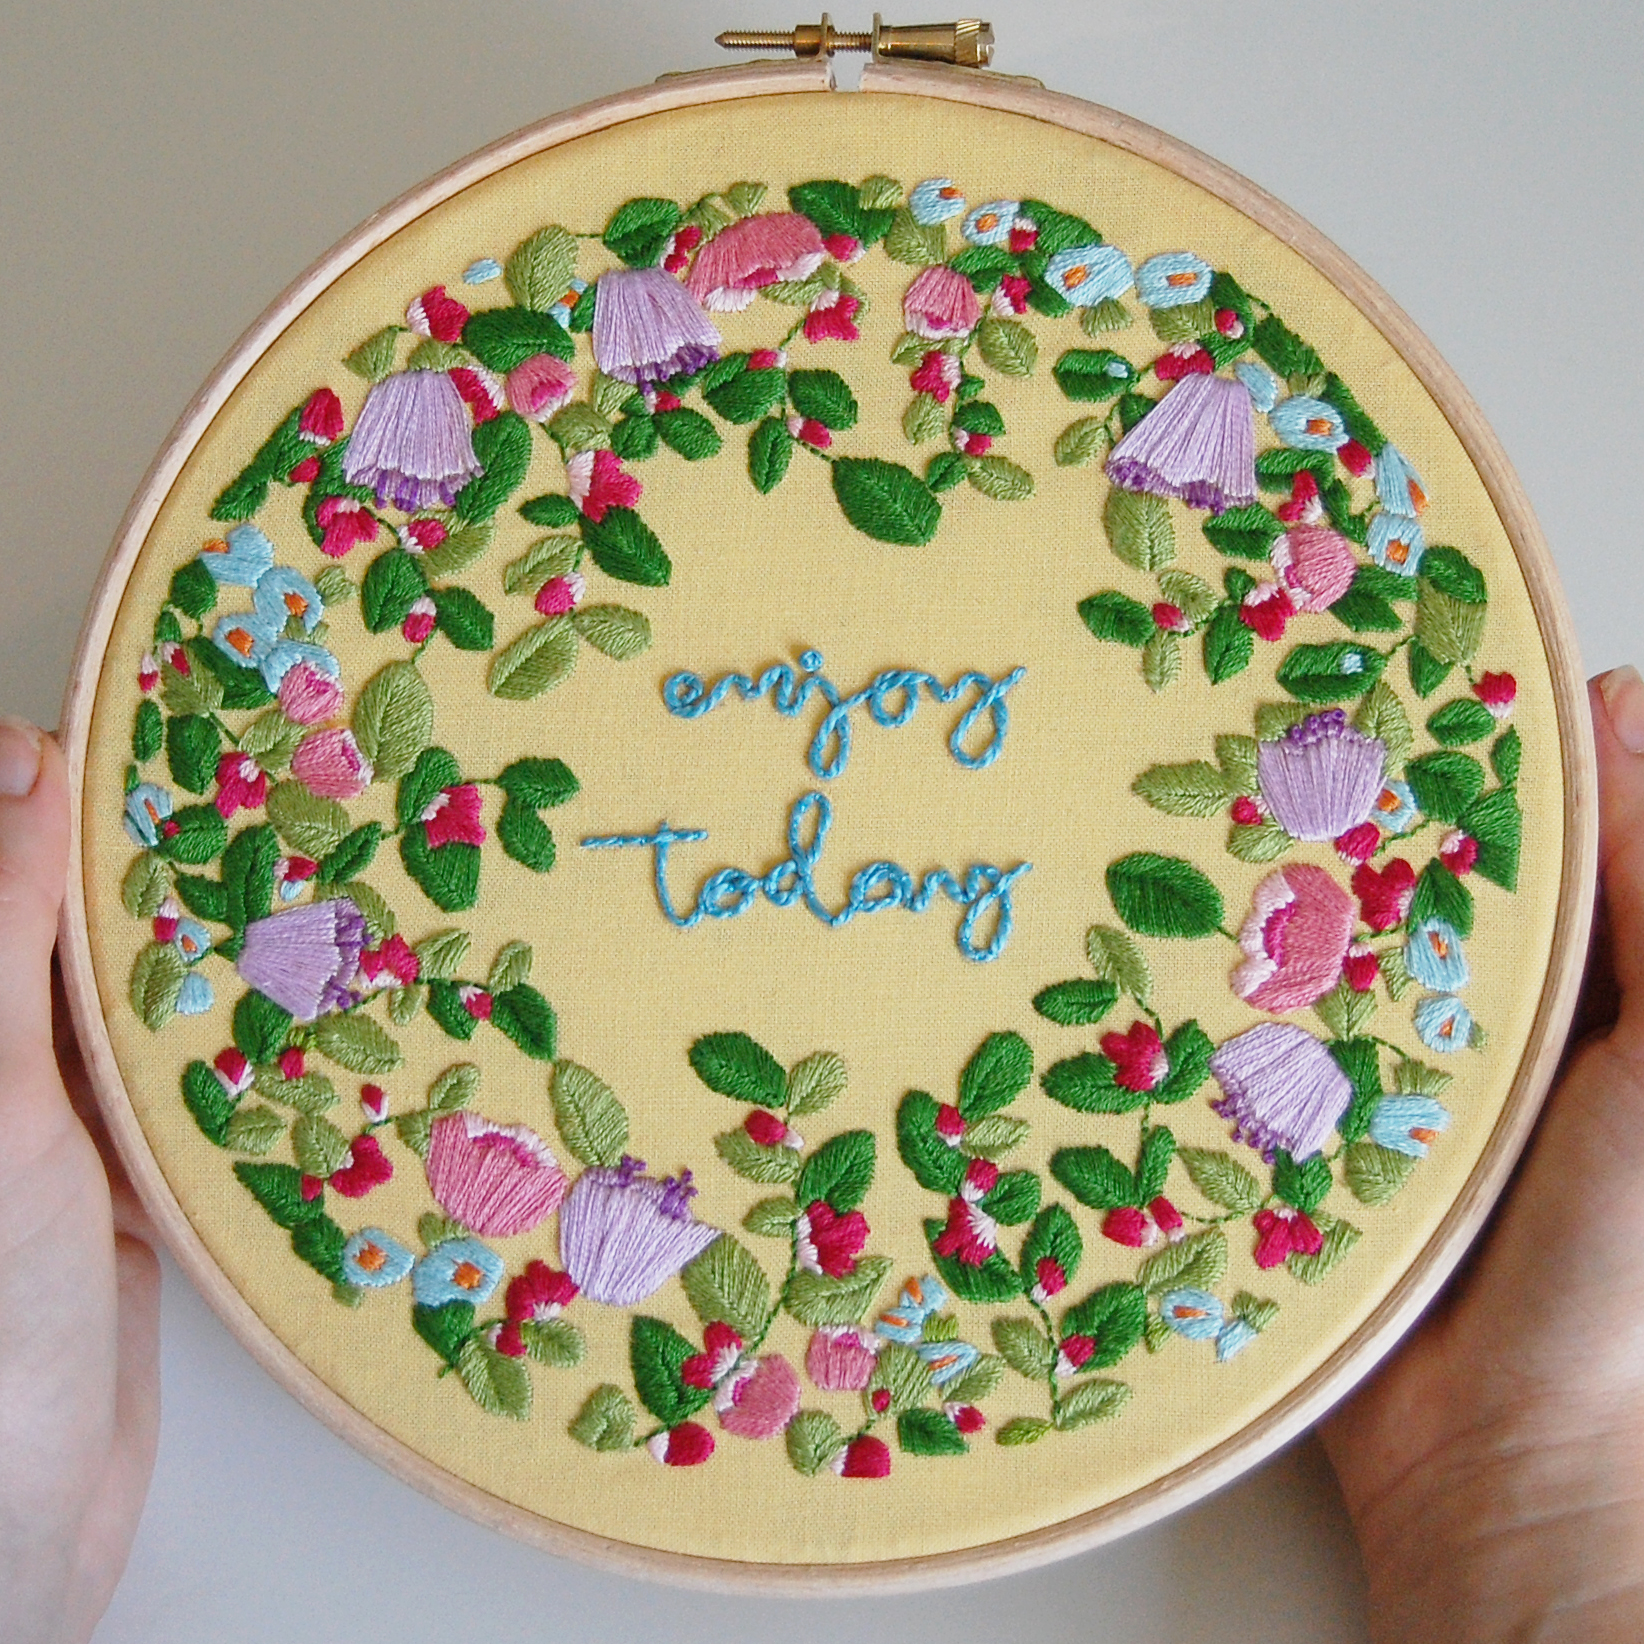
I know I say this about all of the hoops I make, but this one really was a labour of love. I saw the quote ‘One day at a time’ several months ago online and it really resonated with me as an anxiety sufferer. I knew I had to make it into a gorgeous design and release it as a pattern, as I’m sure there are lots of embroiderers out there who will love stitching it and may also find comfort in the words.
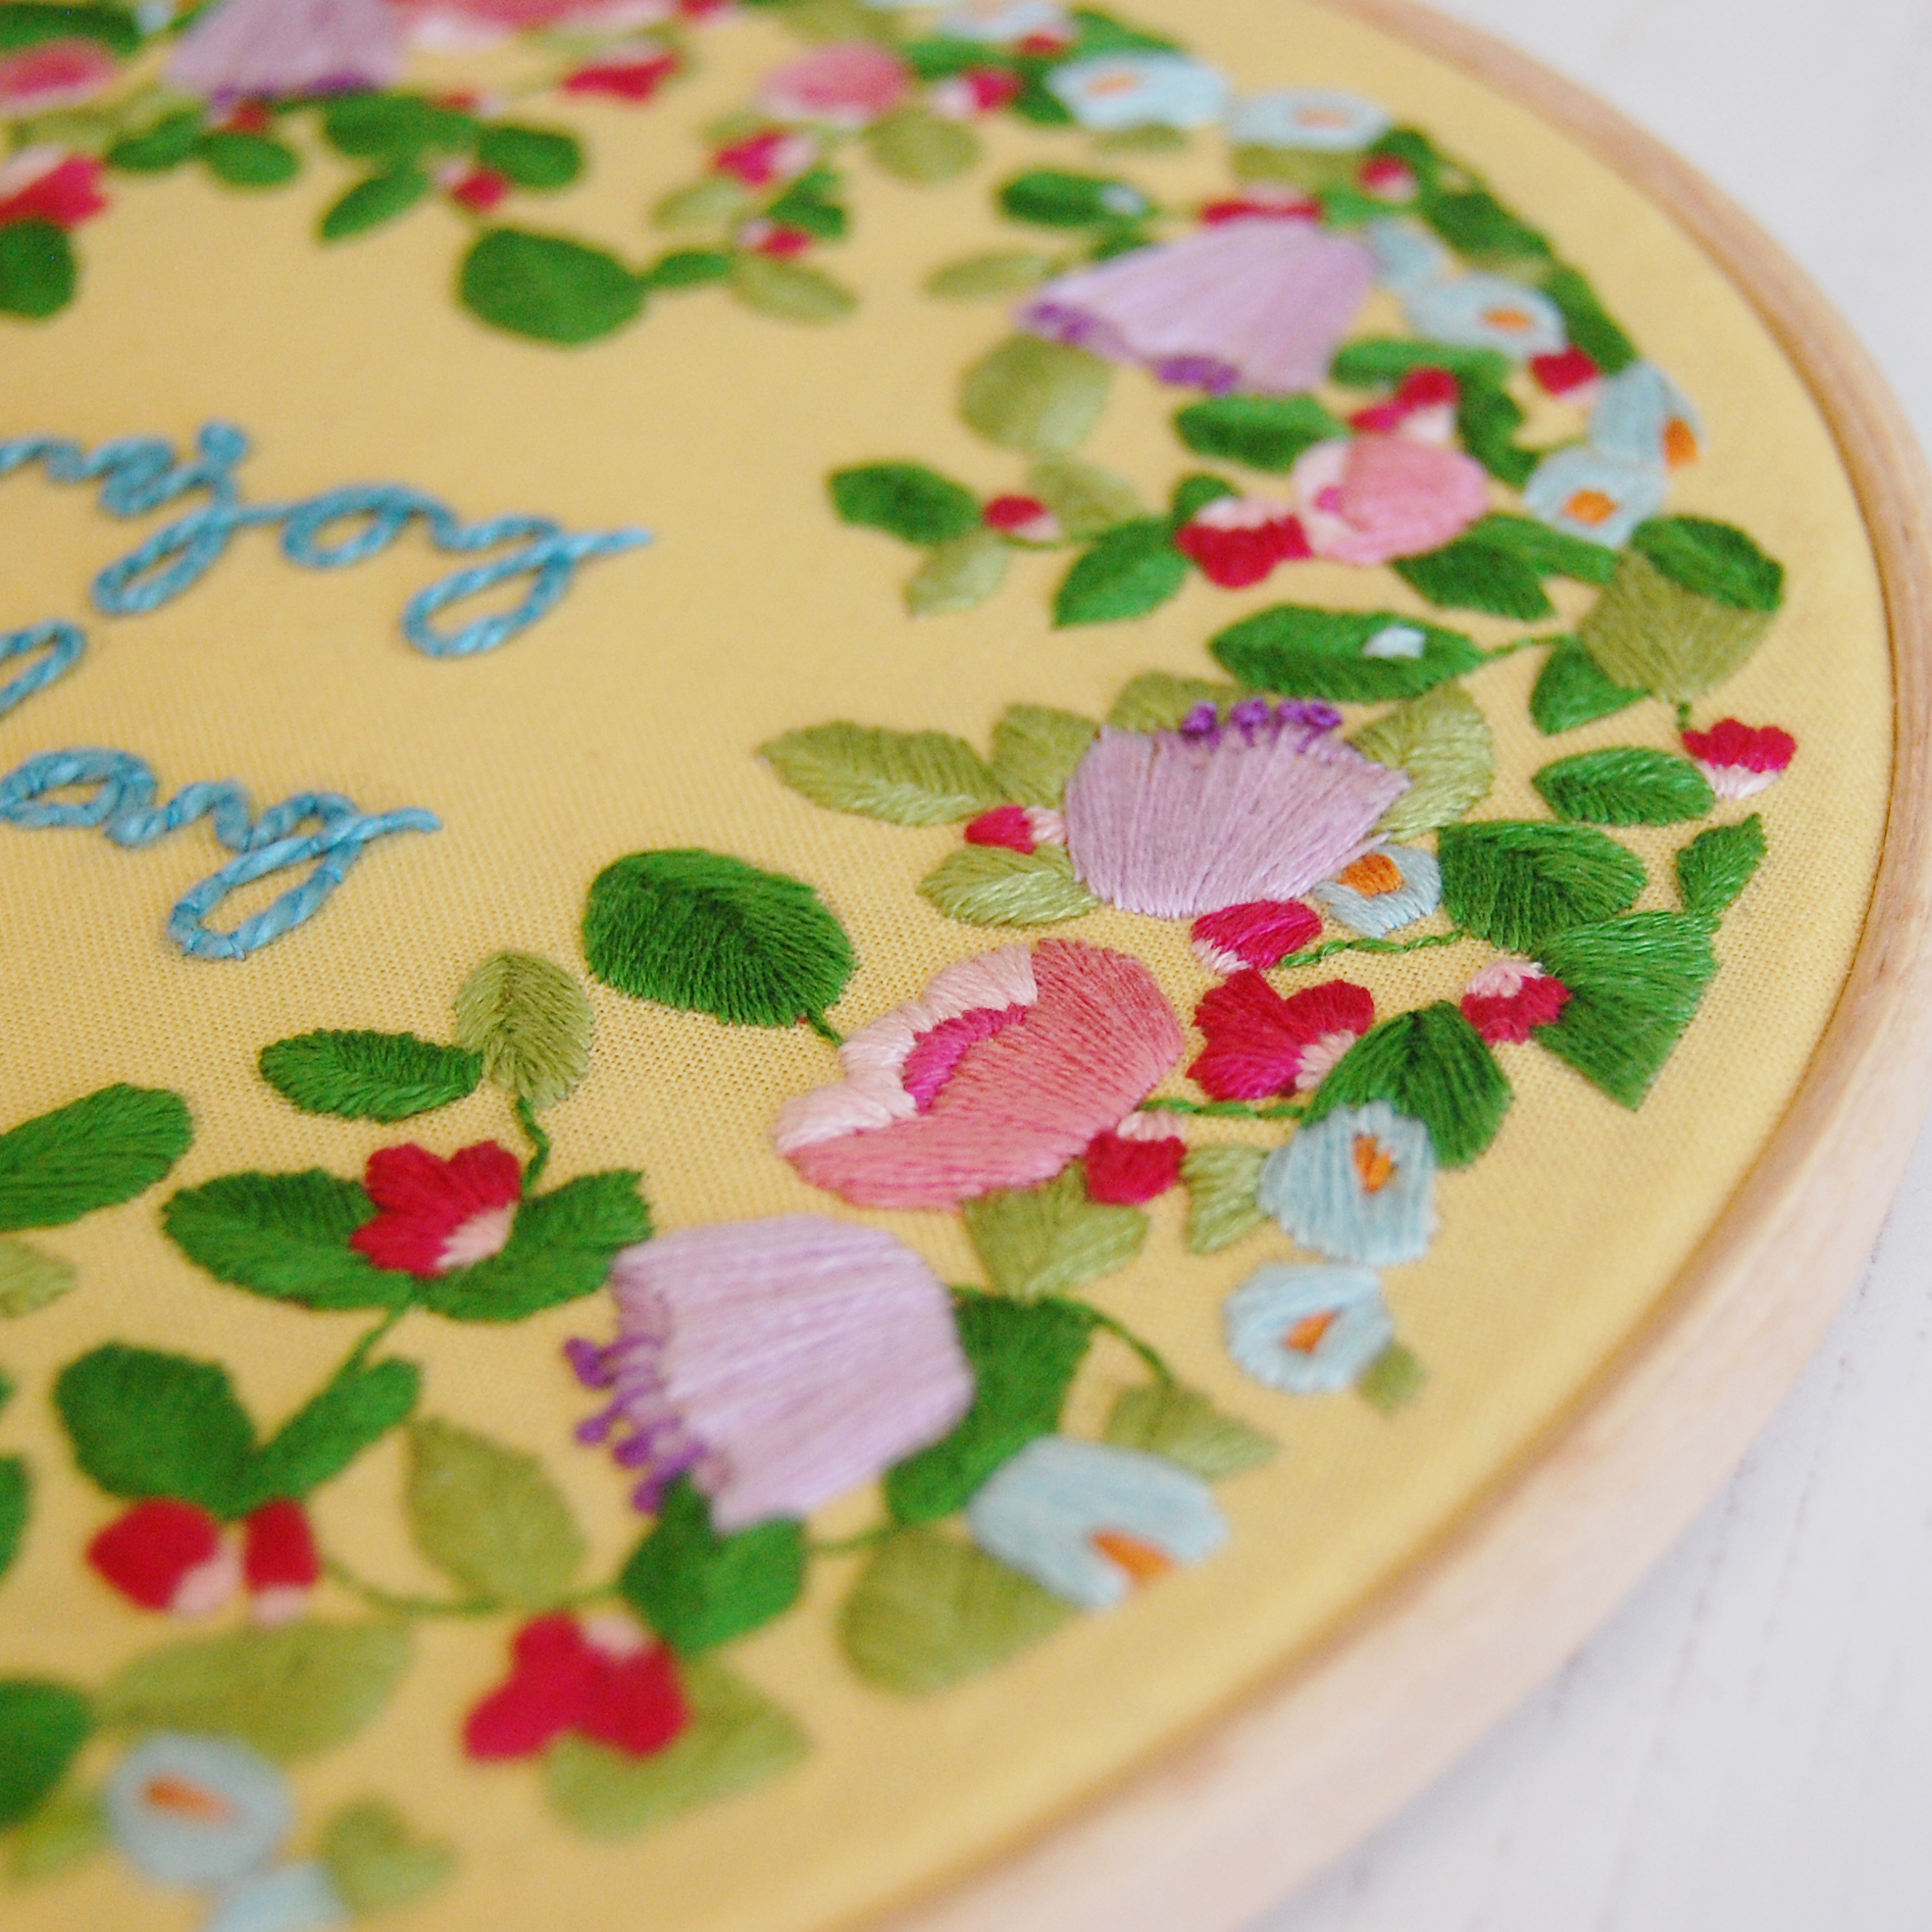
Here’s a closer look. I’m definitely tempted to embroider similar quotes which will give me more opportunity to experiment with embroidered text. This is the third hoop I’ve experimented with embroidered typography and it’s quite a skill to master. I think my most favourite part of the hoop though was the pale green leaves. I used fishbone stitch for the leaves and I find it to be such a therapeutic stitch.
It’s only a short post today, but I hope you’ve enjoyed seeing my latest work. Have you discovered any quotes recently that have helped you? Leave a comment below and let me know, I’d love to read them. It may just give me some inspiration for my next design.
Hello! I’ve been feeling very reflective this week, probably because we are nearing the end of 2020 and this will be my final blog post of the year.
For many of us, including myself, it’s been the year of loss; largely due of course, to the pandemic. When driving a few days ago, a deep wave of sadness poured over me as I thought about all of the things I’ve lost this year. I know I’m not alone in this and if you too are experiencing similar feelings as you’re reading this, my heart goes out to you and I’m sending a very large virtual hug. A hug is one thing I feel many of us may be in need of right now, including myself; someone who has never really been much of a hugger!
Whilst I acknowledged my feelings in the car, I also felt a glimmer of hope and excitement as I reminded myself of the small but impactful positives I’ve experienced since June of this year; mainly due to my rediscovery of hand embroidery and the incredible support I’ve received from those close to me and you lovely lot online.
As you may already know, I’ve been running a successful greetings card and art prints business on Notonthehighstreet and Etsy for the past 6 years, after graduating and leaving a full time job at a University. The business continued to grow over the years and was at it’s busiest point during the first lockdown in England.
Whilst I was (and still wholeheartedly am) incredibly appreciative of the income and huge support I received from all of my amazing customers, I felt like I’d lost my creative spark along the way. It’d been missing for a while actually, but I couldn’t find another creative avenue to explore and felt feelings of guilt after spending so many years building up the business; especially as I realised that in one sense, it was finally at the point I’d been working towards for all of those years. I later realised I definitely needed to make a change and now was the right time.
I thought back to an embroidery kit I’d purchased to work on over the Christmas before and remembered how much I enjoyed making it. Having previously completed a Textile Design degree at Chelsea College of Arts, there was a period of time where I did quite a lot of embroidery; but it wasn’t something I felt compelled to pick up again until some 10 years later; when here we are!
In June 2020 I started embroidering more seriously. I’d planned to allow myself an initial period of 6 months to focus on it, whilst not producing paper goods for the business during this time; something I feel incredibly privileged to be able to do. I’m pleased to tell you it’s going exceptionally well; although my confidence is a work in progress as I navigate difficult feelings from my time at art college. I’m pleased to show you some of the hoops I’ve been working on since June 2020. What do you think?
After embroidering the red postbox hoop on the right for the pure purpose of learning new embroidery techniques, my Husband, Andrew (aka, my number one fan), suggested I release it as a pattern to sell online. I’d originally told him that I’d like to sell patterns online, produce patterns for magazines and one day release a hand embroidery book, which are the goals that keep me motivated each day, but the thought of writing and releasing my first pattern slightly filled me with dread!
Anyone who knows me personally will now how determined I am, so I set aside my feelings of anxiousness and wrote my very first pattern, which was later released to Etsy. I’m not going to lie, for the first week despite my efforts, I sold none. I was a little deflated, but continued to put work into the marketing and worked hard not to lose hope. Along with my determination comes impatience; so it was hard *giggles*. However, I woke up to my first embroidery pattern sale a few days later. I happy danced all the way down to the kitchen and had a smile on my face for the rest of the day!
After selling a few more in the days that followed, I decided to design another pattern. I realised it would need to be released asap due to it being a Christmas themed pattern, so this gave me lots of motivation to release it without delay. After a few late nights and long hours of embroidering (embroidery is an amazing but very slow craft for those wondering) and a weekend of writing the pattern up, I finally published it to Etsy along with the first one. More happy dances followed as this one proved to be successful too. They’re both now available as a ‘bundle’, pictured above, so if you’re planning on making them both over Christmas, it’s a little cheaper to purchase them together.
So, what have I learnt within the last 6-months of my embroidery journey you ask? Take the leap. I truly believe if Andrew, my Husband didn’t suggest I publish the first pattern, I wouldn’t even be selling right now. Whilst it’s not everybody’s goal to sell, this goal was on my list, but due to confidence being low at times, I didn’t think I was ready at that point to release my first pattern.
When I began writing my first pattern, I realised that it was actually very achievable and not as scary as I thought. I’ve had many years of reading patterns (mainly crochet, knitting and a few embroidery ones), so I’ve learnt a lot in this time about what I consider makes a good pattern. I actually have more experience than I allow myself to believe!
So, my main advice for you, if you’re at the start of a similar journey, is to take a leap of faith. Perhaps you have a small glimmer of confidence somewhere within you, if confidence is something that holds you back. That glimmer may just about be about enough to get you started on your journey; and from there, the sky is the limit. (ok, that sounds kind of cheesy, but it’s true!)
Remember the kit I was telling you about earlier that I embroidered last Christmas? Well, those words are another excellent piece of advice.
So what now? I’m going to allow myself to have a break over the festive period (or at least try to), but I absolutely love Spring and all of the beautiful pastel themed colours, so I’m looking forward to designing and writing up more embroidery patterns for my Etsy shop.
I’m also going to start a newsletter which will include a free pattern each month and lots of inspirational hand embroidery content, so if this sounds like your cup of tea, if you haven’t done already, please hit the ‘subscribe’ button. I’d love to share this brand new journey with you.
Sending love and best wishes to you all this Christmas. Whilst it might not be the Christmas you may have had planned, I hope you can find small moments of joy. You deserve it!
I have some rather exciting news to share with you – I’ve just started embroidering again, yay! I’m so excited to share my makes with you over the next few months both here and over on Instagram.
The majority of my work over the past few years has been focussed on developing my illustrated greetings cards and art print ranges over on Notonthehighstreet and Etsy. However, I’ve been really keen to start embroidering again, with the initial aim of developing a new range of embroidery patterns to sell.
Once established, I’d love to work on my own embroidery pattern book and have some of my own embroidery designs featured in UK craft magazines. Doesn’t this just sound like the absolute dream?!?
I’m not entirely new to the world of embroidery. I studied for a Textile Design degree at Chelsea College of Art & Design many moons ago, where I specialised in printed textiles.
While studying, I took an evening embroidery class at Central Saint Martins – I know how to have fun as a student! The course was a great introduction to the world of hand embroidery and I used the skills learnt to develop my collection of printed and embroidered handbags for my final collection, showcased in my 2012 degree show.
Since then, I hadn’t picked up any sewing needles, so it’s wonderful to be getting back into it again. For the design pictured above, which reads, ‘enjoy today,’ I used a gorgeous pattern from the ‘Thread Folk’ book by Libby Moore, which I will link to here.
This isn’t a sponsored post, I purchased the book independently – I just want you to know how amazing it is. It has some beautiful patterns inside and is an absolute inspiration to any new, keen embroiderers out there!
I really enjoyed the pattern and I customised the colours to suit my own style. Within the past couple of days, I’ve started another embroidery hoop design, this time using my own pattern. I’ll share it with you soon, so please keep your eyes peeled.
I won’t give too much away, but I will say that if you love Autumn, you’ll very much enjoy seeing it!
Hello! It’s been a good day so far today. The sun is finally shining in Somerset (after what feels like weeks of rain) and I’ve just launched a new product. I love designing stationery, particularly Children’s stationery as I feel it allows me to be extra playful with my designs. All of my designs derive from hand drawing, later to be skilfully manipulated on the computer, printed, photographed and listed on my two online shops (Etsy and Notonthehighstreet). There is only one person employed at Rosefinch Studio (good old me), meaning it can often take some time for new products to be launched.
These ‘Personalised Children’s Party Bag Thank You Tags’ may just be one of my most favourite products yet, I just love how pretty they are. If you’re wondering what their exact purpose is, let me explain. Typically at children’s parties, theres a tradition of giving party bags to their friends as a thank you (and for transporting left over birthday cake in of course). I thought it’d be really lovely to offer personalised gift tags complete with twine for adorning such party bags.
My party bag tags can be personalised which definitely adds a unique touch. The large number at the top of the tag represents the child’s age. There’s a sweet message underneath that (which can also be personalised), thanking their friend for celebrating their birthday party with them, followed by a ‘from’, allowing the birthday child to include their name. Each tag comes complete with twine, available in a variety of colours.
As you can see, the tags are very floral. The hearts and polkadots look very pretty surrounding the flowers and the bird seen perching on the flower cluster finishes the design off I think. My next plan is to extend my range of gift tags as I really enjoyed designing and producing these. You just don’t seem to see anything of this kind in mainstream shops, which to me, makes it very desirable as I love unique products.
What are your thoughts? I’d love to hear from you! Do you have a party coming up? If so, happy party planning and feel free to have a browse in my Etsy and Notonthehighstreet shops for personalised party products.
If you’re a regular reader of my blog, you’ll know how much I enjoy crocheting in my spare time alongside running the party shop. I’ve recently started a new venture named Tea, Cake and Crochet, involving crochet lessons from home with the odd sweet treat… or two! (no need to worry at all though, I still absolutely adore parties so you can still visit my shop and blog for your regular party fix. I have some very exciting things planned for it this year, so please stay tuned!)
So, back to the star blanket…I’ve wanted to crochet one for a while now and some would say I am fairly late to the party. However, I’m so glad I did it. It was such an enjoyable make and it is absolutely perfect for experimenting with colour combinations. It didn’t use a lot of yarn at all, so it’s perfect for ‘stash busting.’ (in non crochet terms, using up leftover yarn which you have stashed away!)
Several months ago, I found out that a friend is expecting a baby boy. I decided this was the perfect opportunity to crochet a star blanket. It was a complete suprise, she did not have the slightest clue that I was crocheting it. Being such a regular social media user (particularly Instagram) it was very tempting to share my progress but I managed to resist as I didn’t want to ruin the suprise in any way! It was so worth it, as she sent me the loveliest message expressing her gratitude and sheer happiness about receiving it, which made it SO worthwhile.
Now it’s been safely received, I am really happy to share the final result with you. I used the Celeste Nursery Blanket pattern, written by Lynne Rowe. You can find this in Issue 47 of Inside Crochet Magazine. This issue is not available in stores any longer as it was published in 2013, but there are ways of downloading digital back issues. I used the ‘Pocketmags’ app on my iPhone and had no trouble with it at all (other apps available).
I decided to roll the blanket up and make a bow out of some lovely blue ribbon I had in my craft room. This seemed like the nicest way to present it. I then wrapped it in some blue tissue paper and enclosed one of my ‘with love greeting cards’ from my shop. Do you like it? It feels like a job very well done to me and I couldn’t have been happier with it! Do you have any crochet projects on your hook at the moment? Feel free to comment below so I can see them, I love to see what my readers are up to!
Several months ago I was approached by a local journalist who writes articles for a number of interior magazines. The journalist expressed a real interest in my house and asked if I would be interested in an upcoming magazine feature. At the time, it wasn’t yet decided which magazine it would be featured in (if any), but I was thrilled to later discover that ‘Your Home Magazine’ decided to run the feature in the ‘February 2017’ issue.
The journalist and photographer spent a whole day in my house once the house had been given the ‘go ahead’. Photographs were taken and a recorded interview was conducted, which would later be included in the magazine.
If you’re a regular reader, you may remember a craft room tour I gave you last June. I run the party business and blog full time from home, so it’s always been really important to me to make my surrounding space as inspiring and cosy as possible. I absolutely love prettifying my workspace and I’m constantly moving things around and adding more beautiful things to it. I treat the rest of my home very similar to this, as you may gather from the photographs, and I really do have a lot of fun with it.
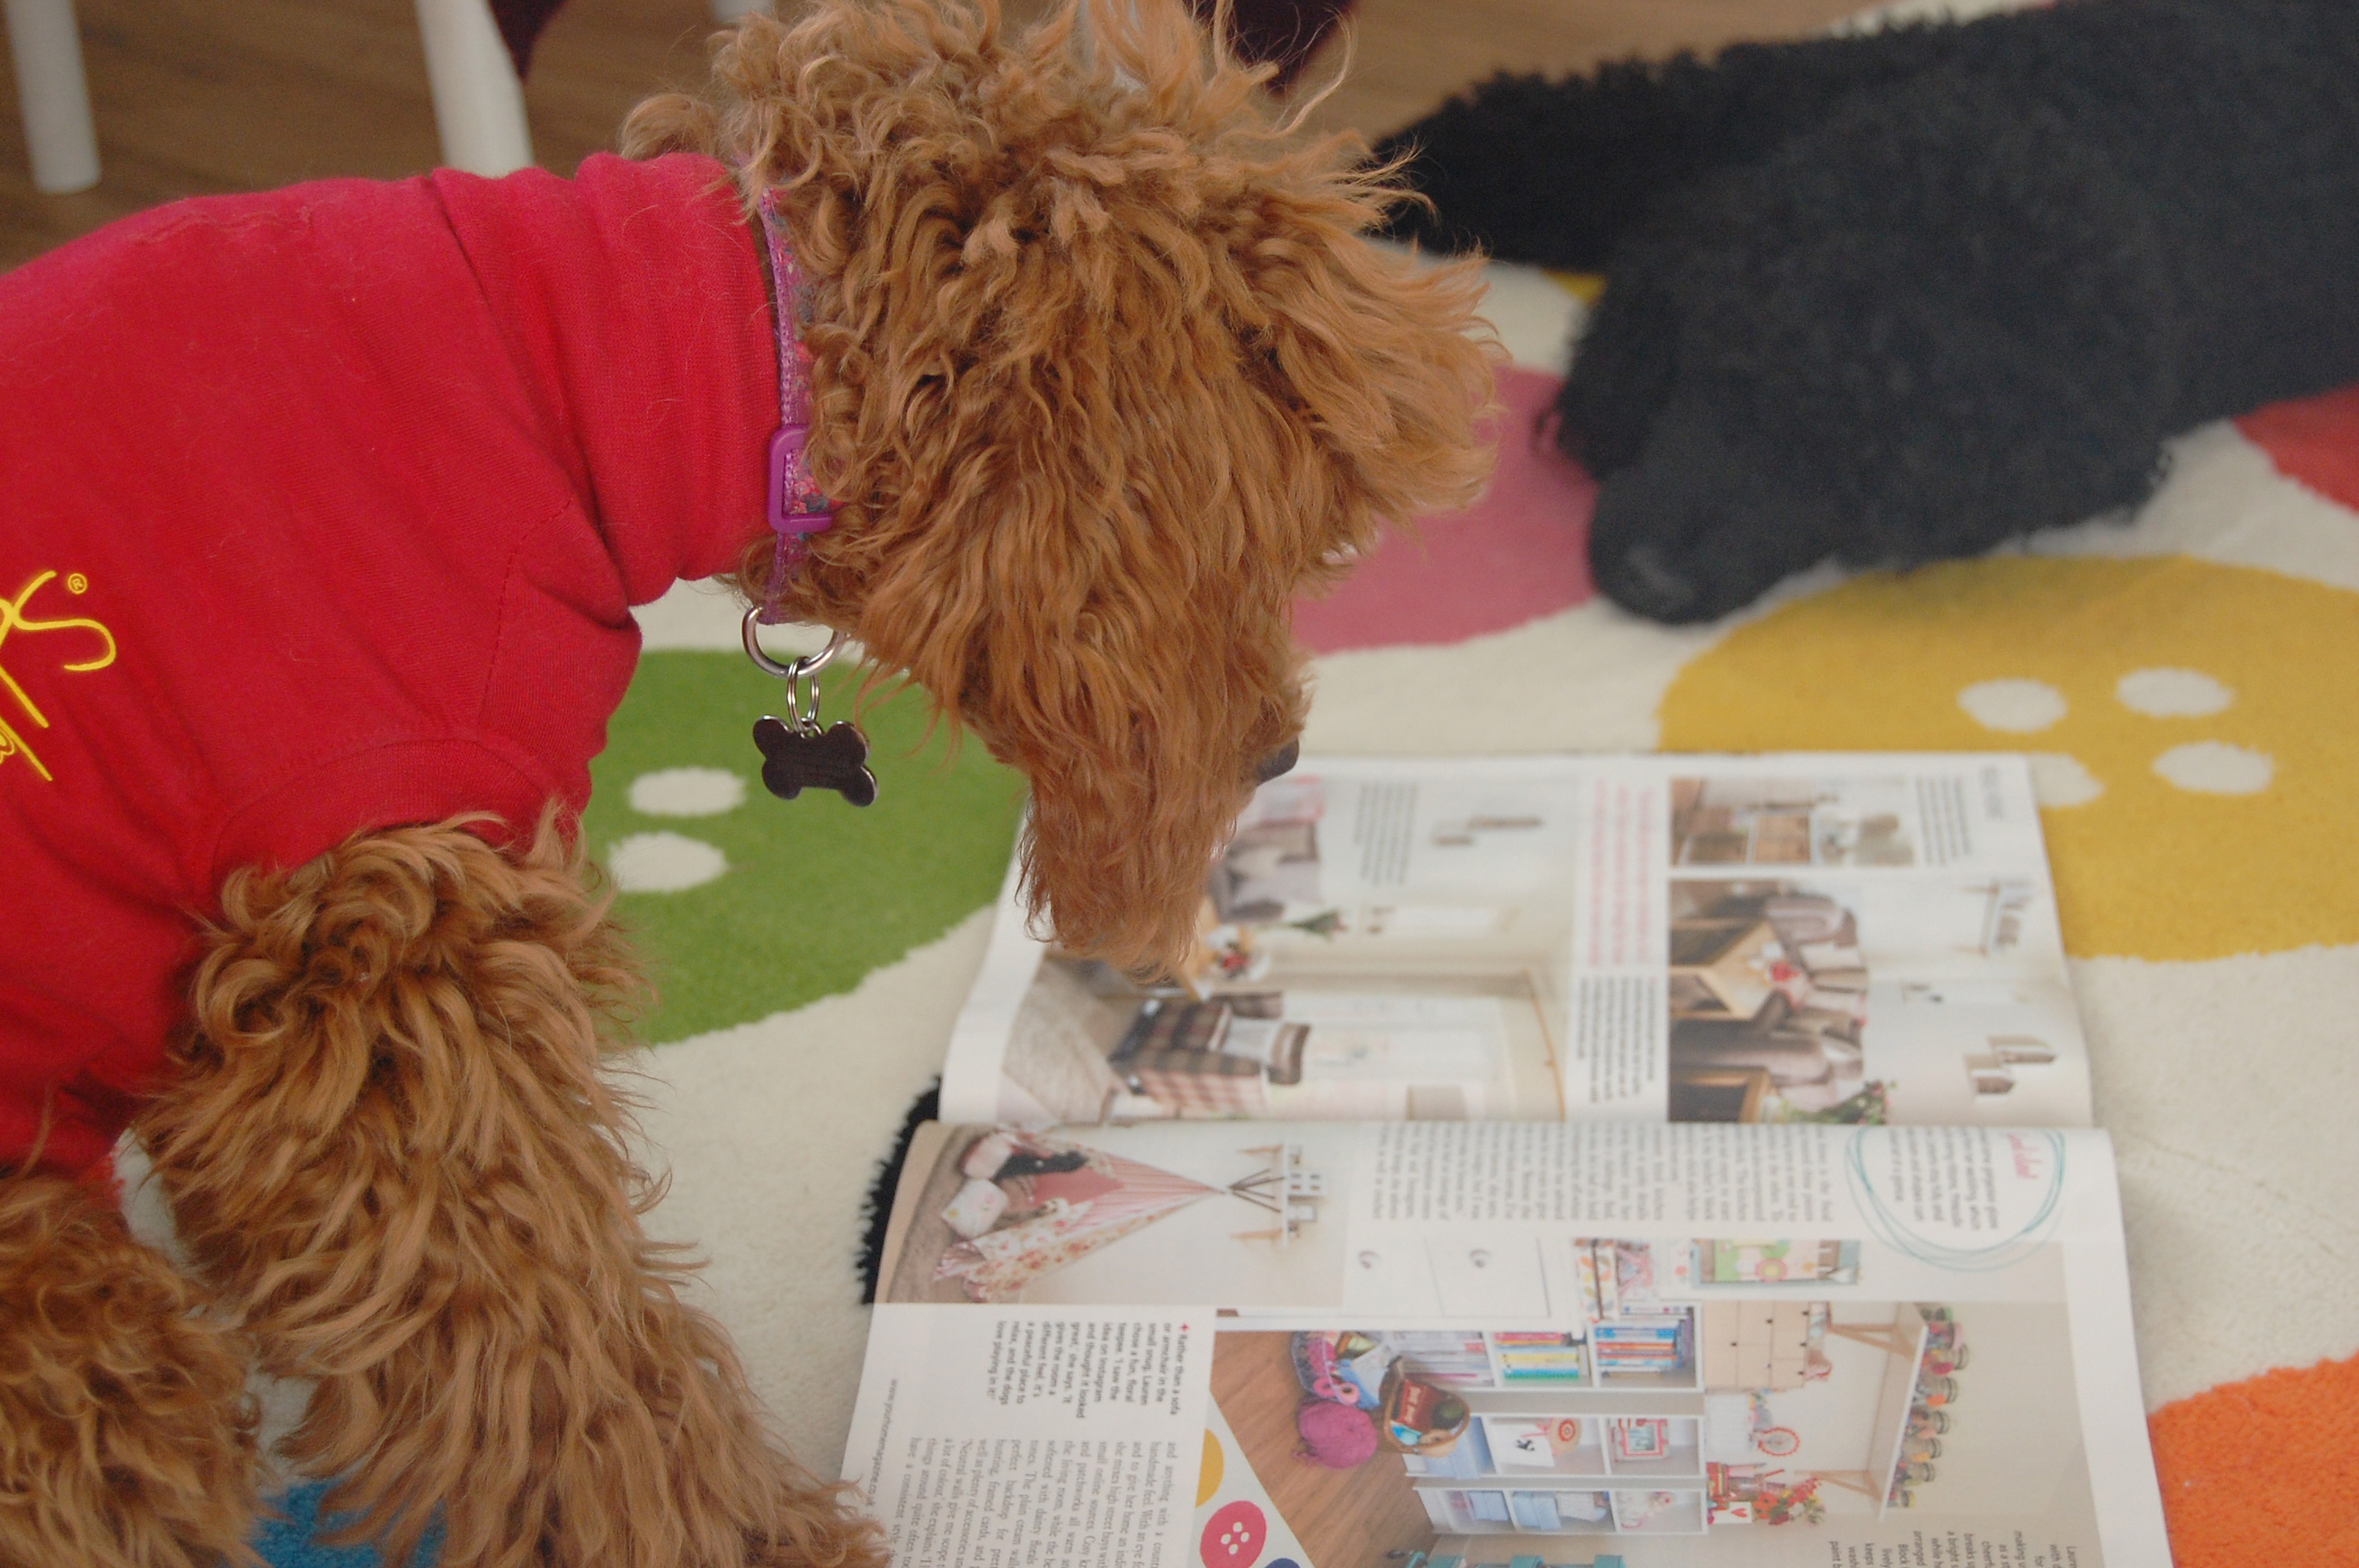
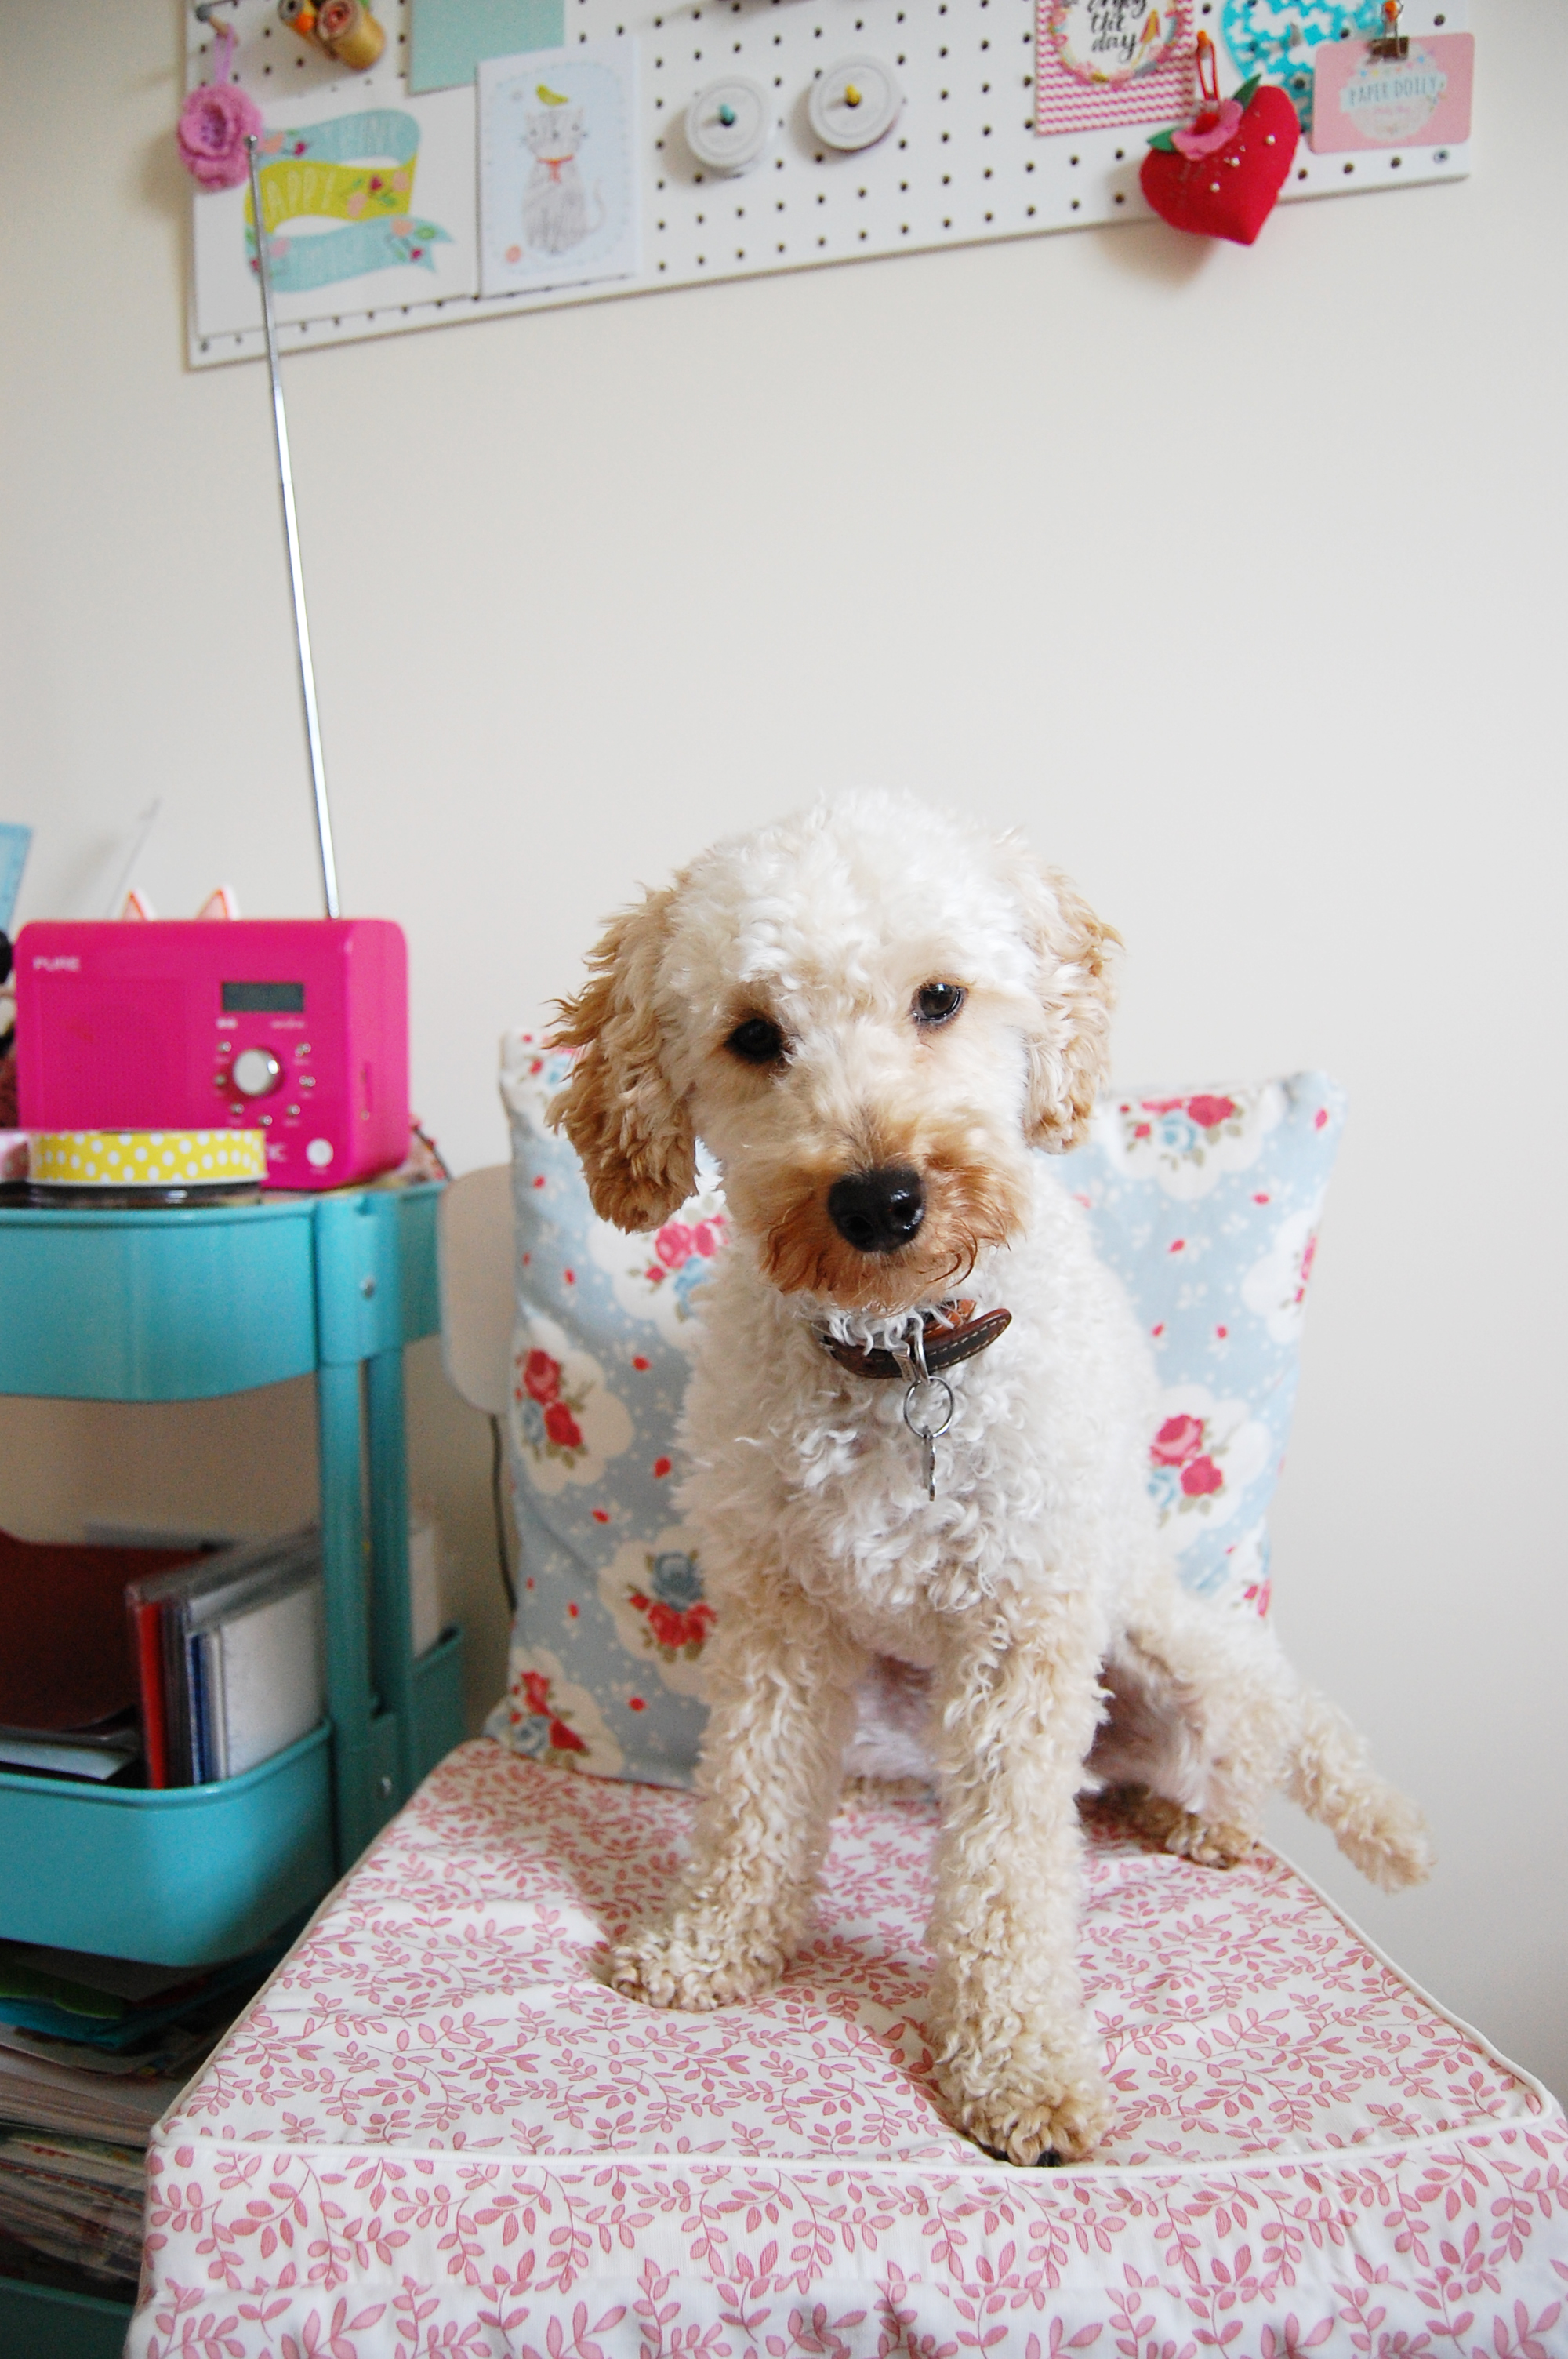
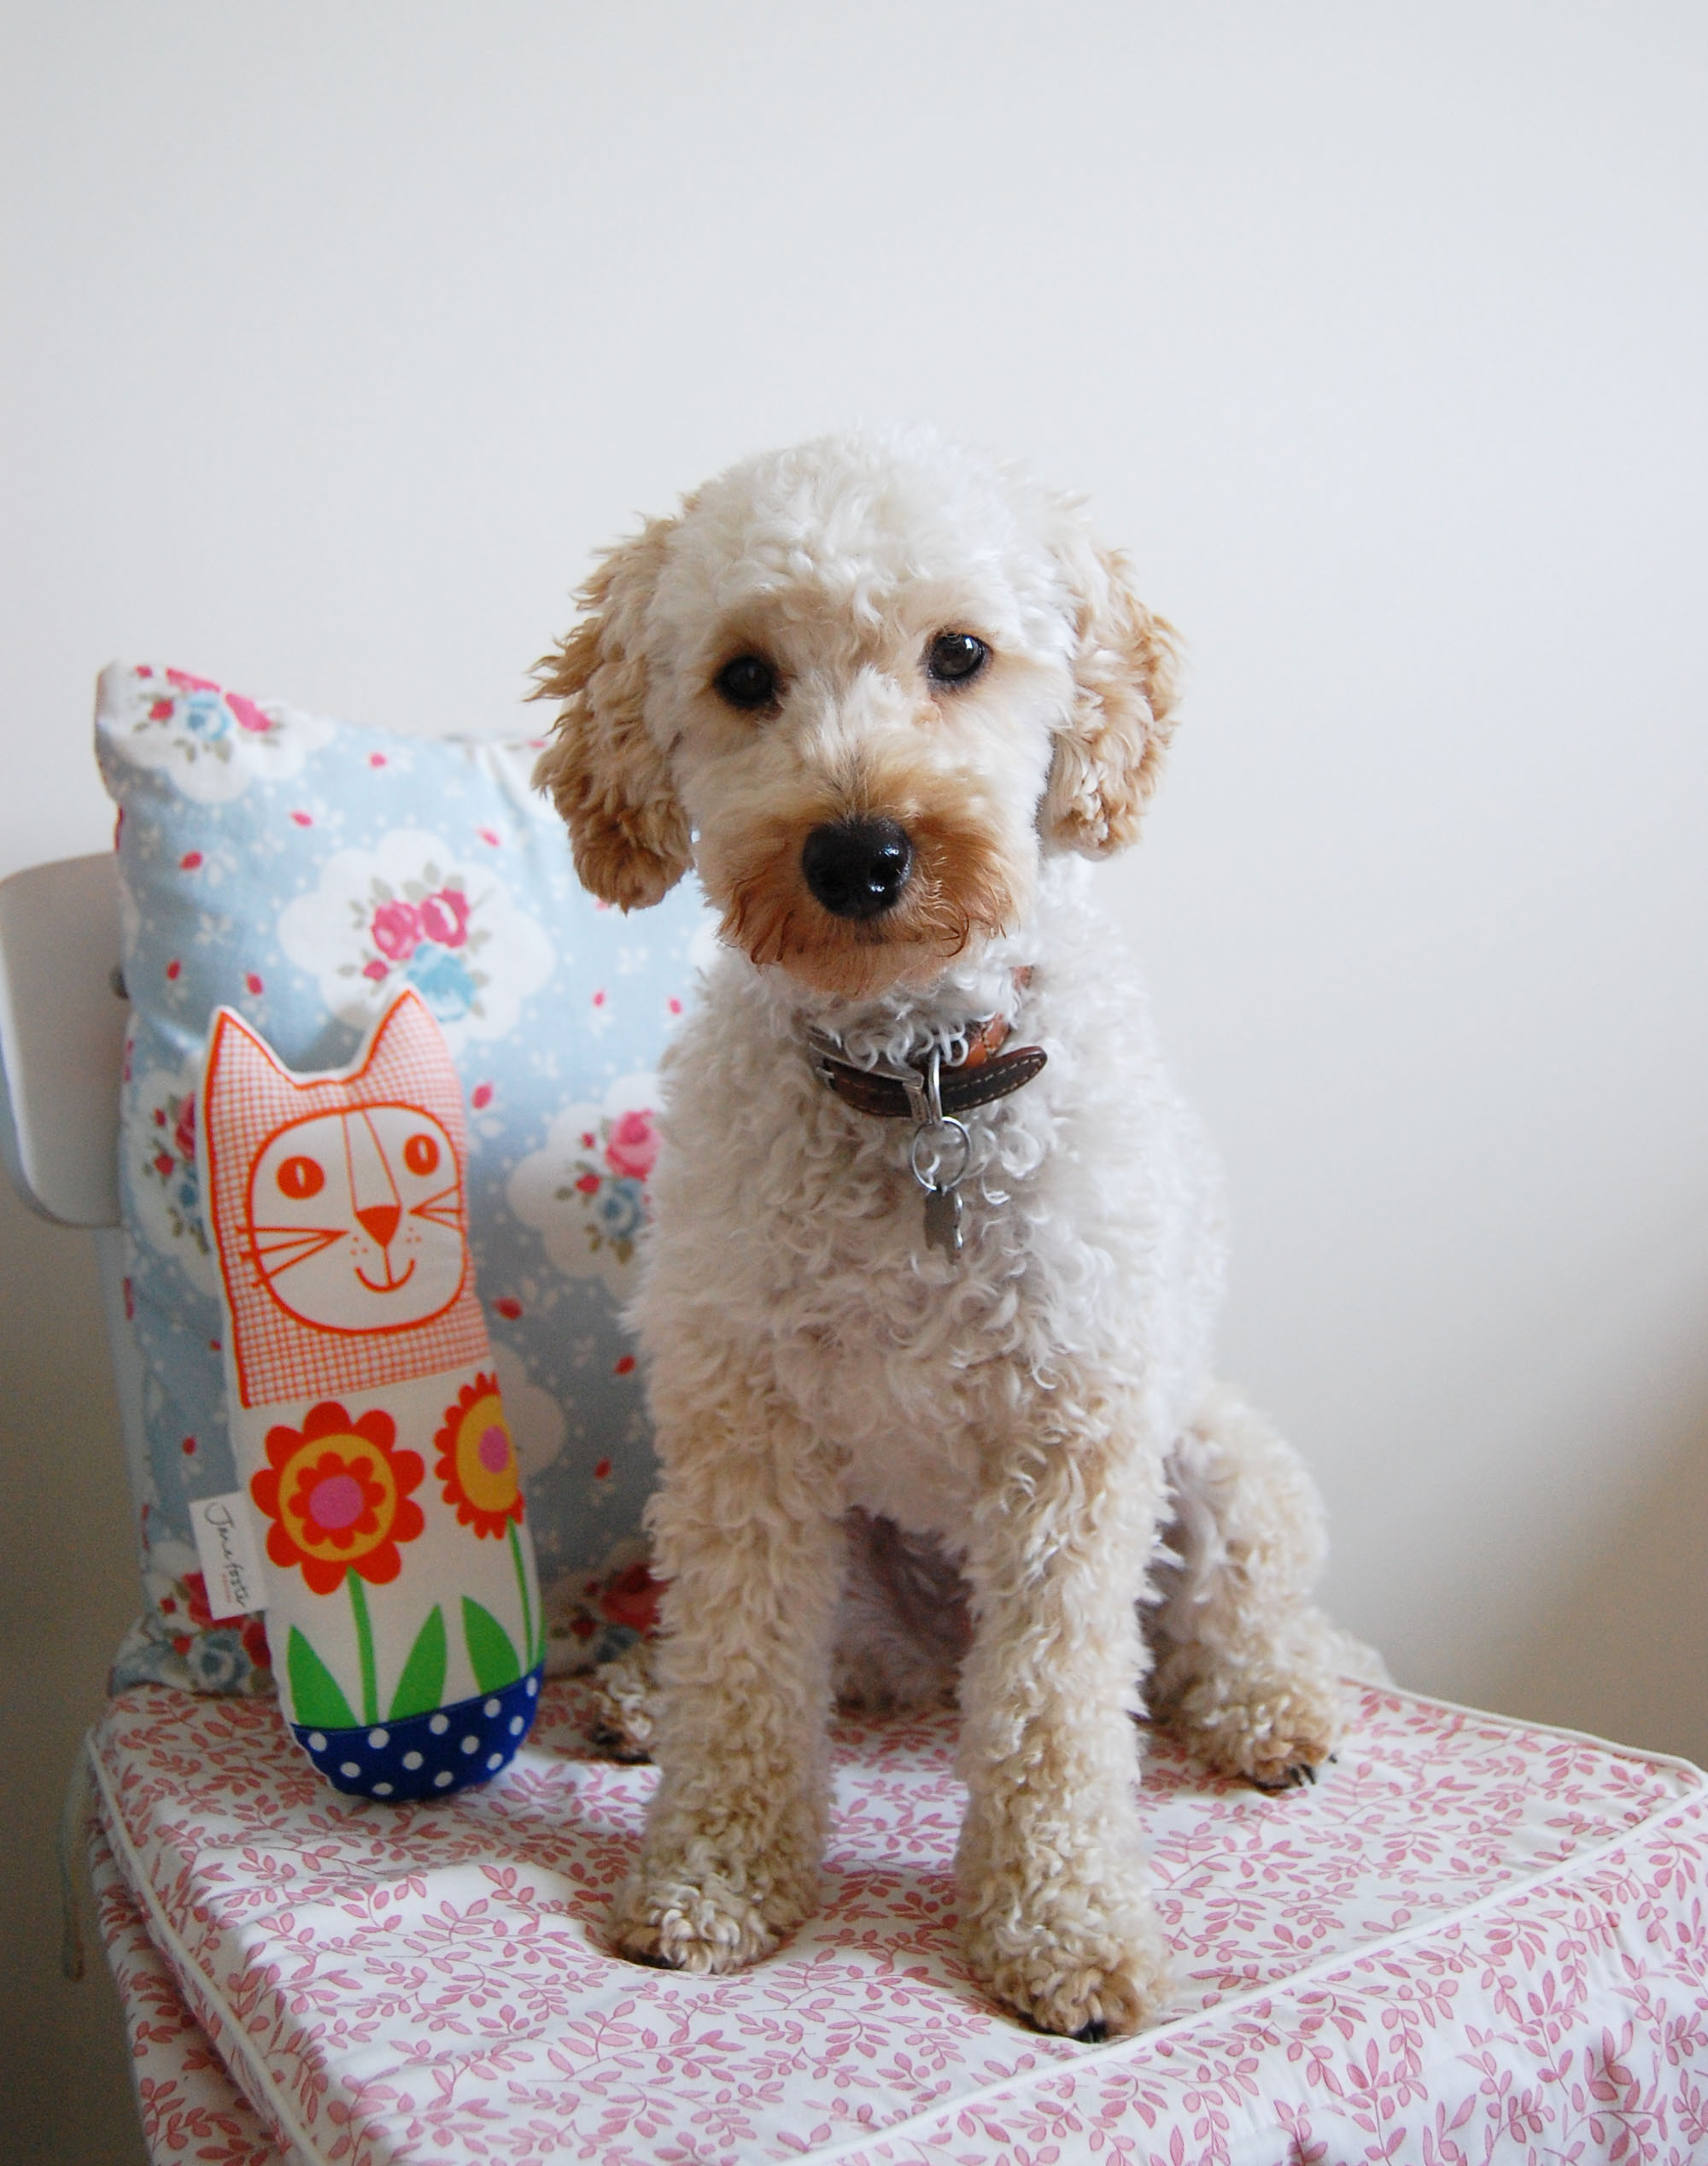
Felix and Mabel took centre stage on one of the magazine photographs, so they are now famous, probably being admired by many… *giggles..* Blossom (our red miniature poodle, pictured left) was not living with us at the time, so she wasn’t included in the photo shoot. She’s not one to miss out though, so here she is pictured below, reading the article whilst Felix takes a long, lazy afternoon nap!
Mabel (pictured above) is certainly not one to miss out on a blog feature, so here she is posing in my craft room for you.
It really did mean a lot to be featured in the interiors magazine. Our experience of buying a new build house really wasn’t the best, and at times, I am happy to openly admit that it has been very testing. As first time buyers, our budget has been stretched which won’t come as a great suprise to anybody, so I feel we’ve had to work just that extra little bit harder to fill and decorate our four bedroom house.
In someways, this has worked out absolutely perfectly, as the house has had a lot personality and charm injected into it – something which can sometimes be more of a challenge to achieve when the house has been decorated out of a catalogue. I definitely have nothing against that way of decorating, but for somebody like myself who loves handmade touches – it couldn’t have worked out better.
After living in the house for what is coming up to two years this year, inevitably there are a few more things we would like to do to the house. This to me is quite comforting as I love a good ‘work in progress’ and it means everything can be well considered.
I have some really exciting things planned for my shop this year, particularly in terms of my stationery range, and I genuinely feel like it’s going to be the best year yet for my business. I hope you’ll stay with me to see where the year takes me! All the very best for 2017 and thank you for reading!
Hello all! First of all I would just like to apologise for the slightly longer than expected delay in updating my blog. You may have seen my earlier post about the new build house we moved into last August? Anybody who has bought a house will understand the upheaval and its possible effect on day-to-day living. In our case, we’ve had builders in pretty much every day over the course of a year, yes really! Well, that aside… whilst I’ve been trading during this time making beautiful party decorations and stationery for my Etsy and Notonthehighstreet shops, my blog has been somewhat neglected. This is now set to change as I am back in action, yay!
So, I’ve made a few changes to my workspace over the past week. I ran out of space in my original room and we are lucky enough to have a few spare rooms. I thought this post would be the perfect opportunity to give you a little tour of my new craft room, how does that sound?
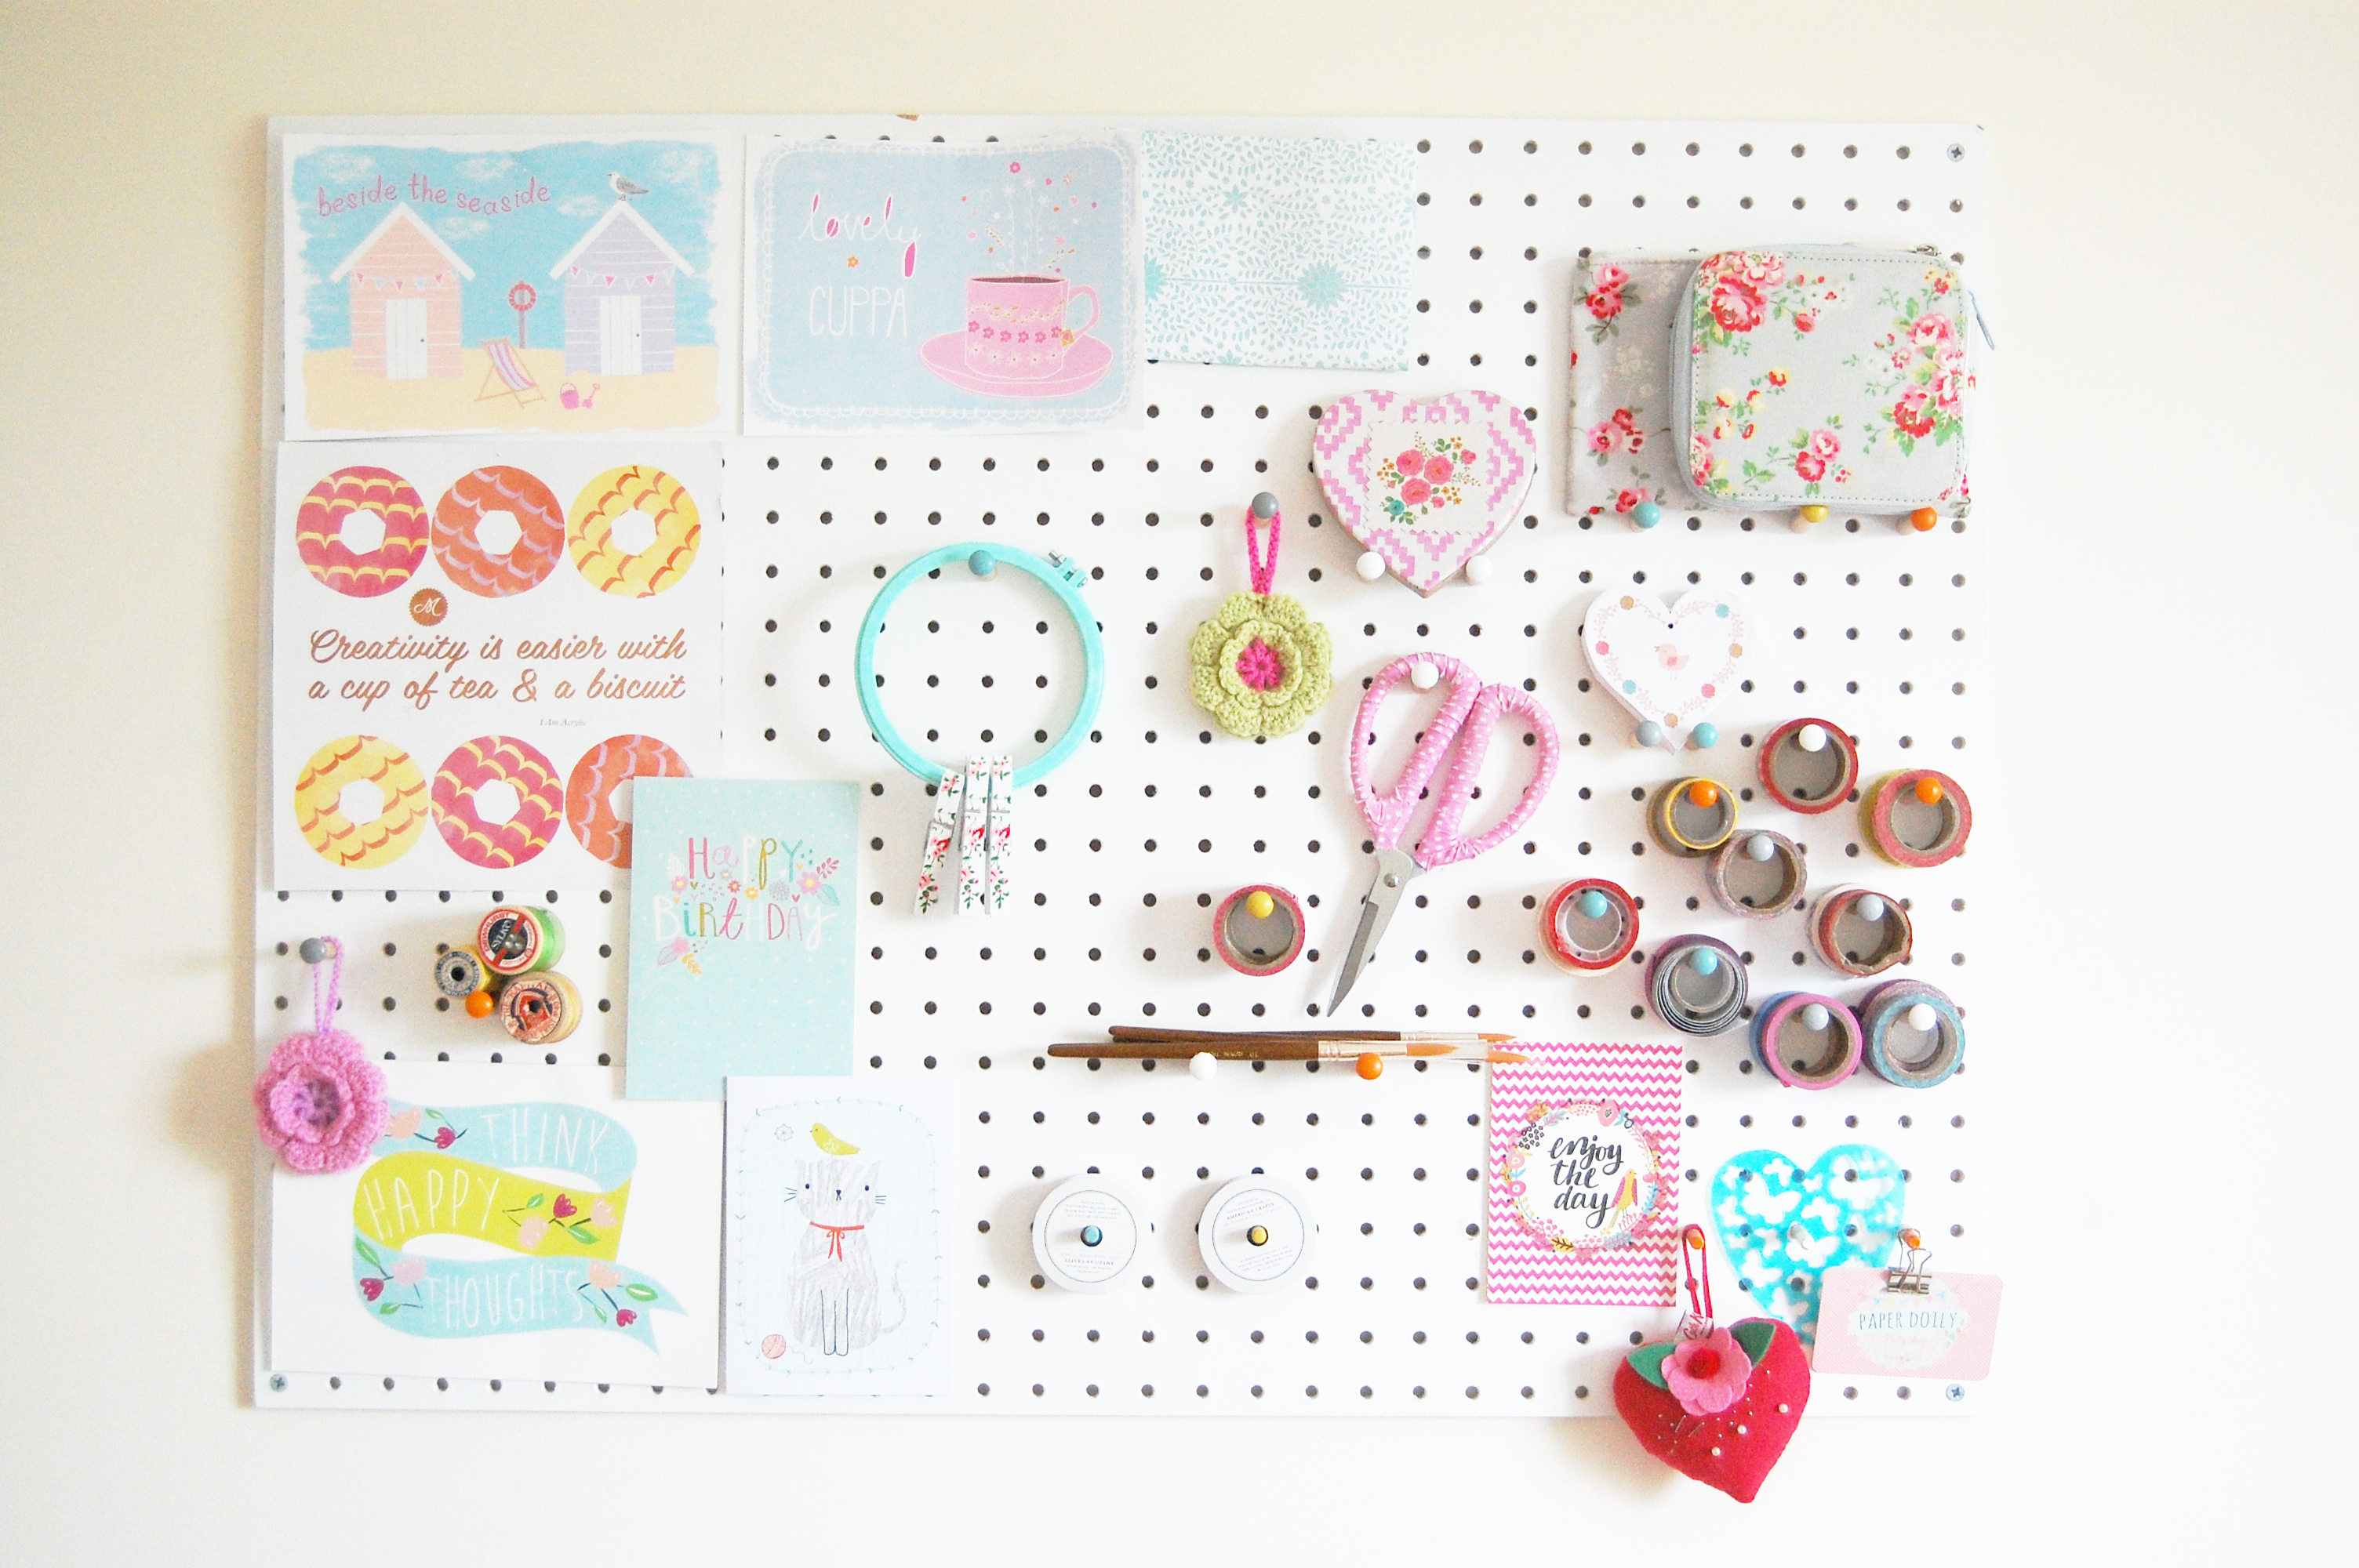
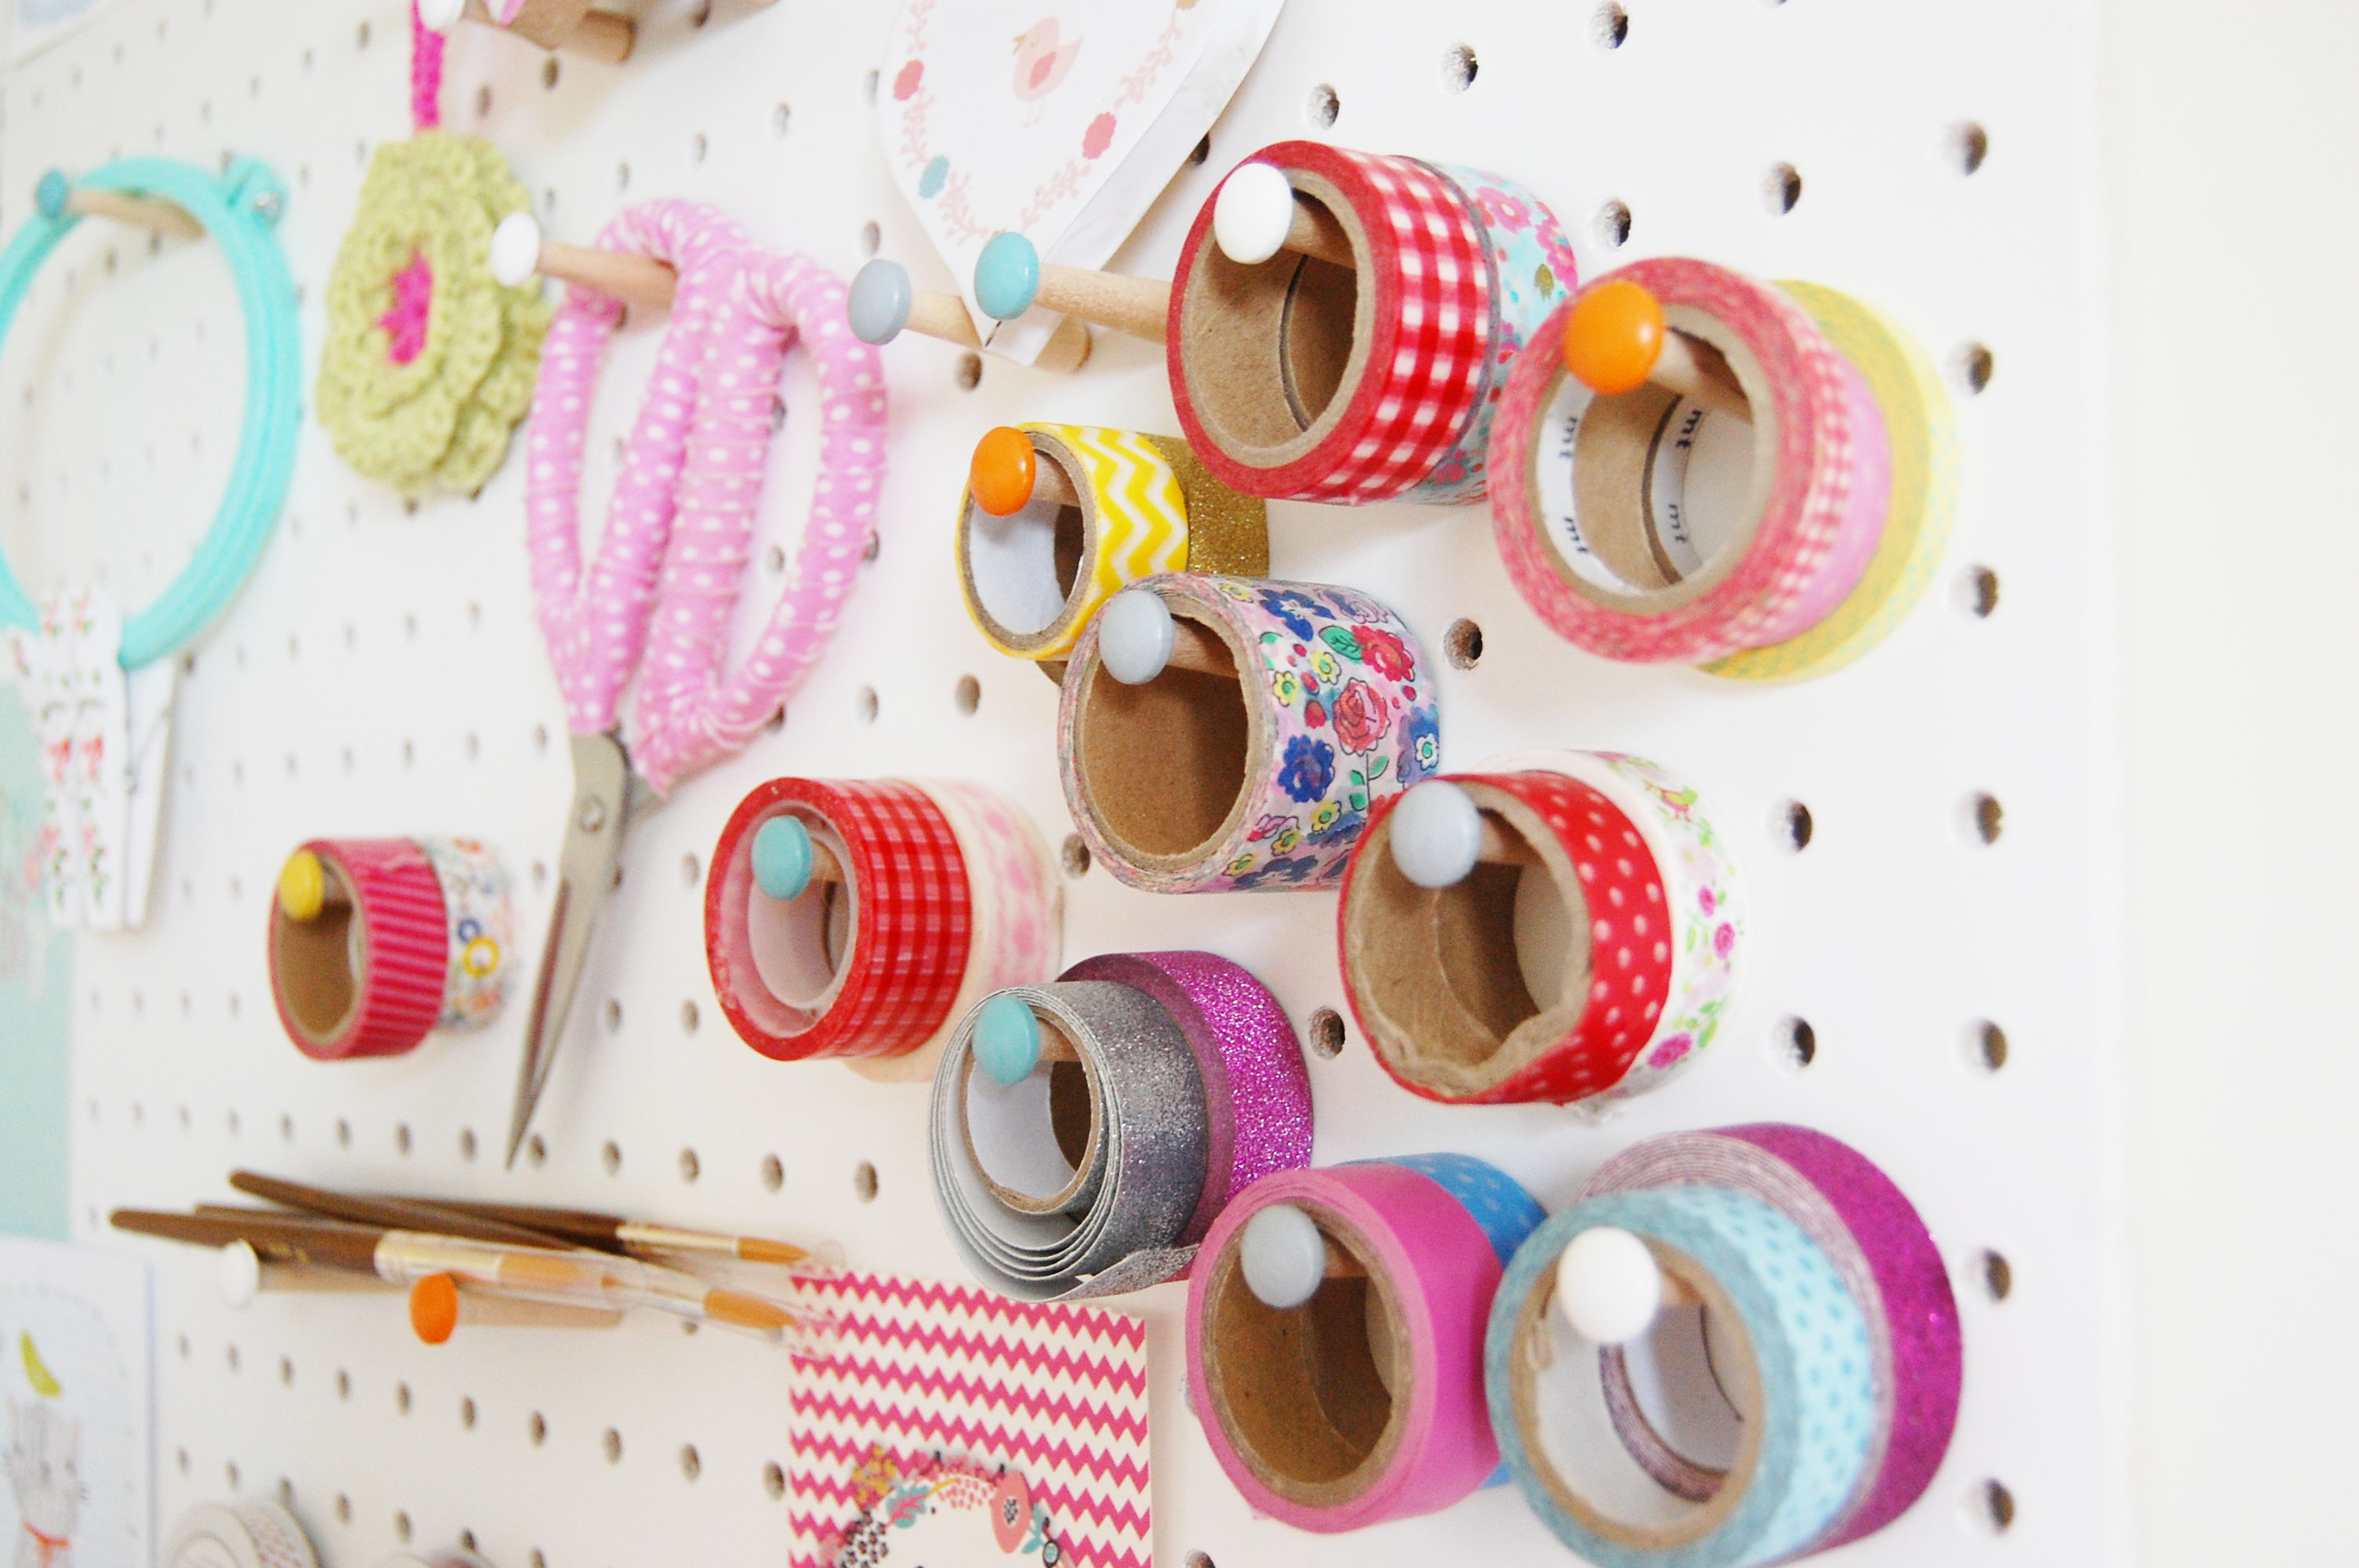
My pegboard from Block Design has got to be my most favourite item in the entire room. It’s super handy for storing all of my craft accessories, particularly the ones I use every day. Obviously no peg board is complete without pretty things… You know those things which you don’t actually use on a daily basis but just like to admire?…. (phew, glad I’m not the only one!)
You can see a close up here. I’ve used blu-tack to display my favourite prints. As it takes centre stage in my room, I wanted it to look vibrant and cheerful and I think it looks just that!
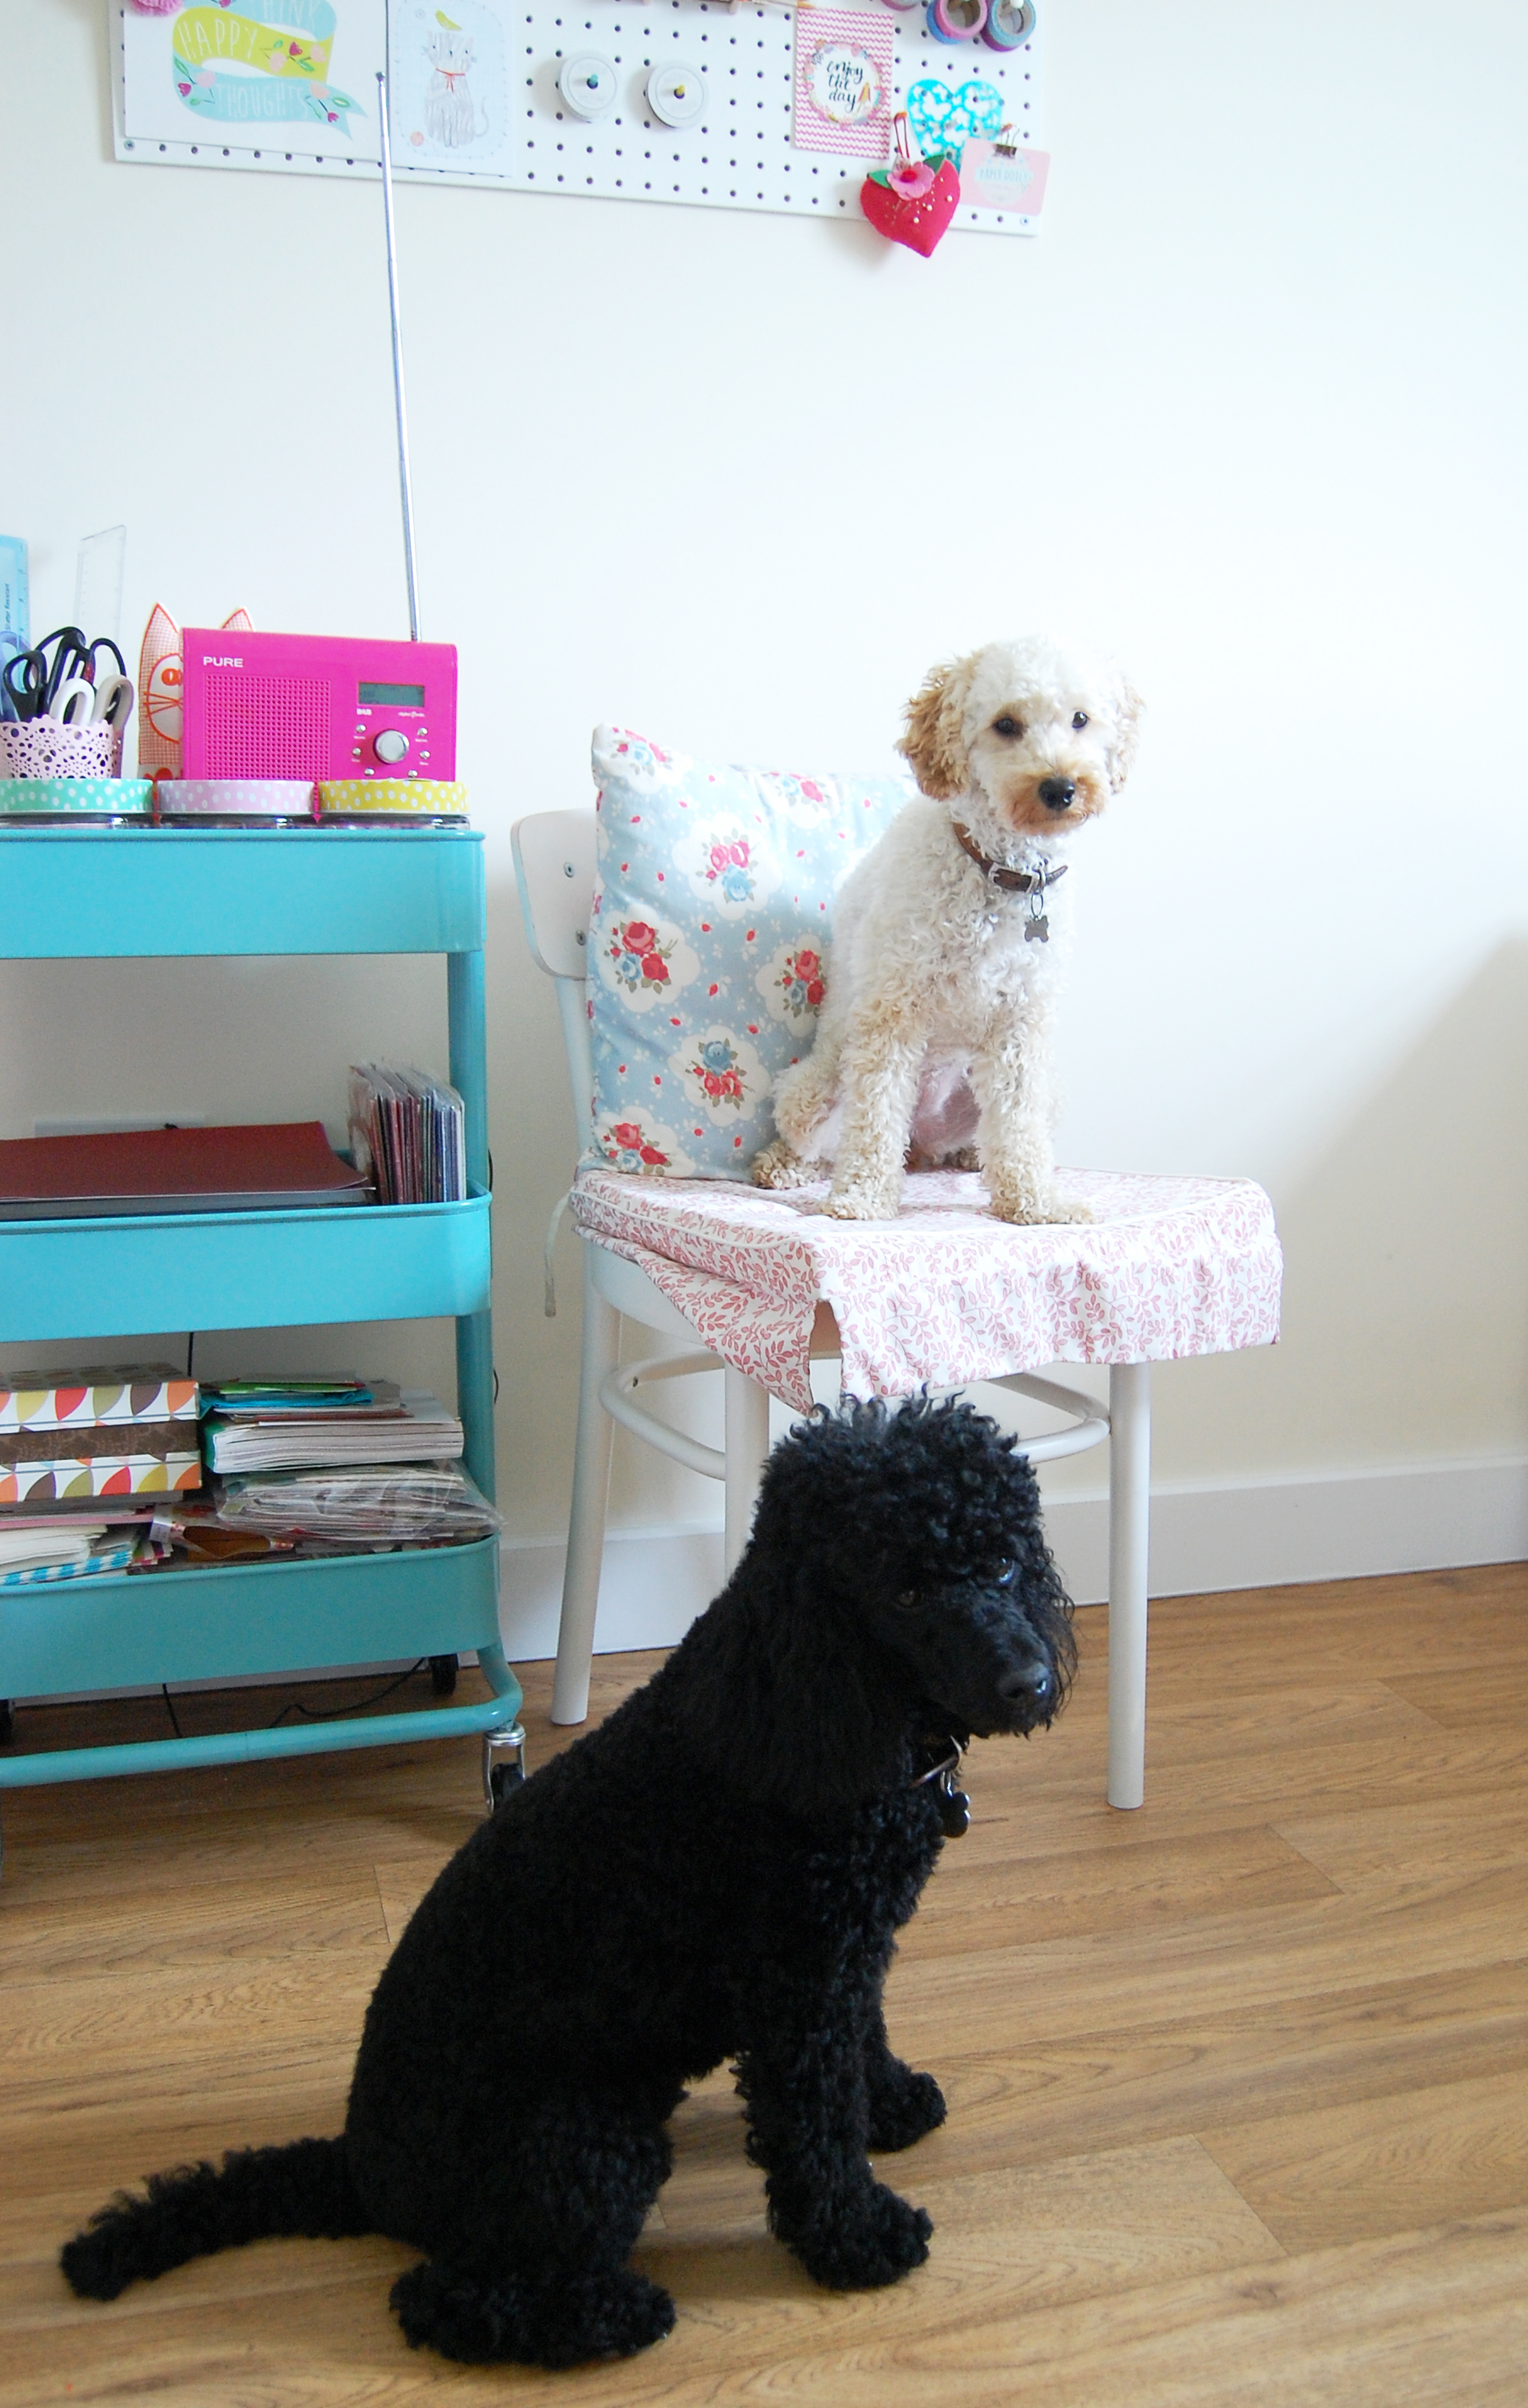
No craft room is complete without a companion, right? For those of you who don’t know, this is our rather adorable Mabel. Mabel is our 1 year old miniature poodle and is wonderful company. She also has a nephew called Felix, who is our much loved 2 year old miniature poodle. Together they are double the trouble but we wouldn’t have it any other way.
Here they are together, striking a pose!
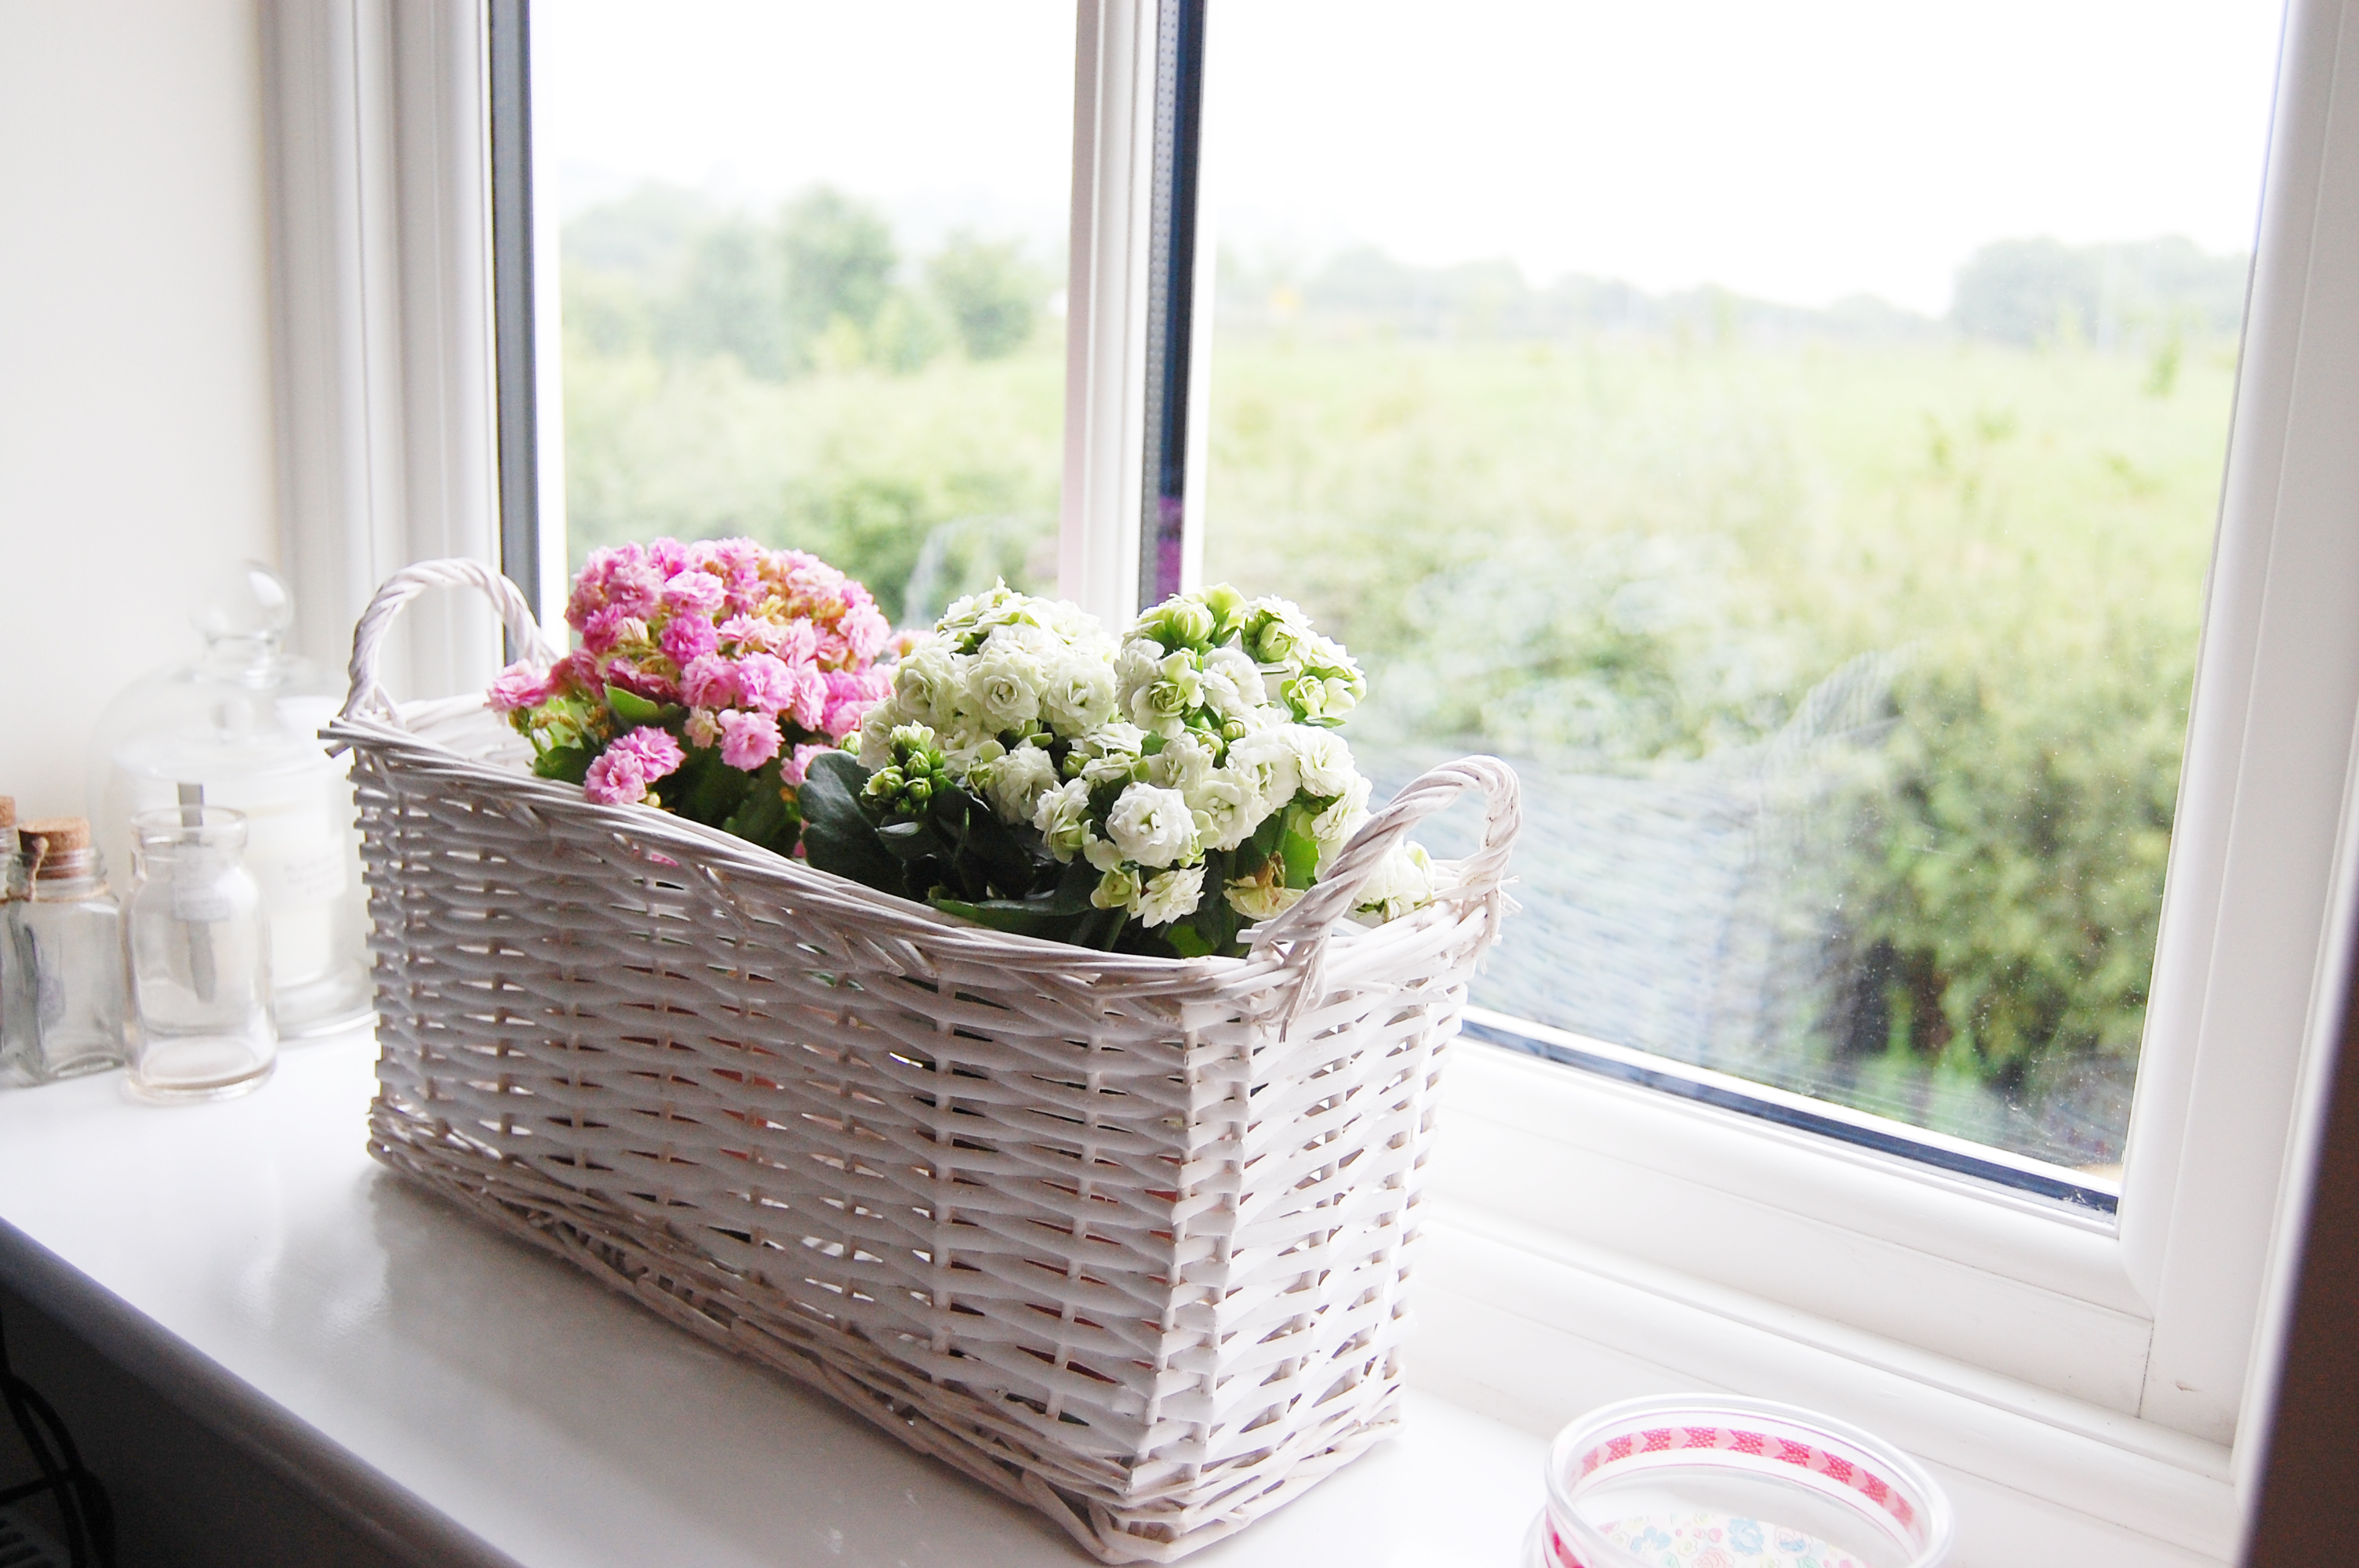
Luckily, the craft room is big enough to house two ikea desks. The one shown above is for crafting and drawing. I love my trusty desk storage as it keeps everything nice and tidy and very easy to reach. No drawing space would be complete without pretty decorations above it and some gorgeous eye candy in the form of a jug of flowers, would it? The desk to the left of this houses my iMac, printer, scanner, camera and all other technical equipment.
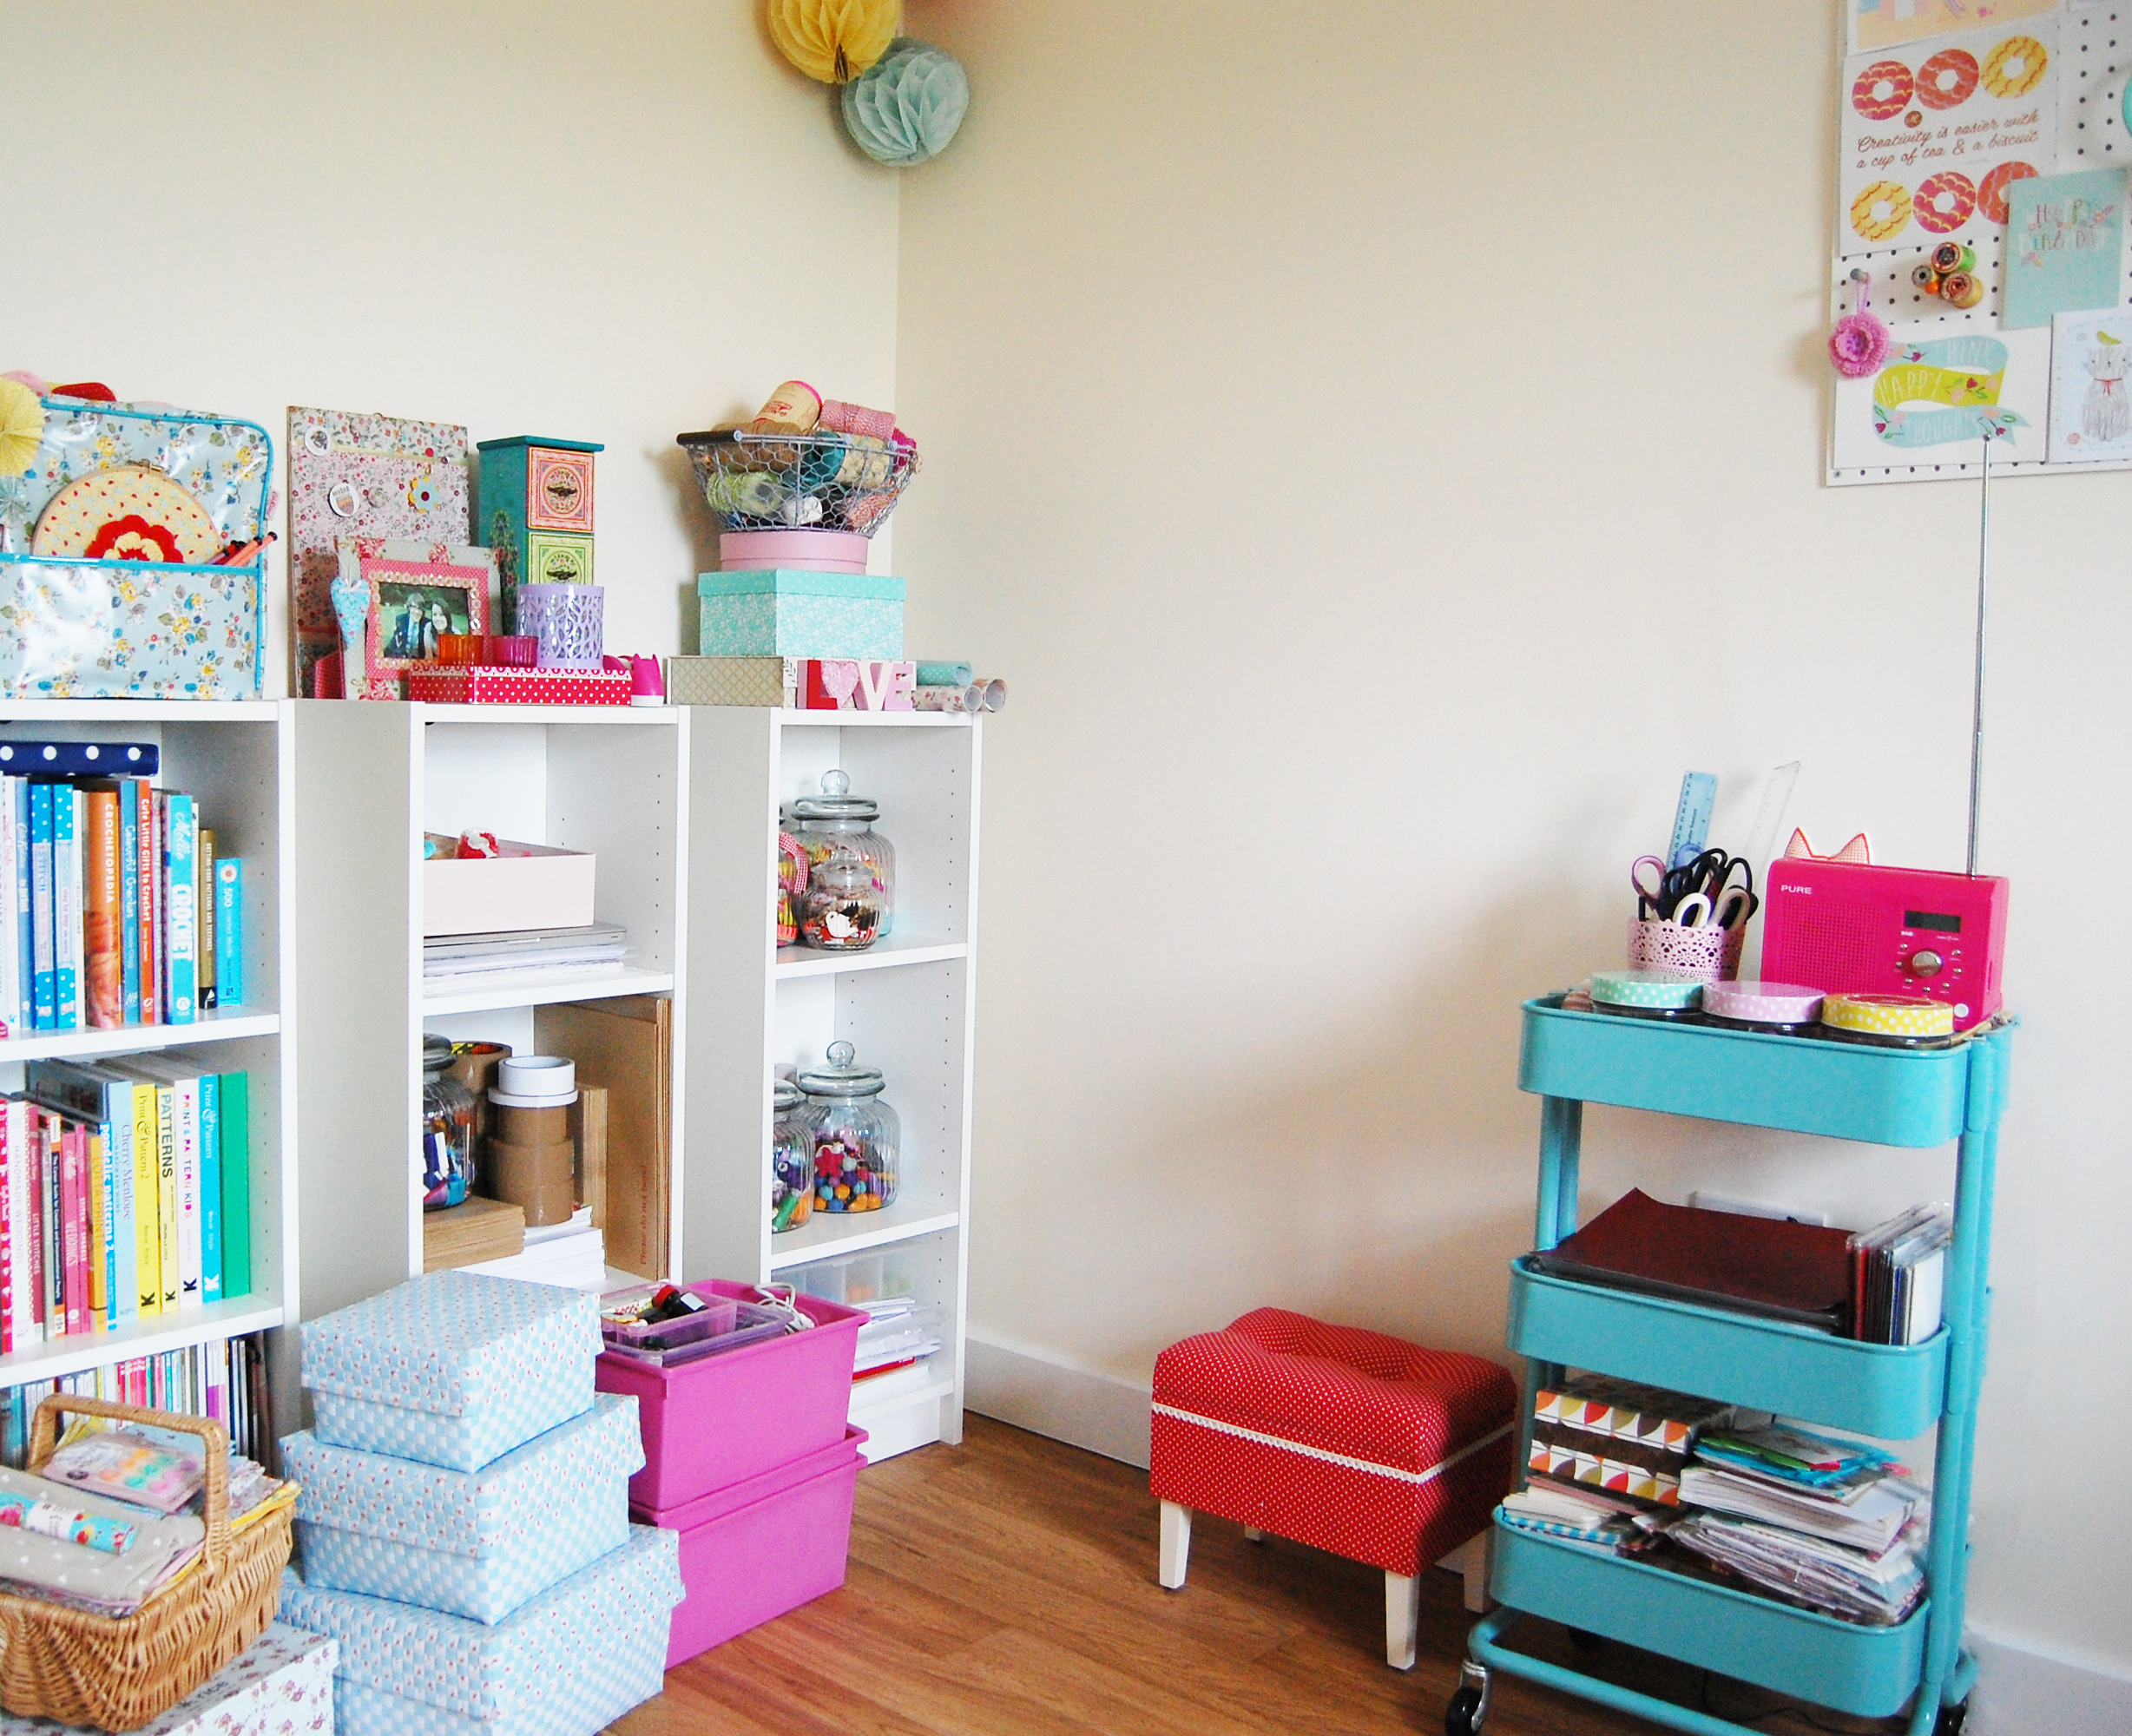
Opposite my two work desks are a number of trusty ikea shelves which house all of my craft materials, tools and accessories, packaging, books and magazines etc. Even though this is a really functional space, it’s important to me that it remains beautiful, so I like to have lots of handmade touches scattered around that area to cheer me up.
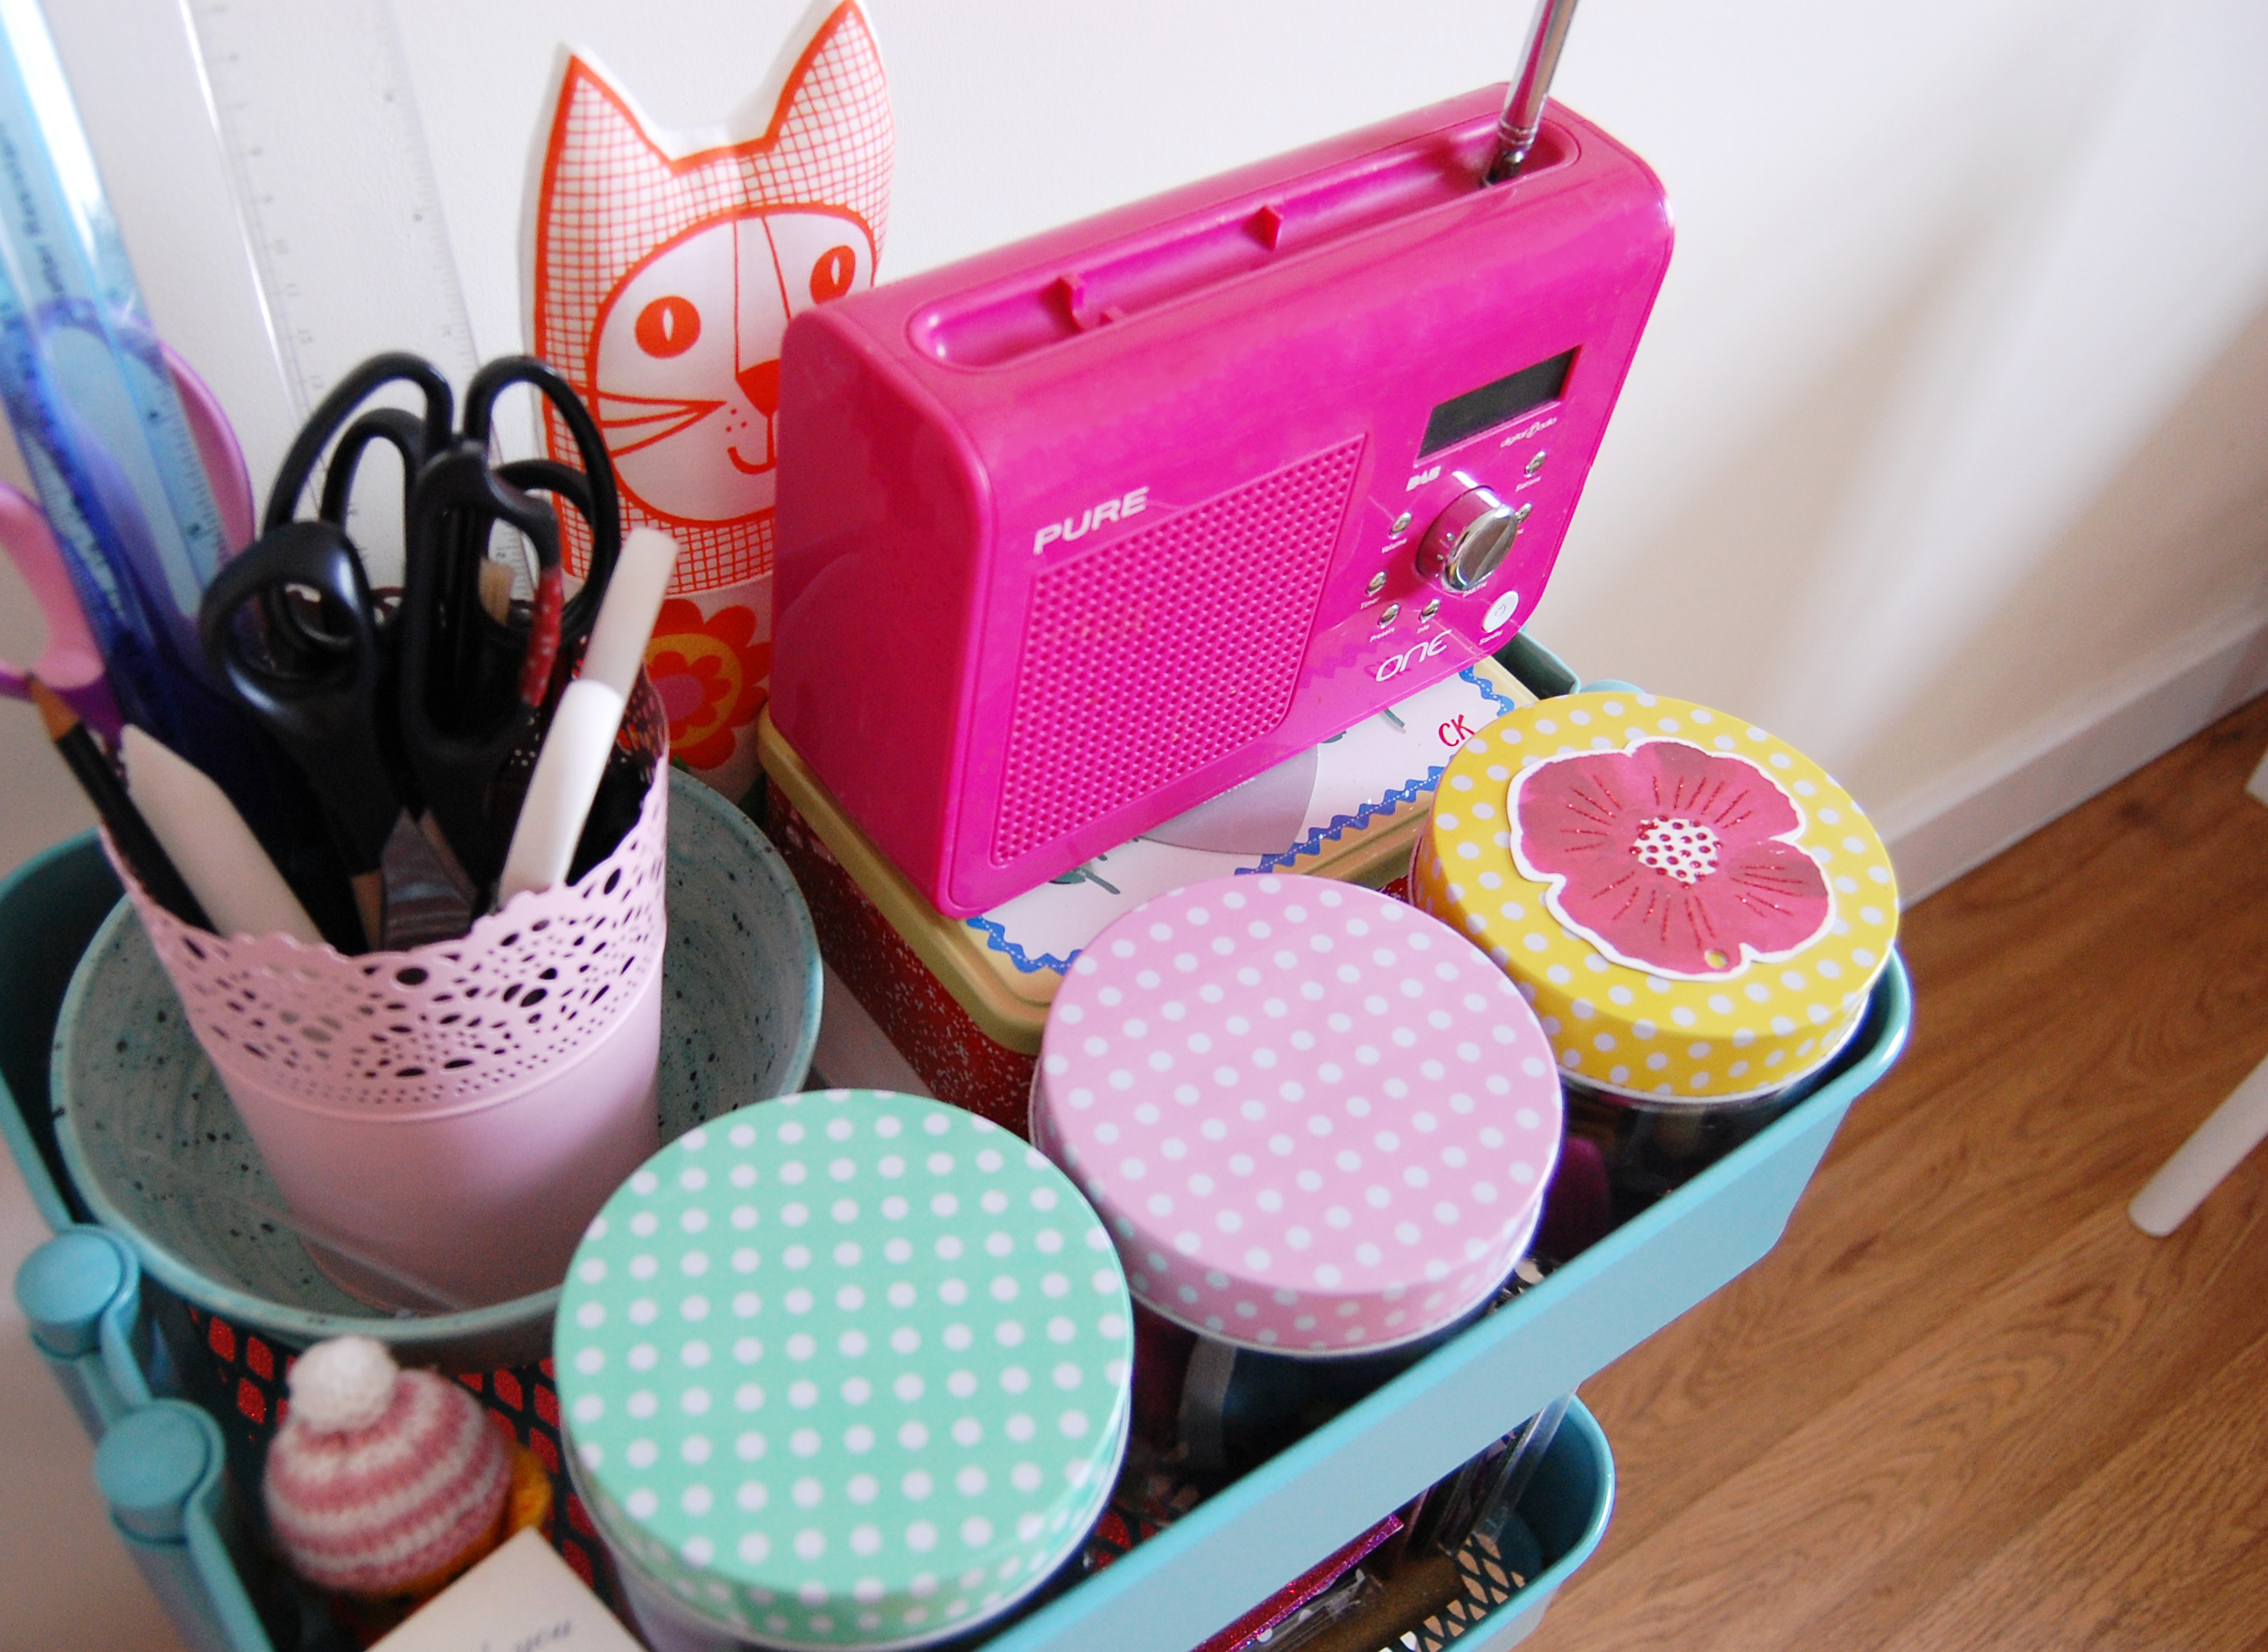
I love listening to the radio when I’m working. We live in such a peaceful area, it’s nice to have a bit of background noise to keep me inspired. The trolley shown above houses all of my glittered and patterned papers, stationery, scissors and all sorts of other handy bits. As you can probably tell, the shelves have pretty much reached full capacity now and there are still lots of things stored on the floor! Eventually, I’d like to have another form of storage in here, but it feels perfectly workable right now. The large jars you may be able to spot are from our wedding a few years ago, they were used for tasty sweets and have now taken on the role of craft storage!
Both of my desks face the window and it’s really nice having some green space to look at every now and then. It’s a nice little reminder that I live in Somerset and it’s one of the most beautiful places to live in the country. In the winter I like to light tealight candles whilst I’m working (and I have been known to get the fairy lights out too!) This just makes the room feel extra cosy and perfect for working in whilst sipping a lovely hot chocolate loaded with marshmallows of course!
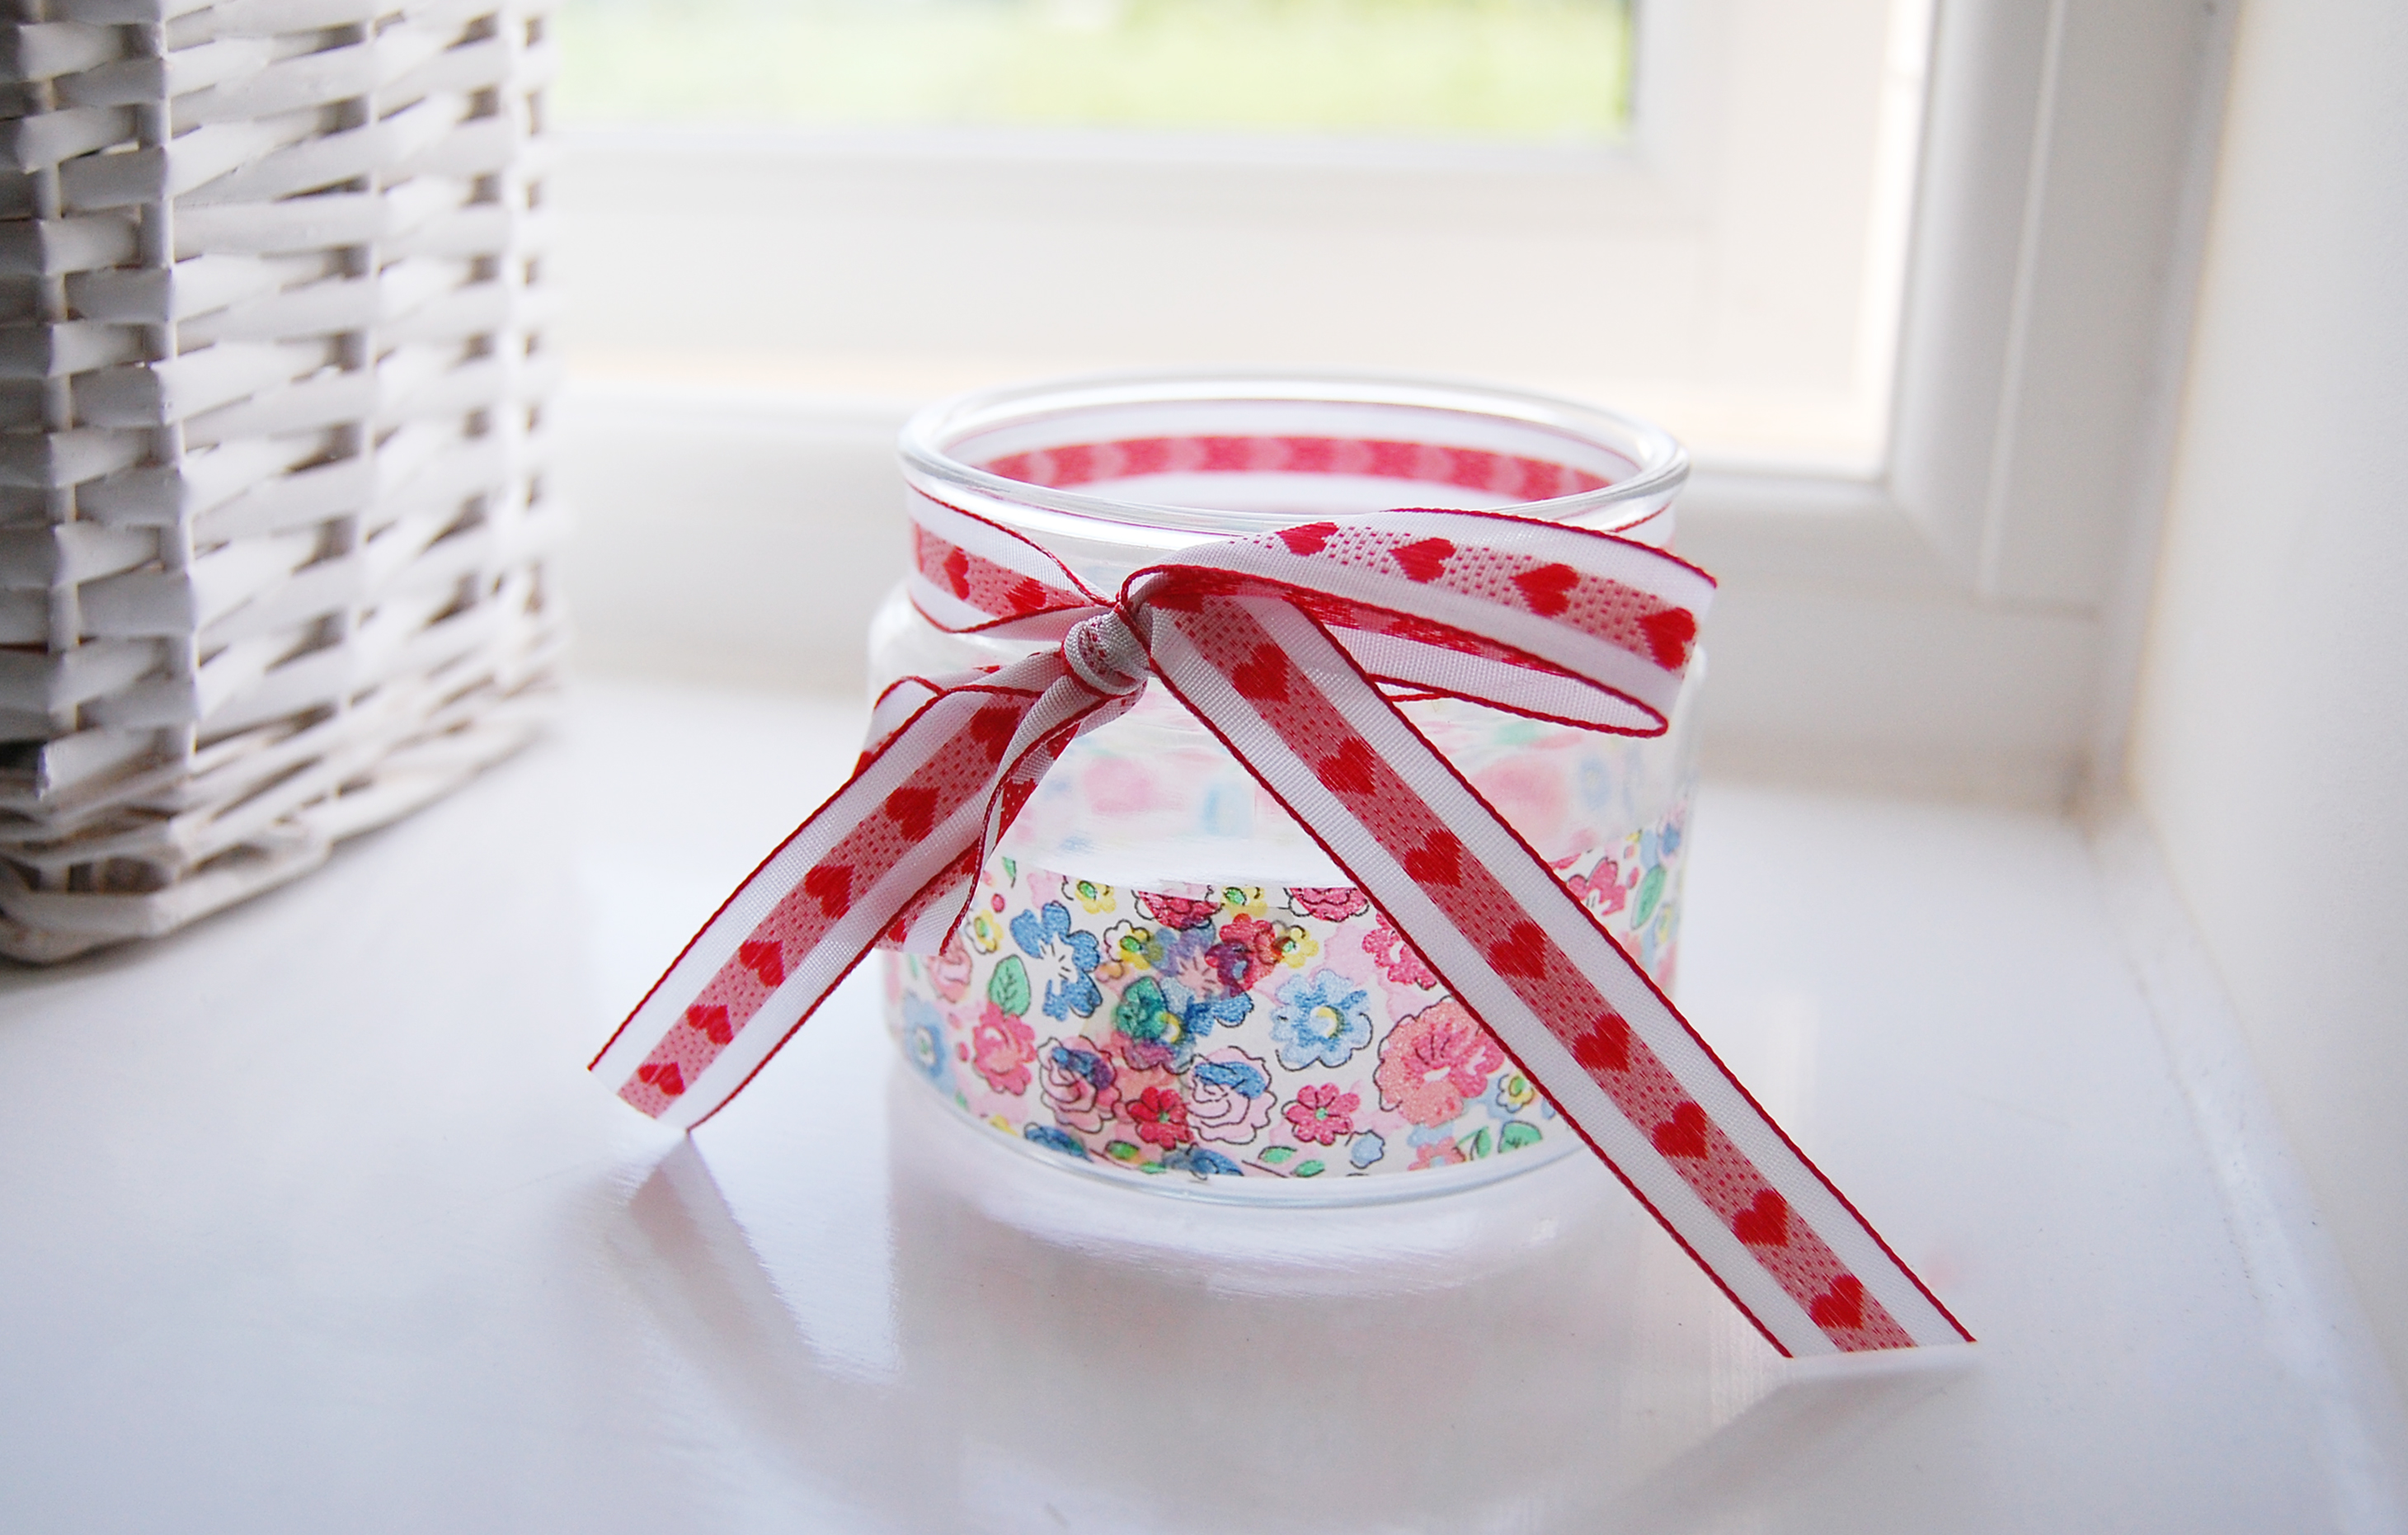
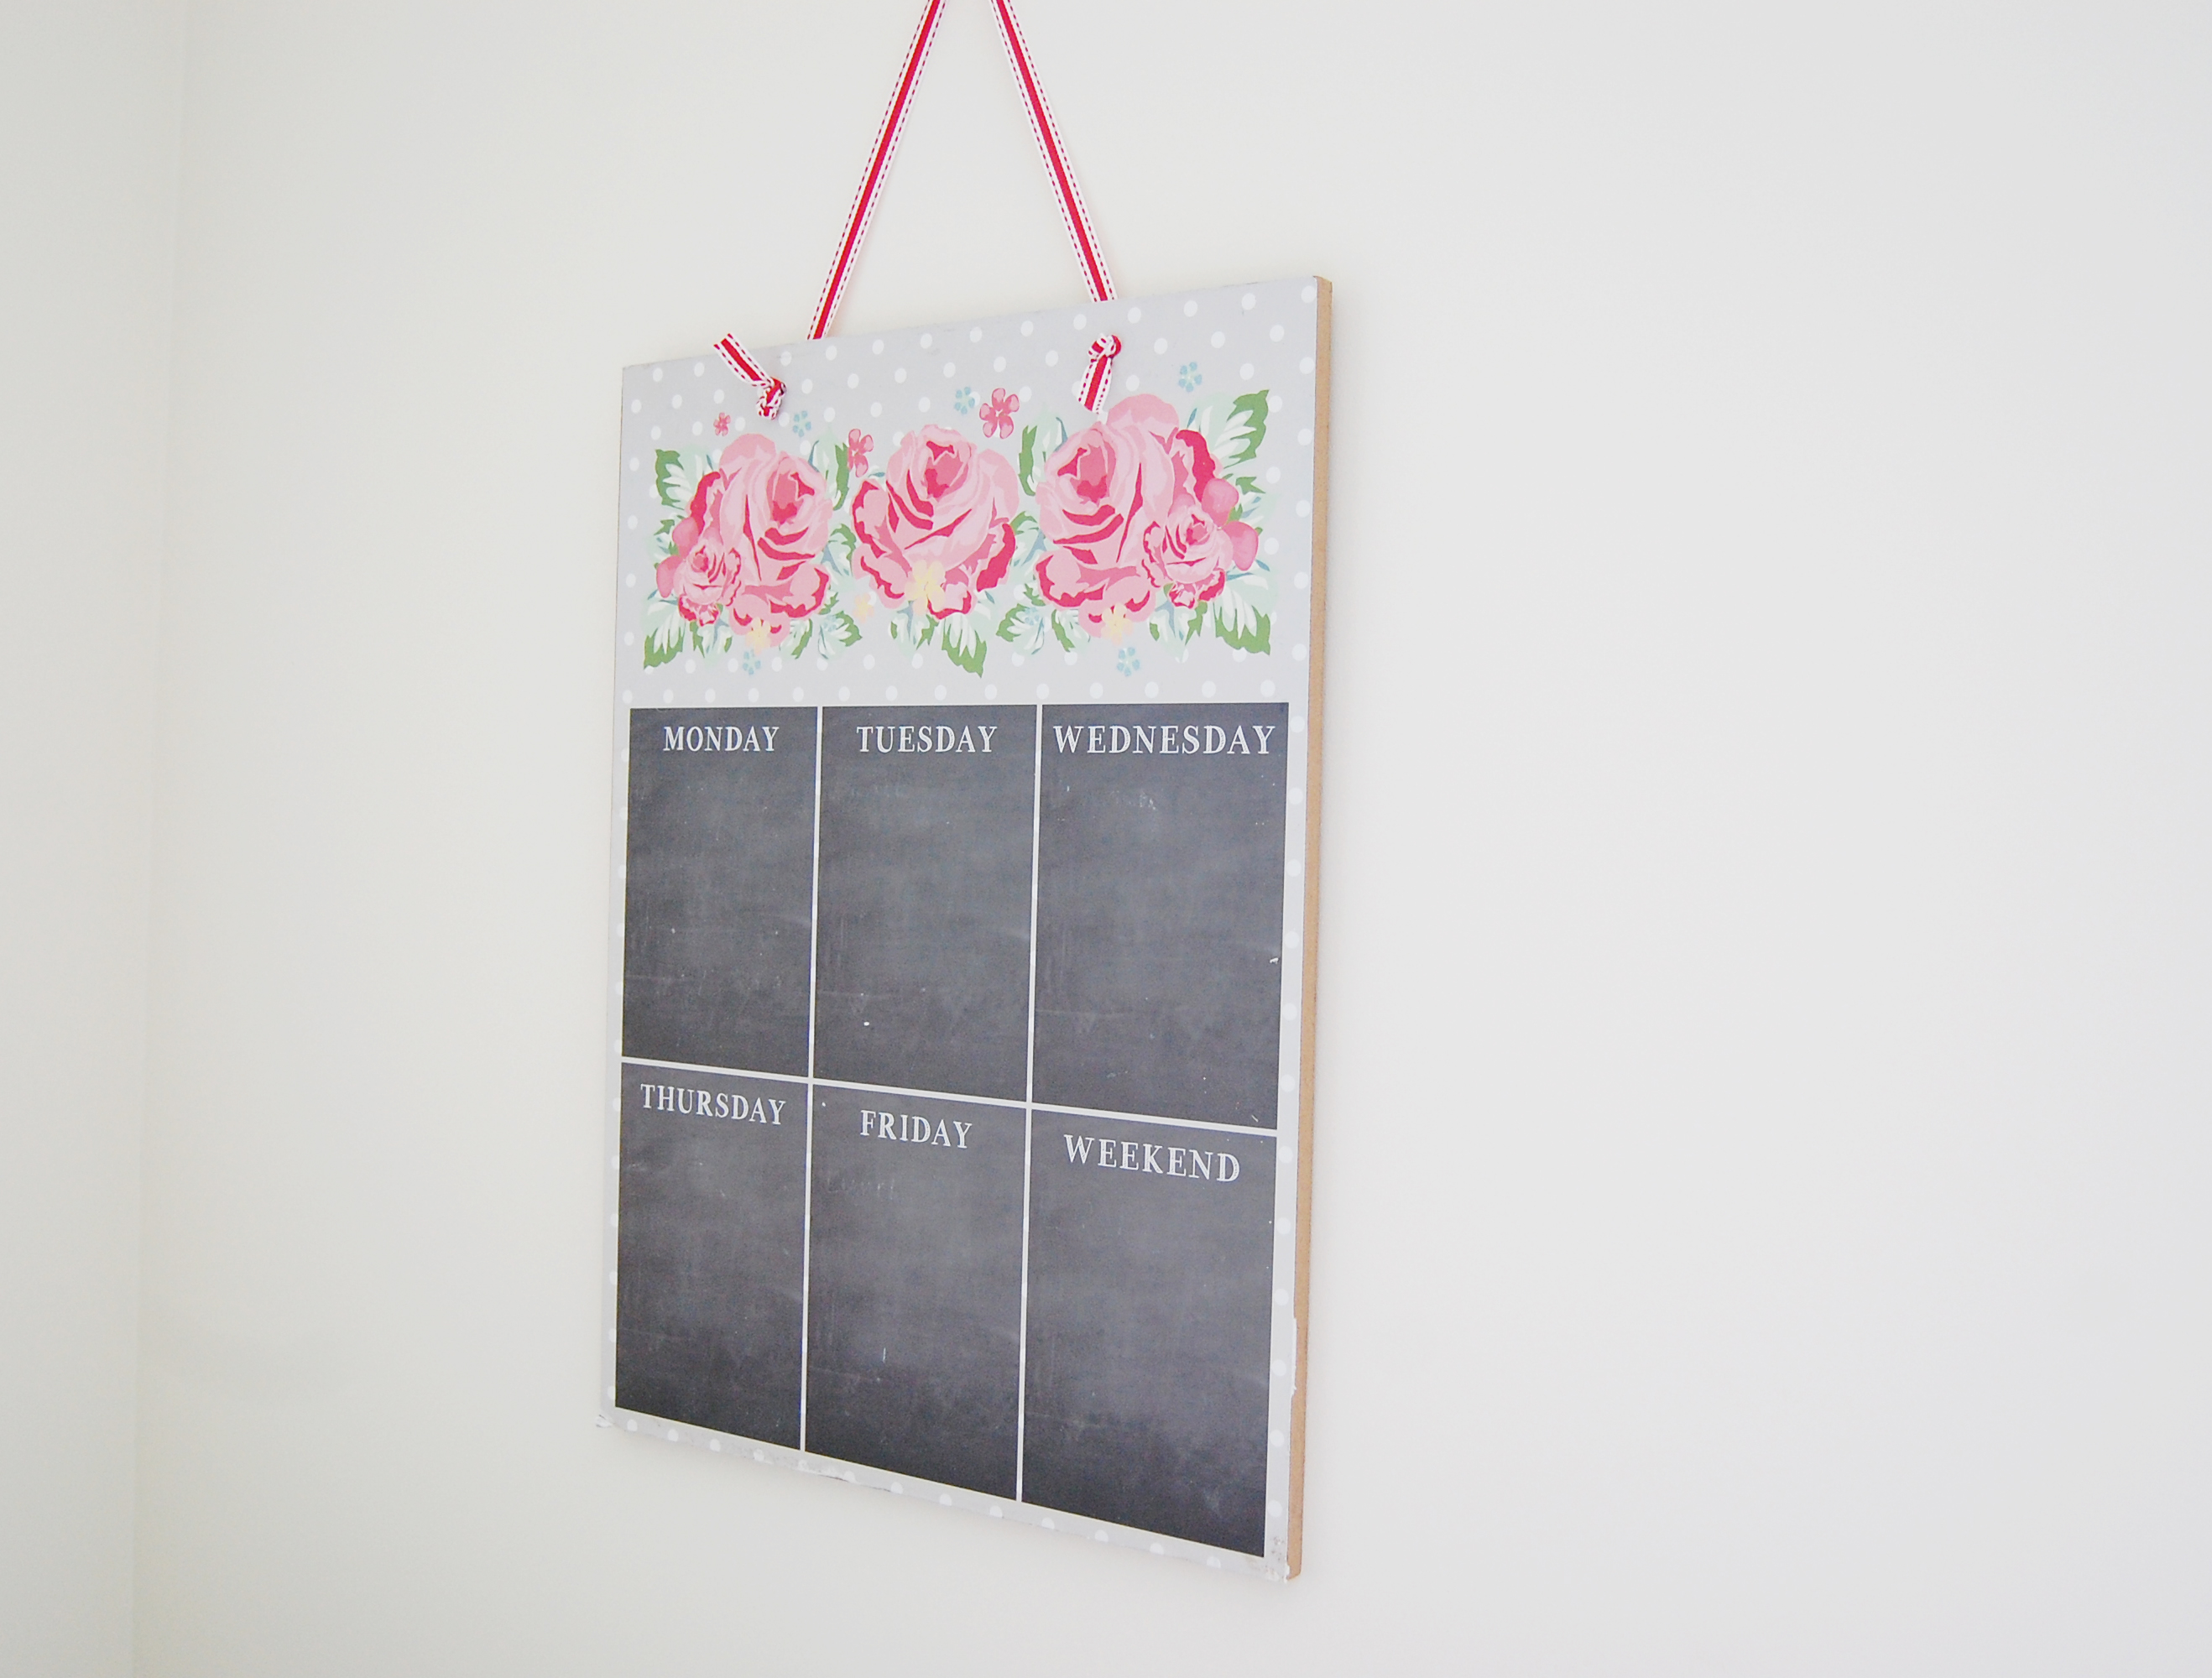
The memo board opposite my desk is super handy for staying organised. I usually stick floral post it notes to it. I added my own ribbon to it which seemed a bit more unique than the standard brown twine which it came with. Not that I have anything against twine – I love it, as you can see from the other photos!
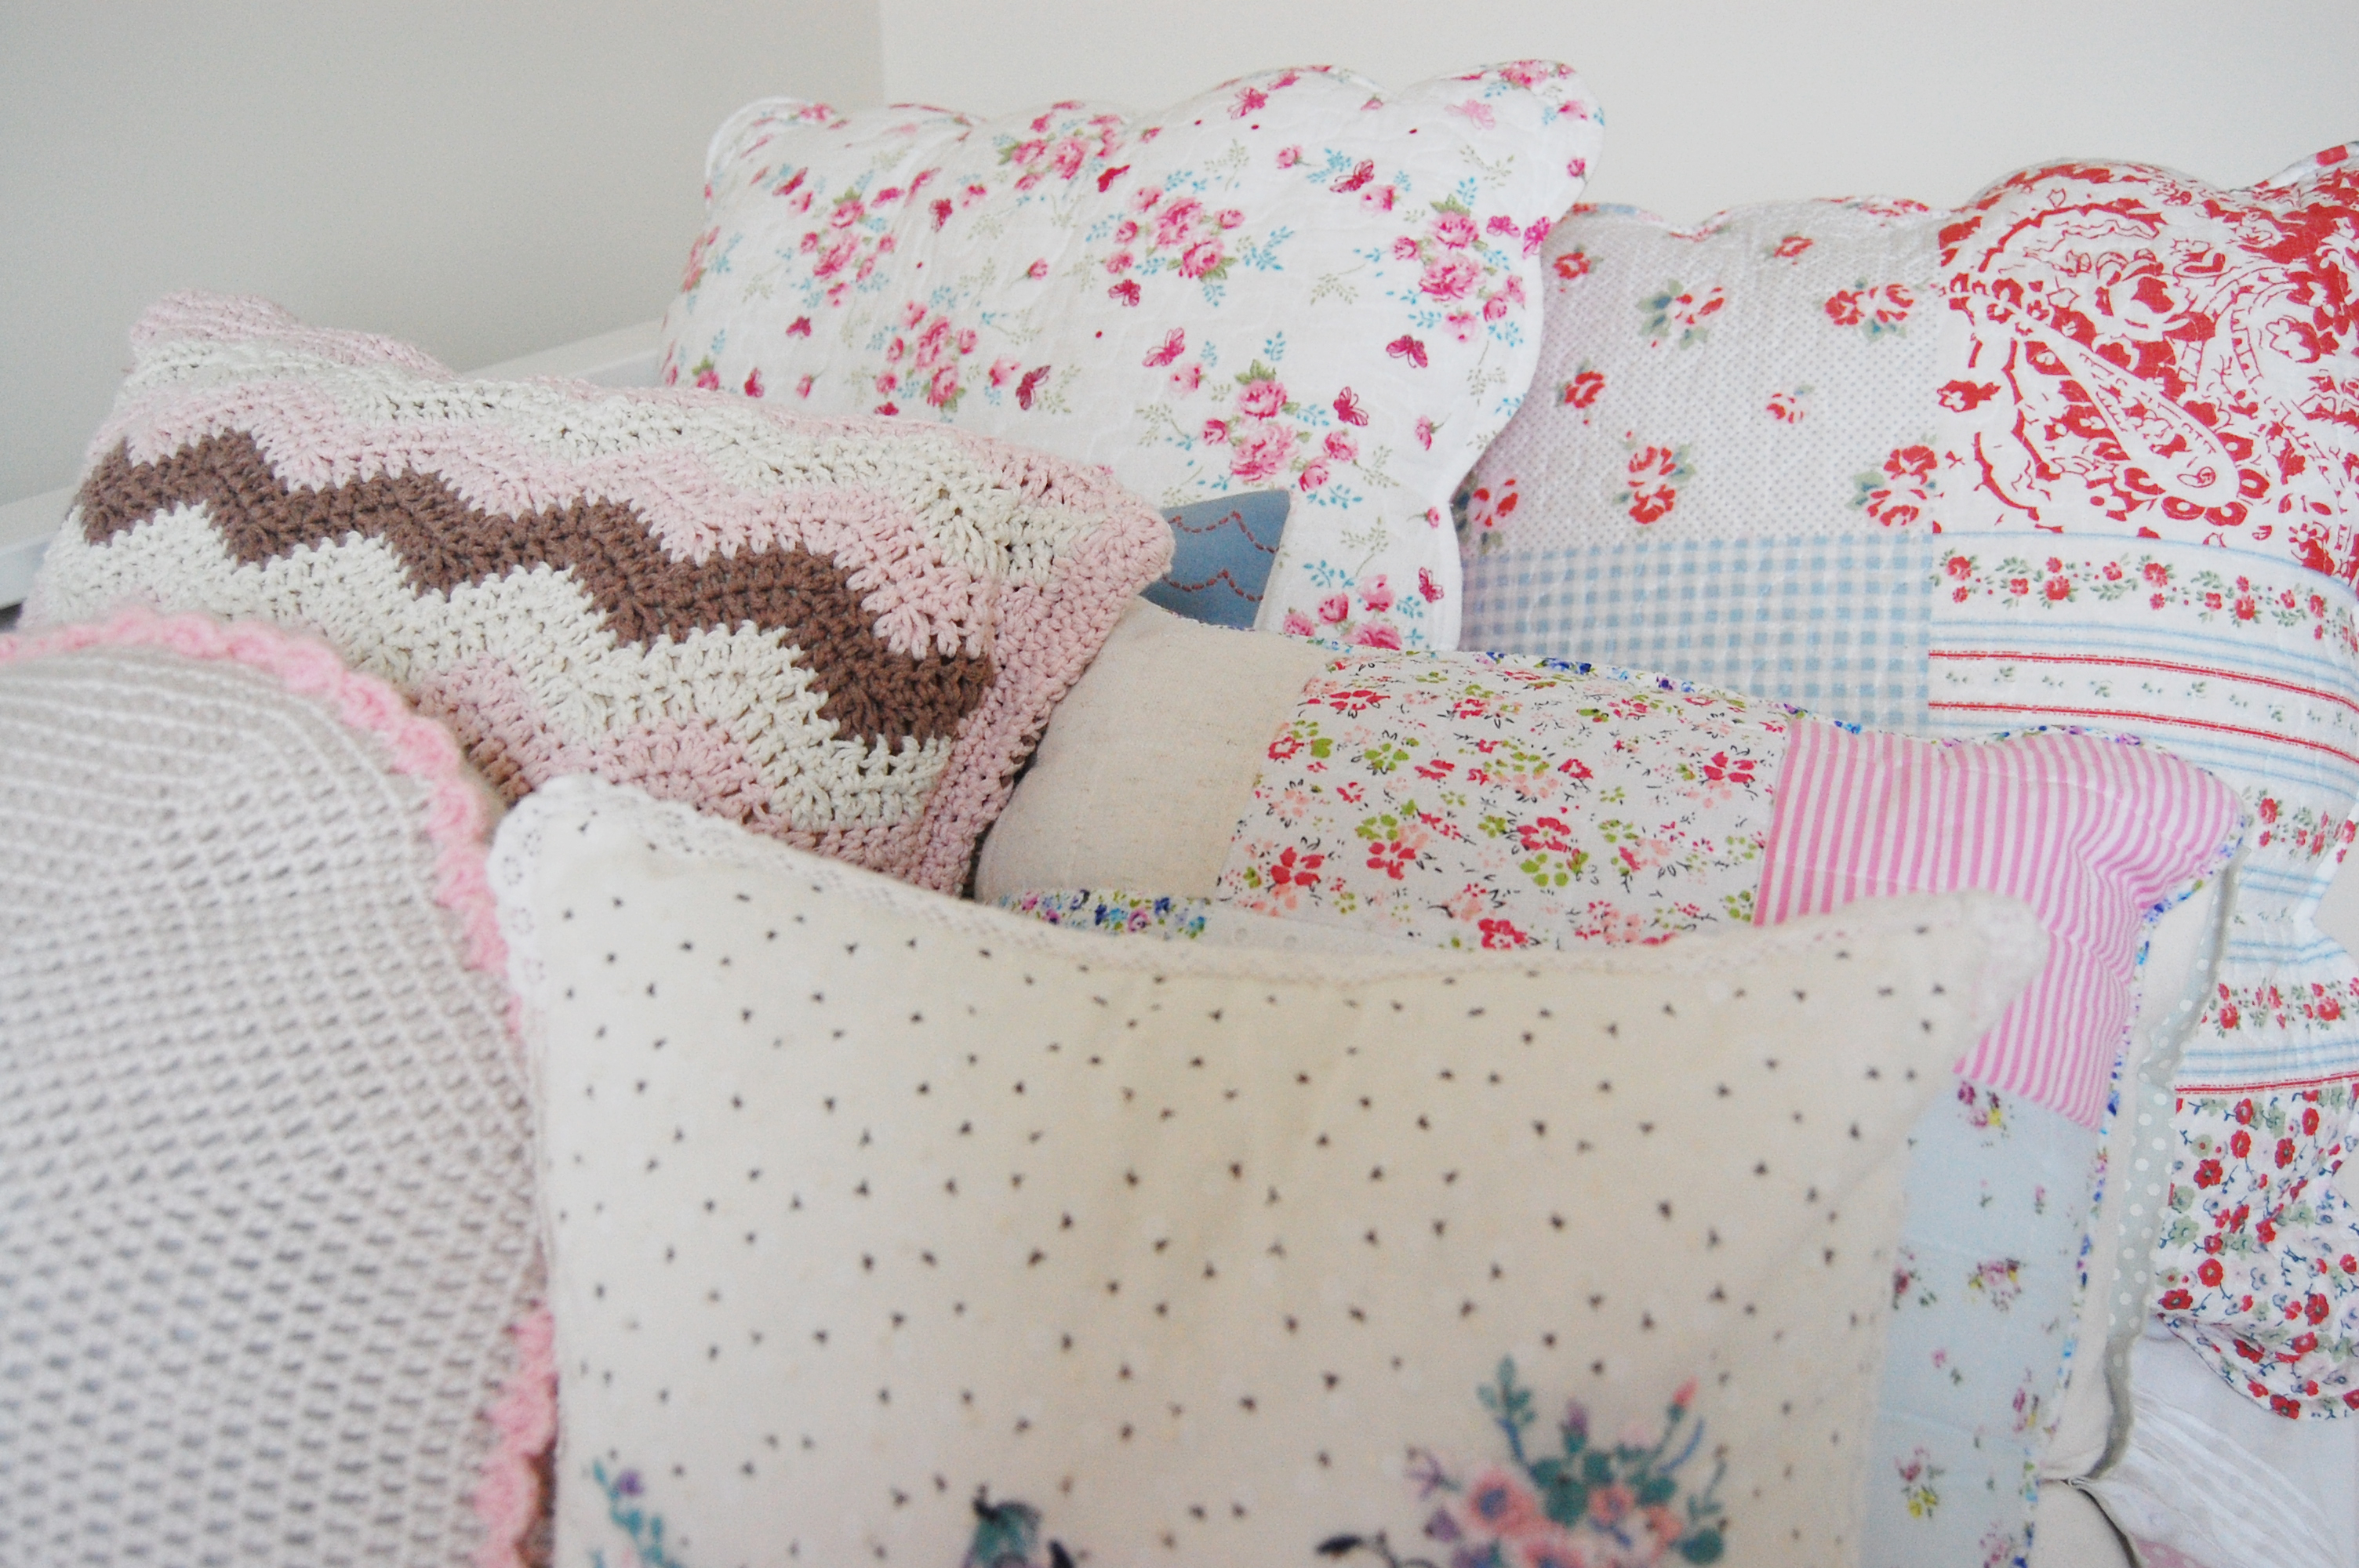
We have the most comfiest crocheting spot upstairs, in what we call the ‘daybed room’ which is located opposite my craft space. Whenever we have visitors, this is where they stay. I have a fair few of my handmade cushions in here and it’s just a really lovely, peaceful space to have a break in during the day. Usually you’ll find Felix and Mabel snoozing in here during the day. Felix likes to throw all of the cushions all over the floor… just to make things extra comfy I imagine! (It’s a dog’s life) I have been told by a few people that this room has reached its maximum cushion capacity…. Is there even such a thing?
That’s all from me for now, although I couldn’t help but share this photo of Mabel with you, doing what she does best…. posing! I hope you’ve enjoyed having a peek into where Paper Doily Party Shop is based. Happy crafting!
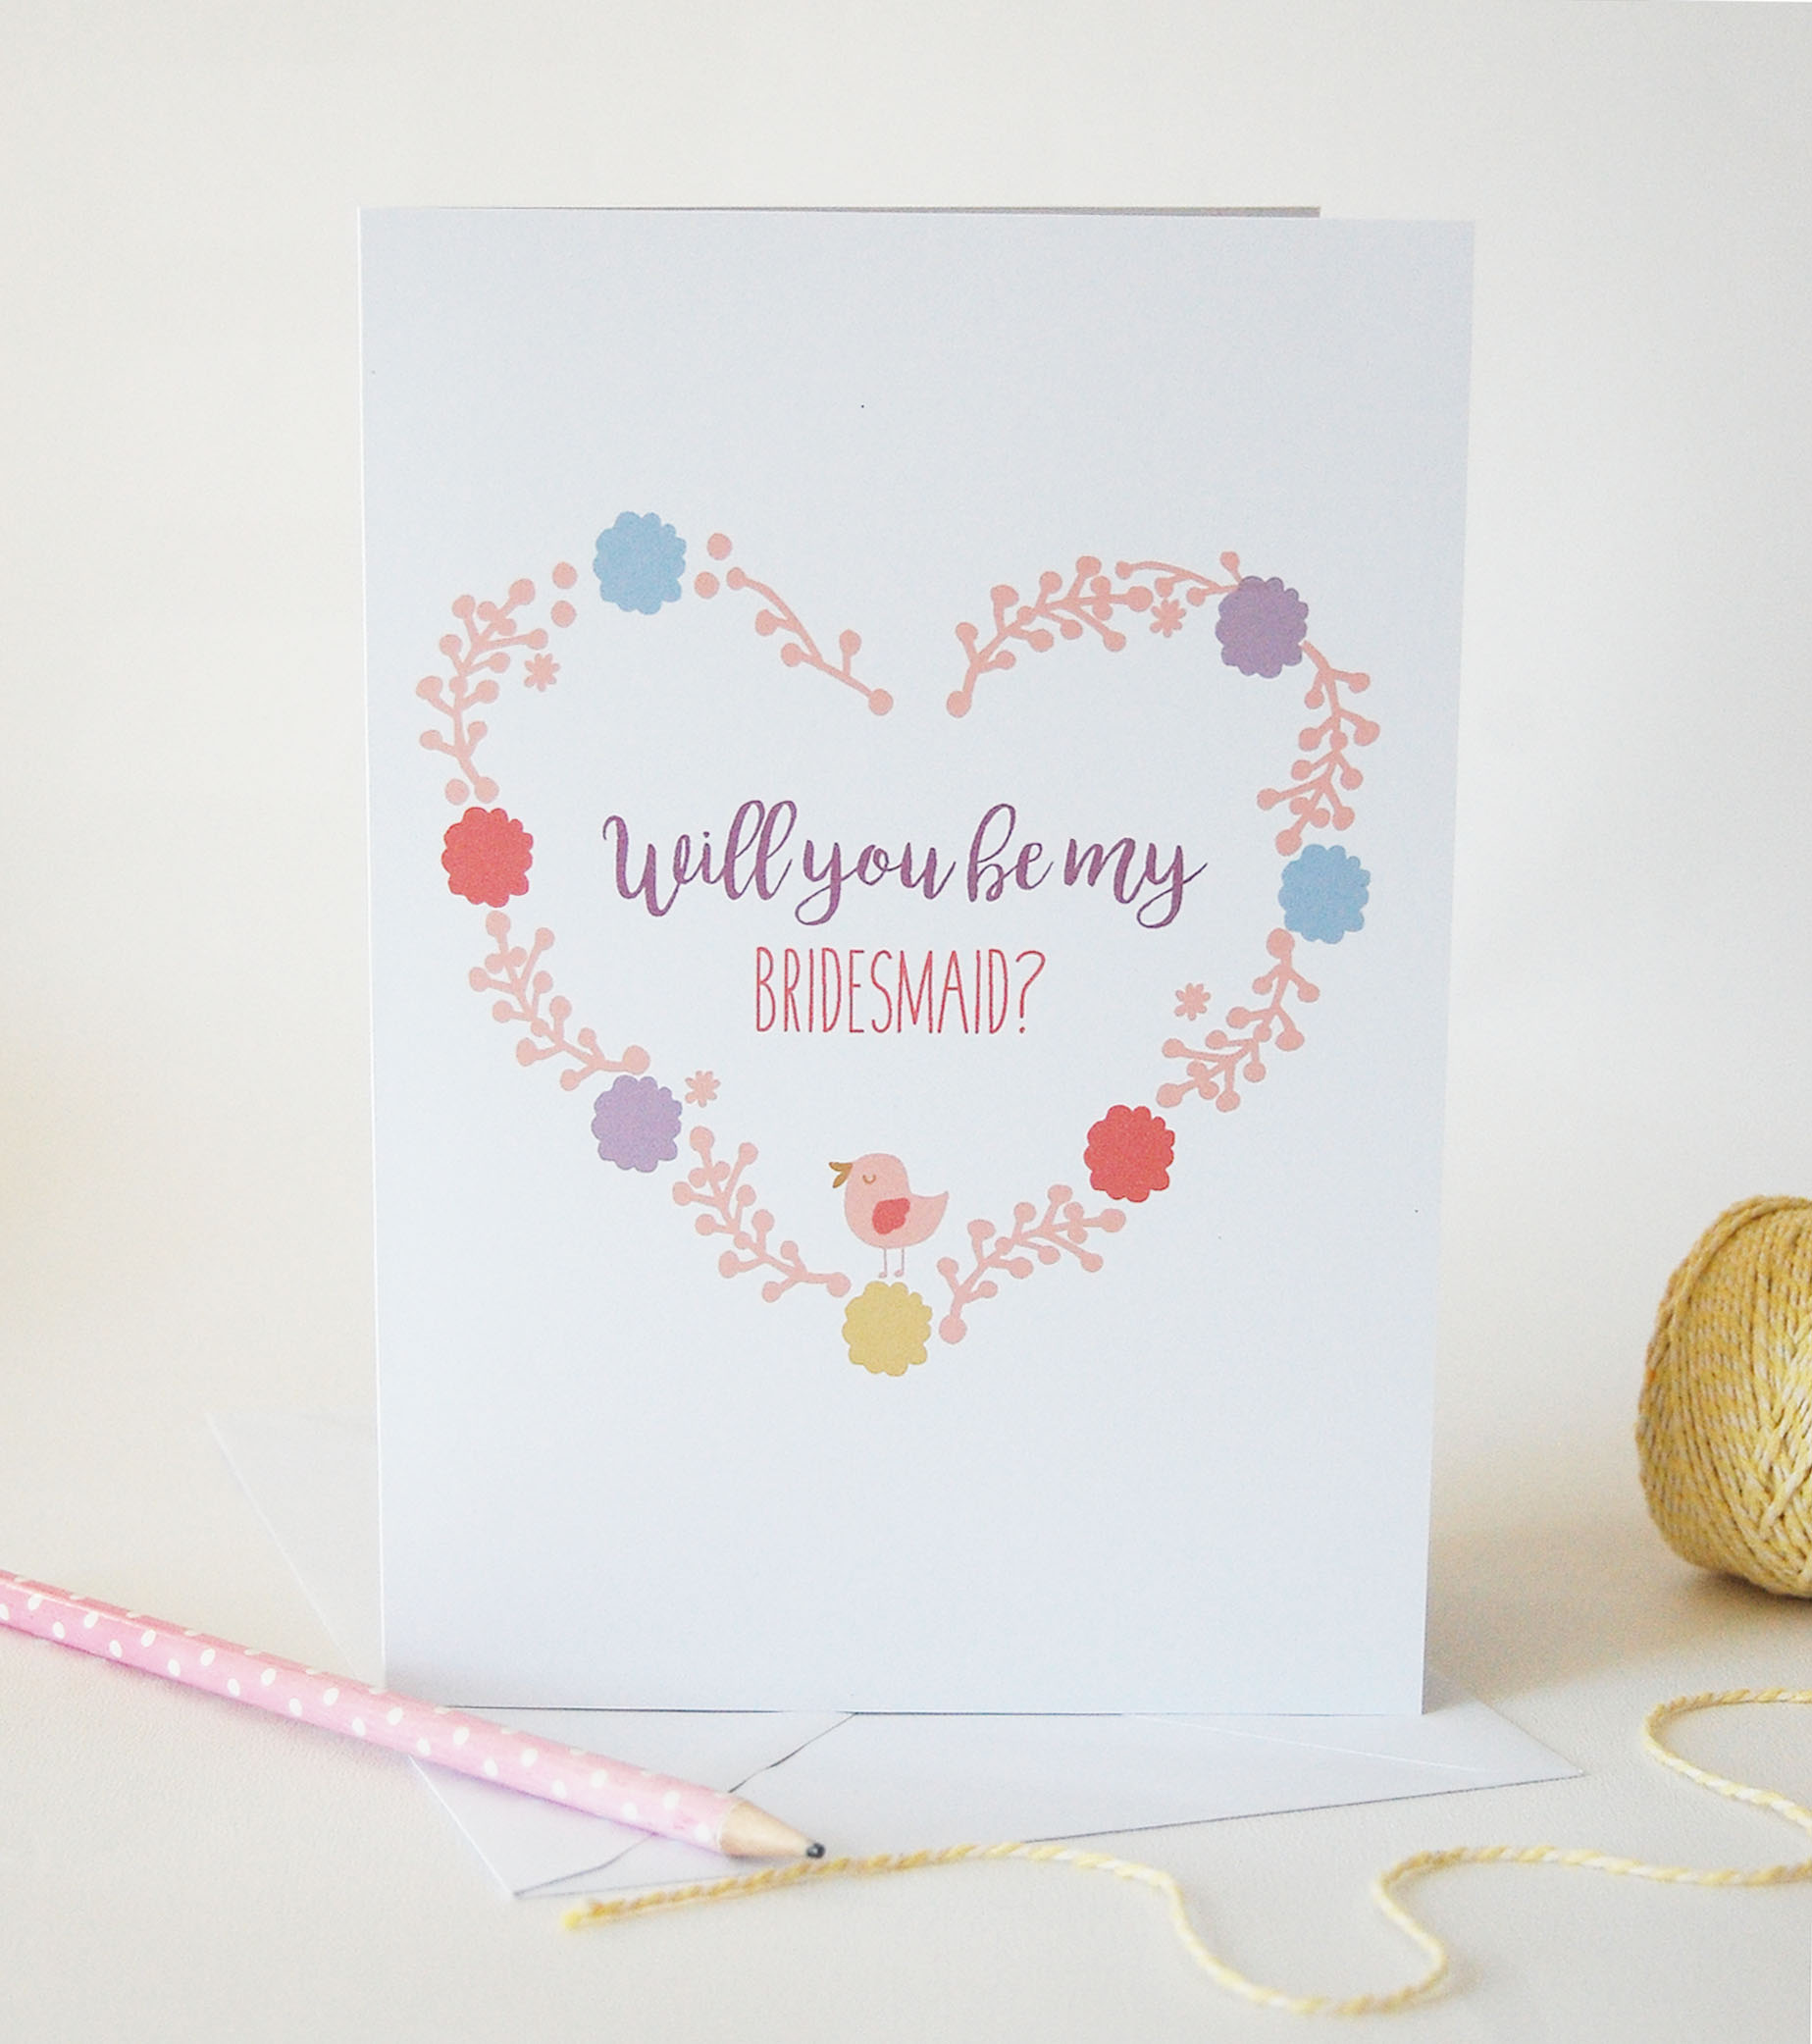
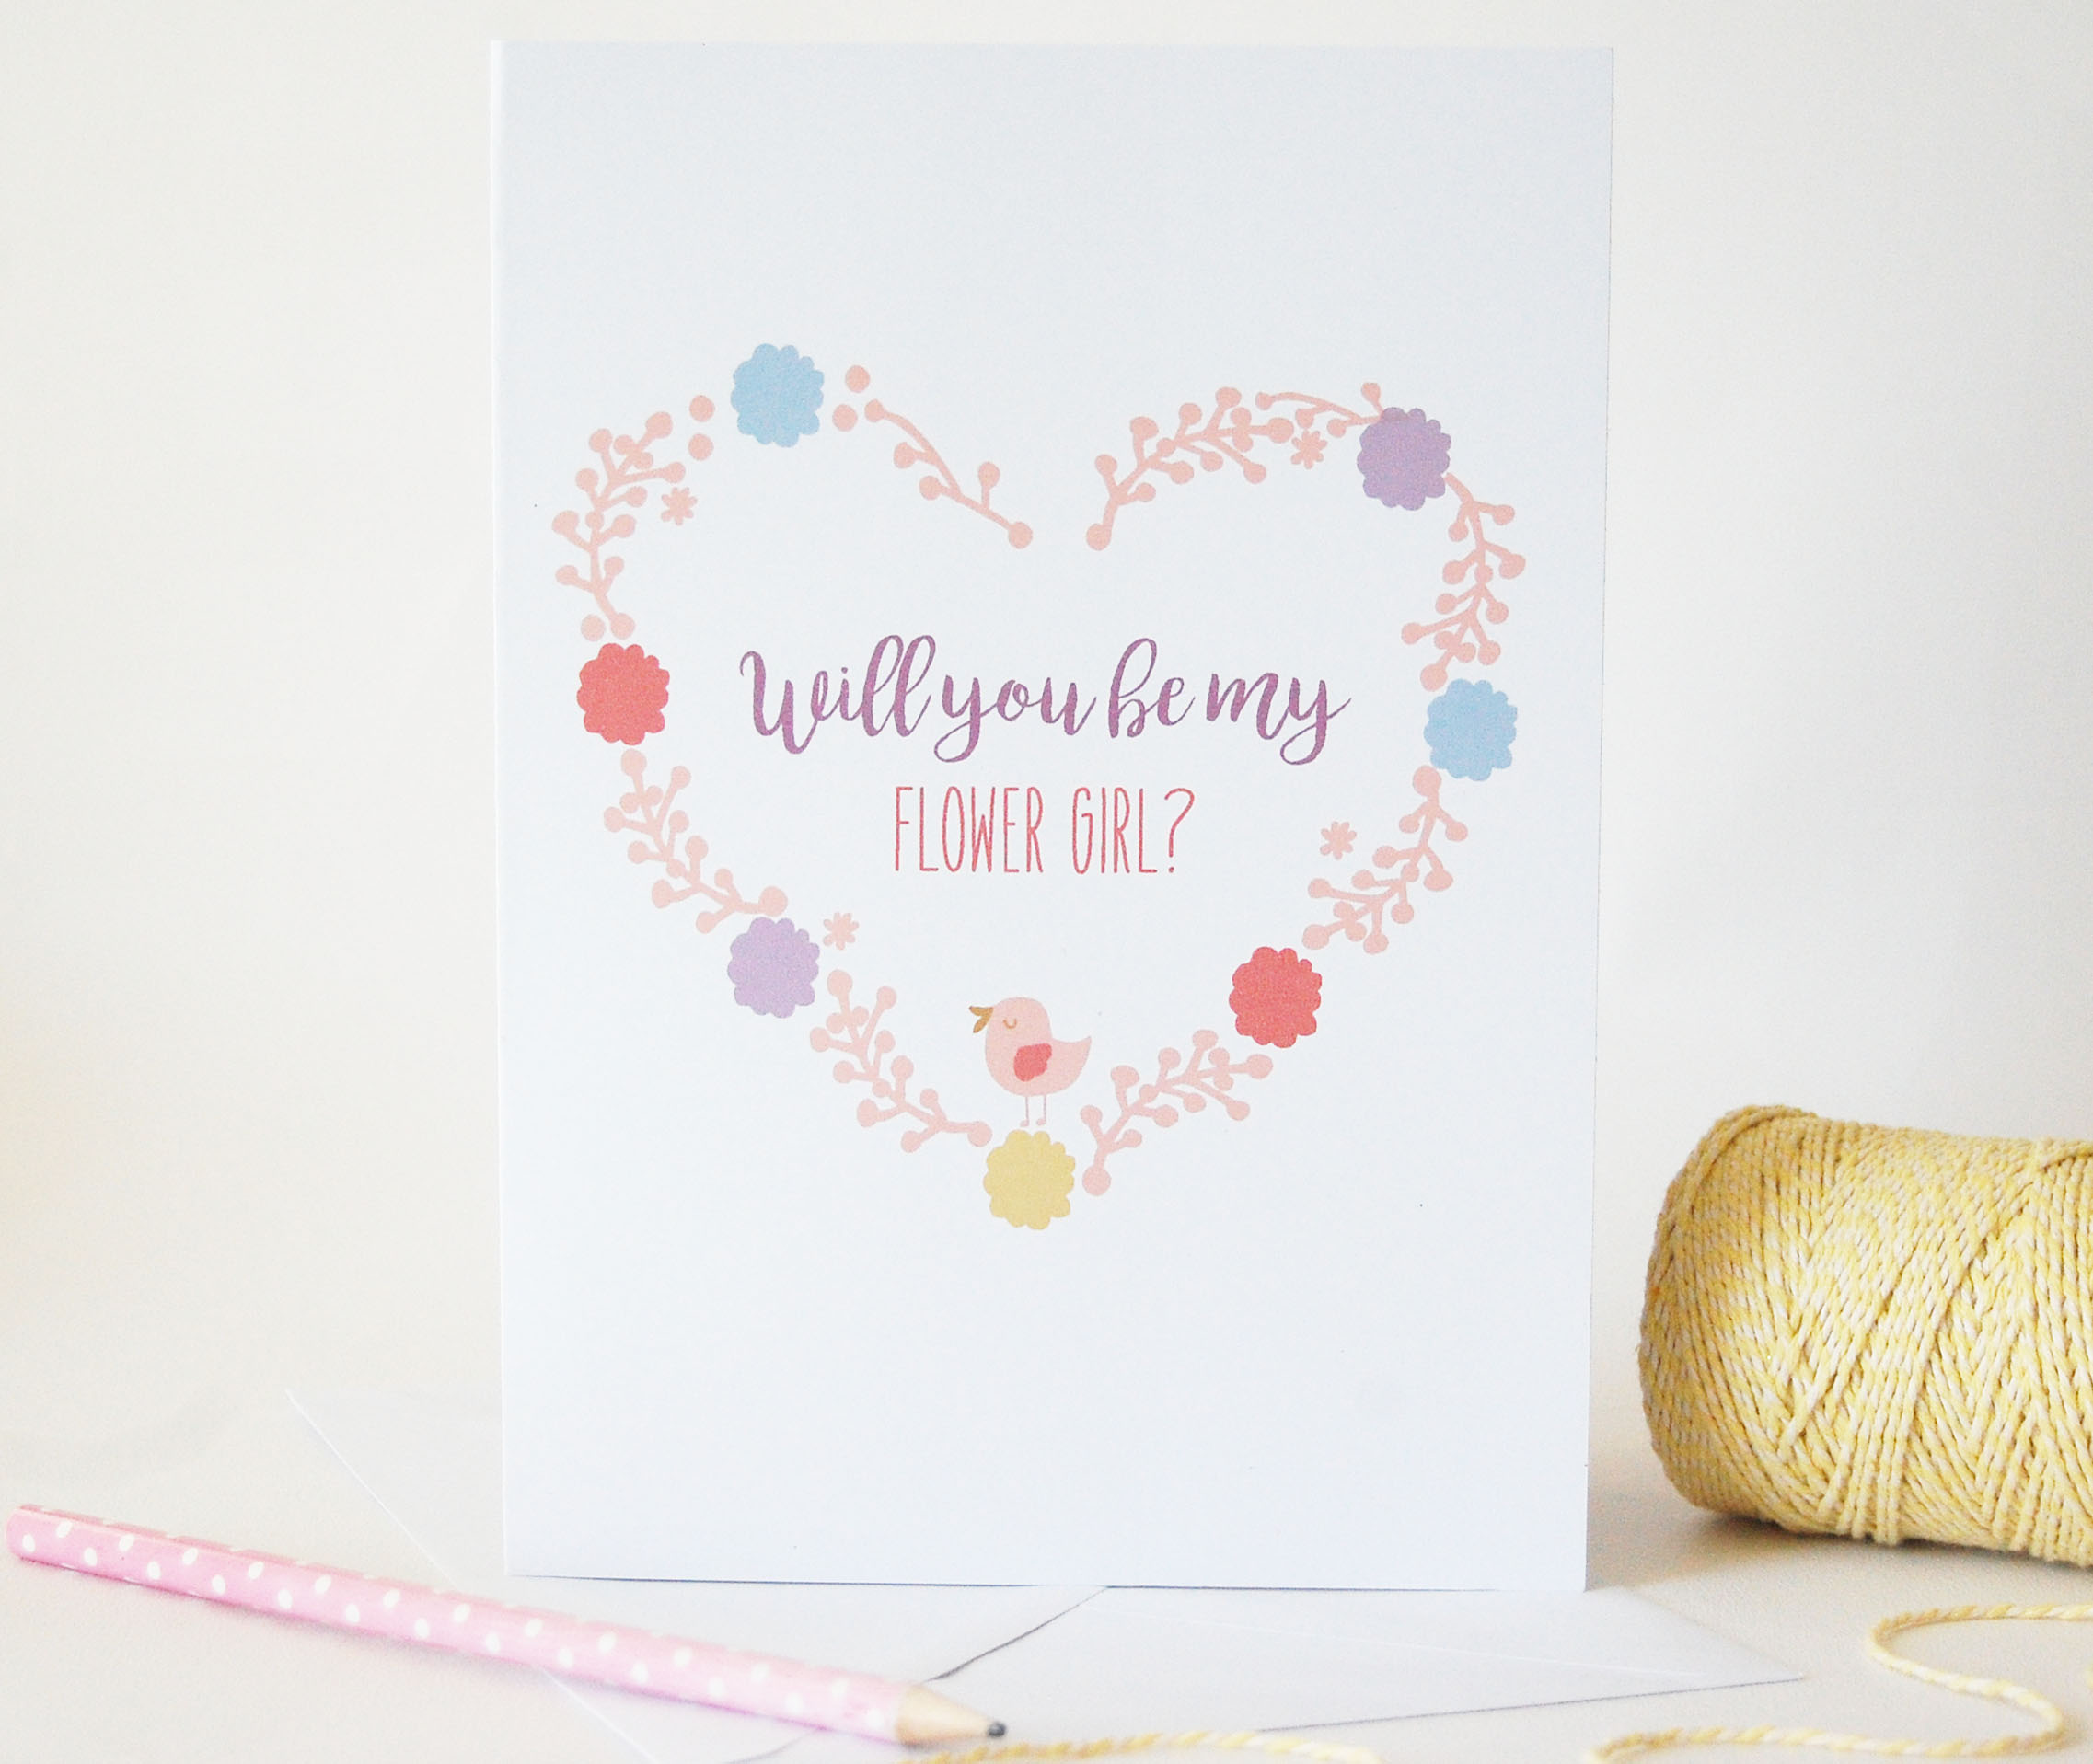
I’m happy to announce that I have just launched a new collection of ‘Will you be my…?’ Wedding cards, yay! I really love designing stationery. Anything floral and pastel coloured makes me very excited and since my own wedding in 2014, I’ve been very interested in wedding stationery.
My greetings card designs generally begin with some initial sketches. I then use my trusty lightbox and a black pen to refine my drawings ready for scanning. I then use a combination of Adobe Photoshop and Illustrator, which is where most of the fun happens. I’m lucky enough to own a professional printer which means I can print most of my cards from the comfort of my own craft room. This is really handy in terms of personalisation, as additional names and colours can easily be added! It also means that I can launch several designs at once to learn what the most popular designs are.
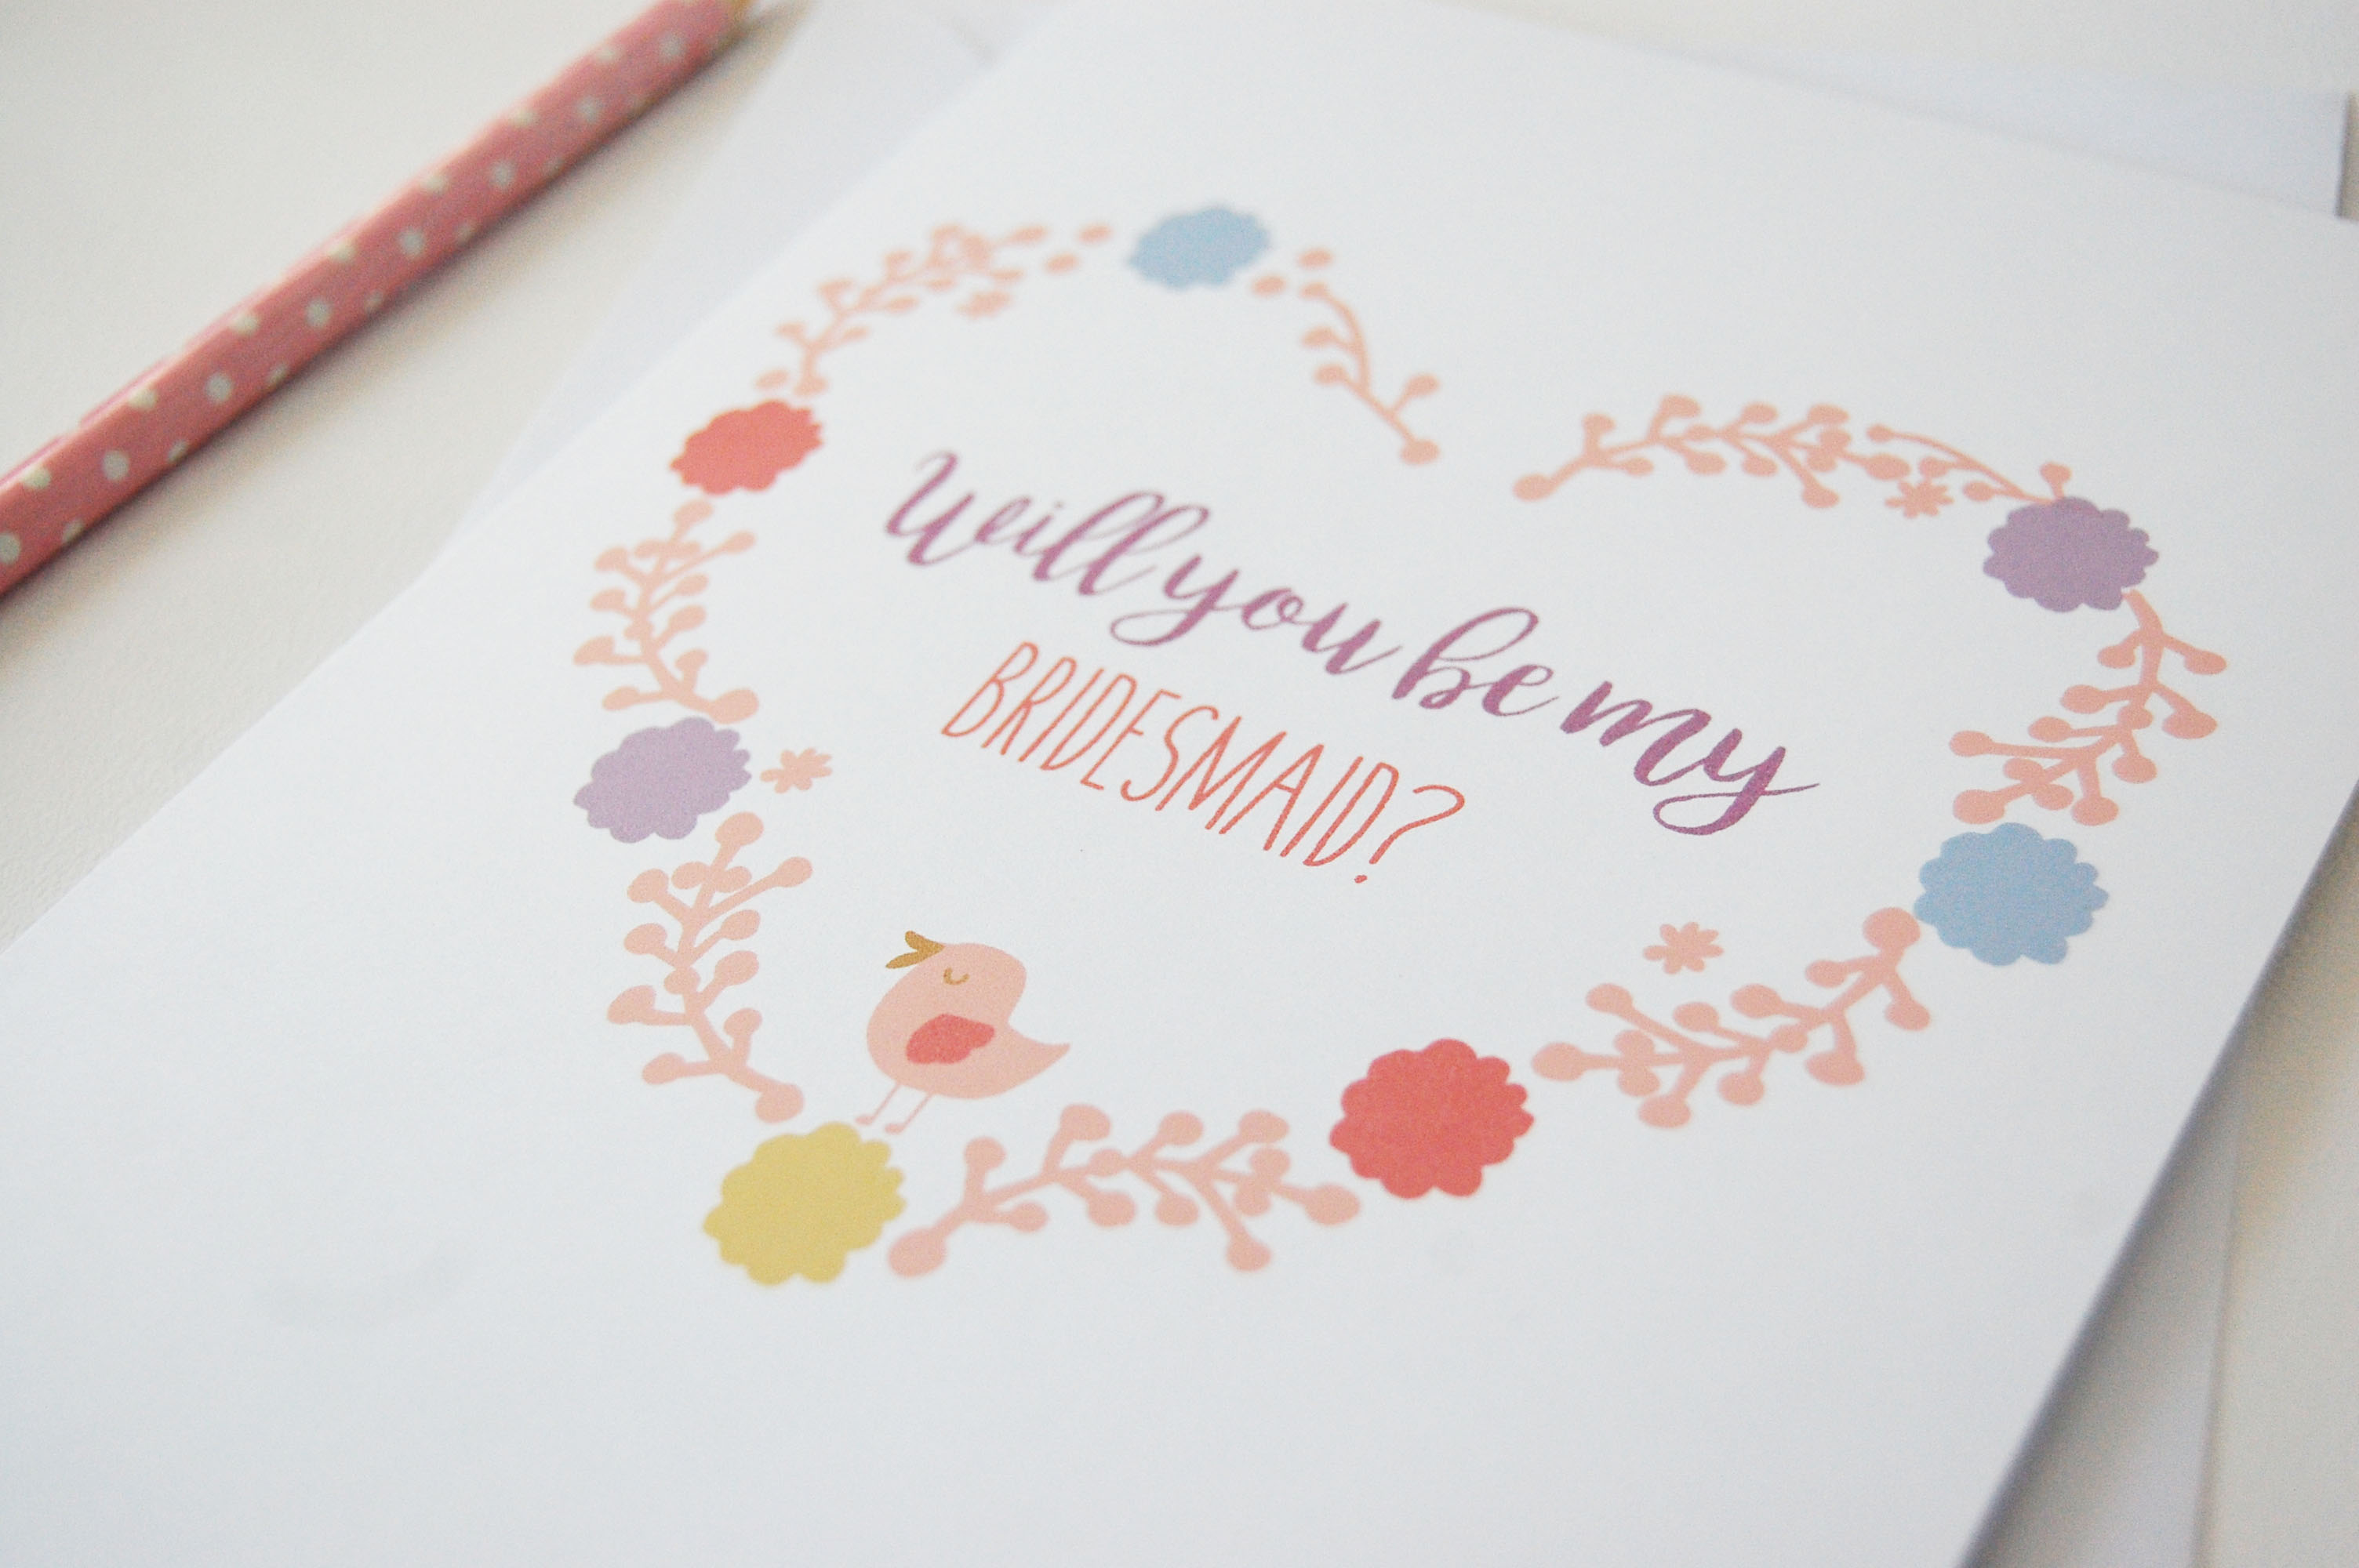
This is the main design, isn’t it lovely? I loved the design so much, I’ve used the same one throughout all of these three cards, but have changed the text on each one. Here’s the first one:
What are your thoughts? Did you send any bridesmaid cards for your wedding, or are you planning to? I had small wedding, so despite having some of my closest friends there along with my family, I didn’t have any bridesmaids. However, I can totally appreciate how absolutely lovely it is to have them and to treat them to special cards like these!
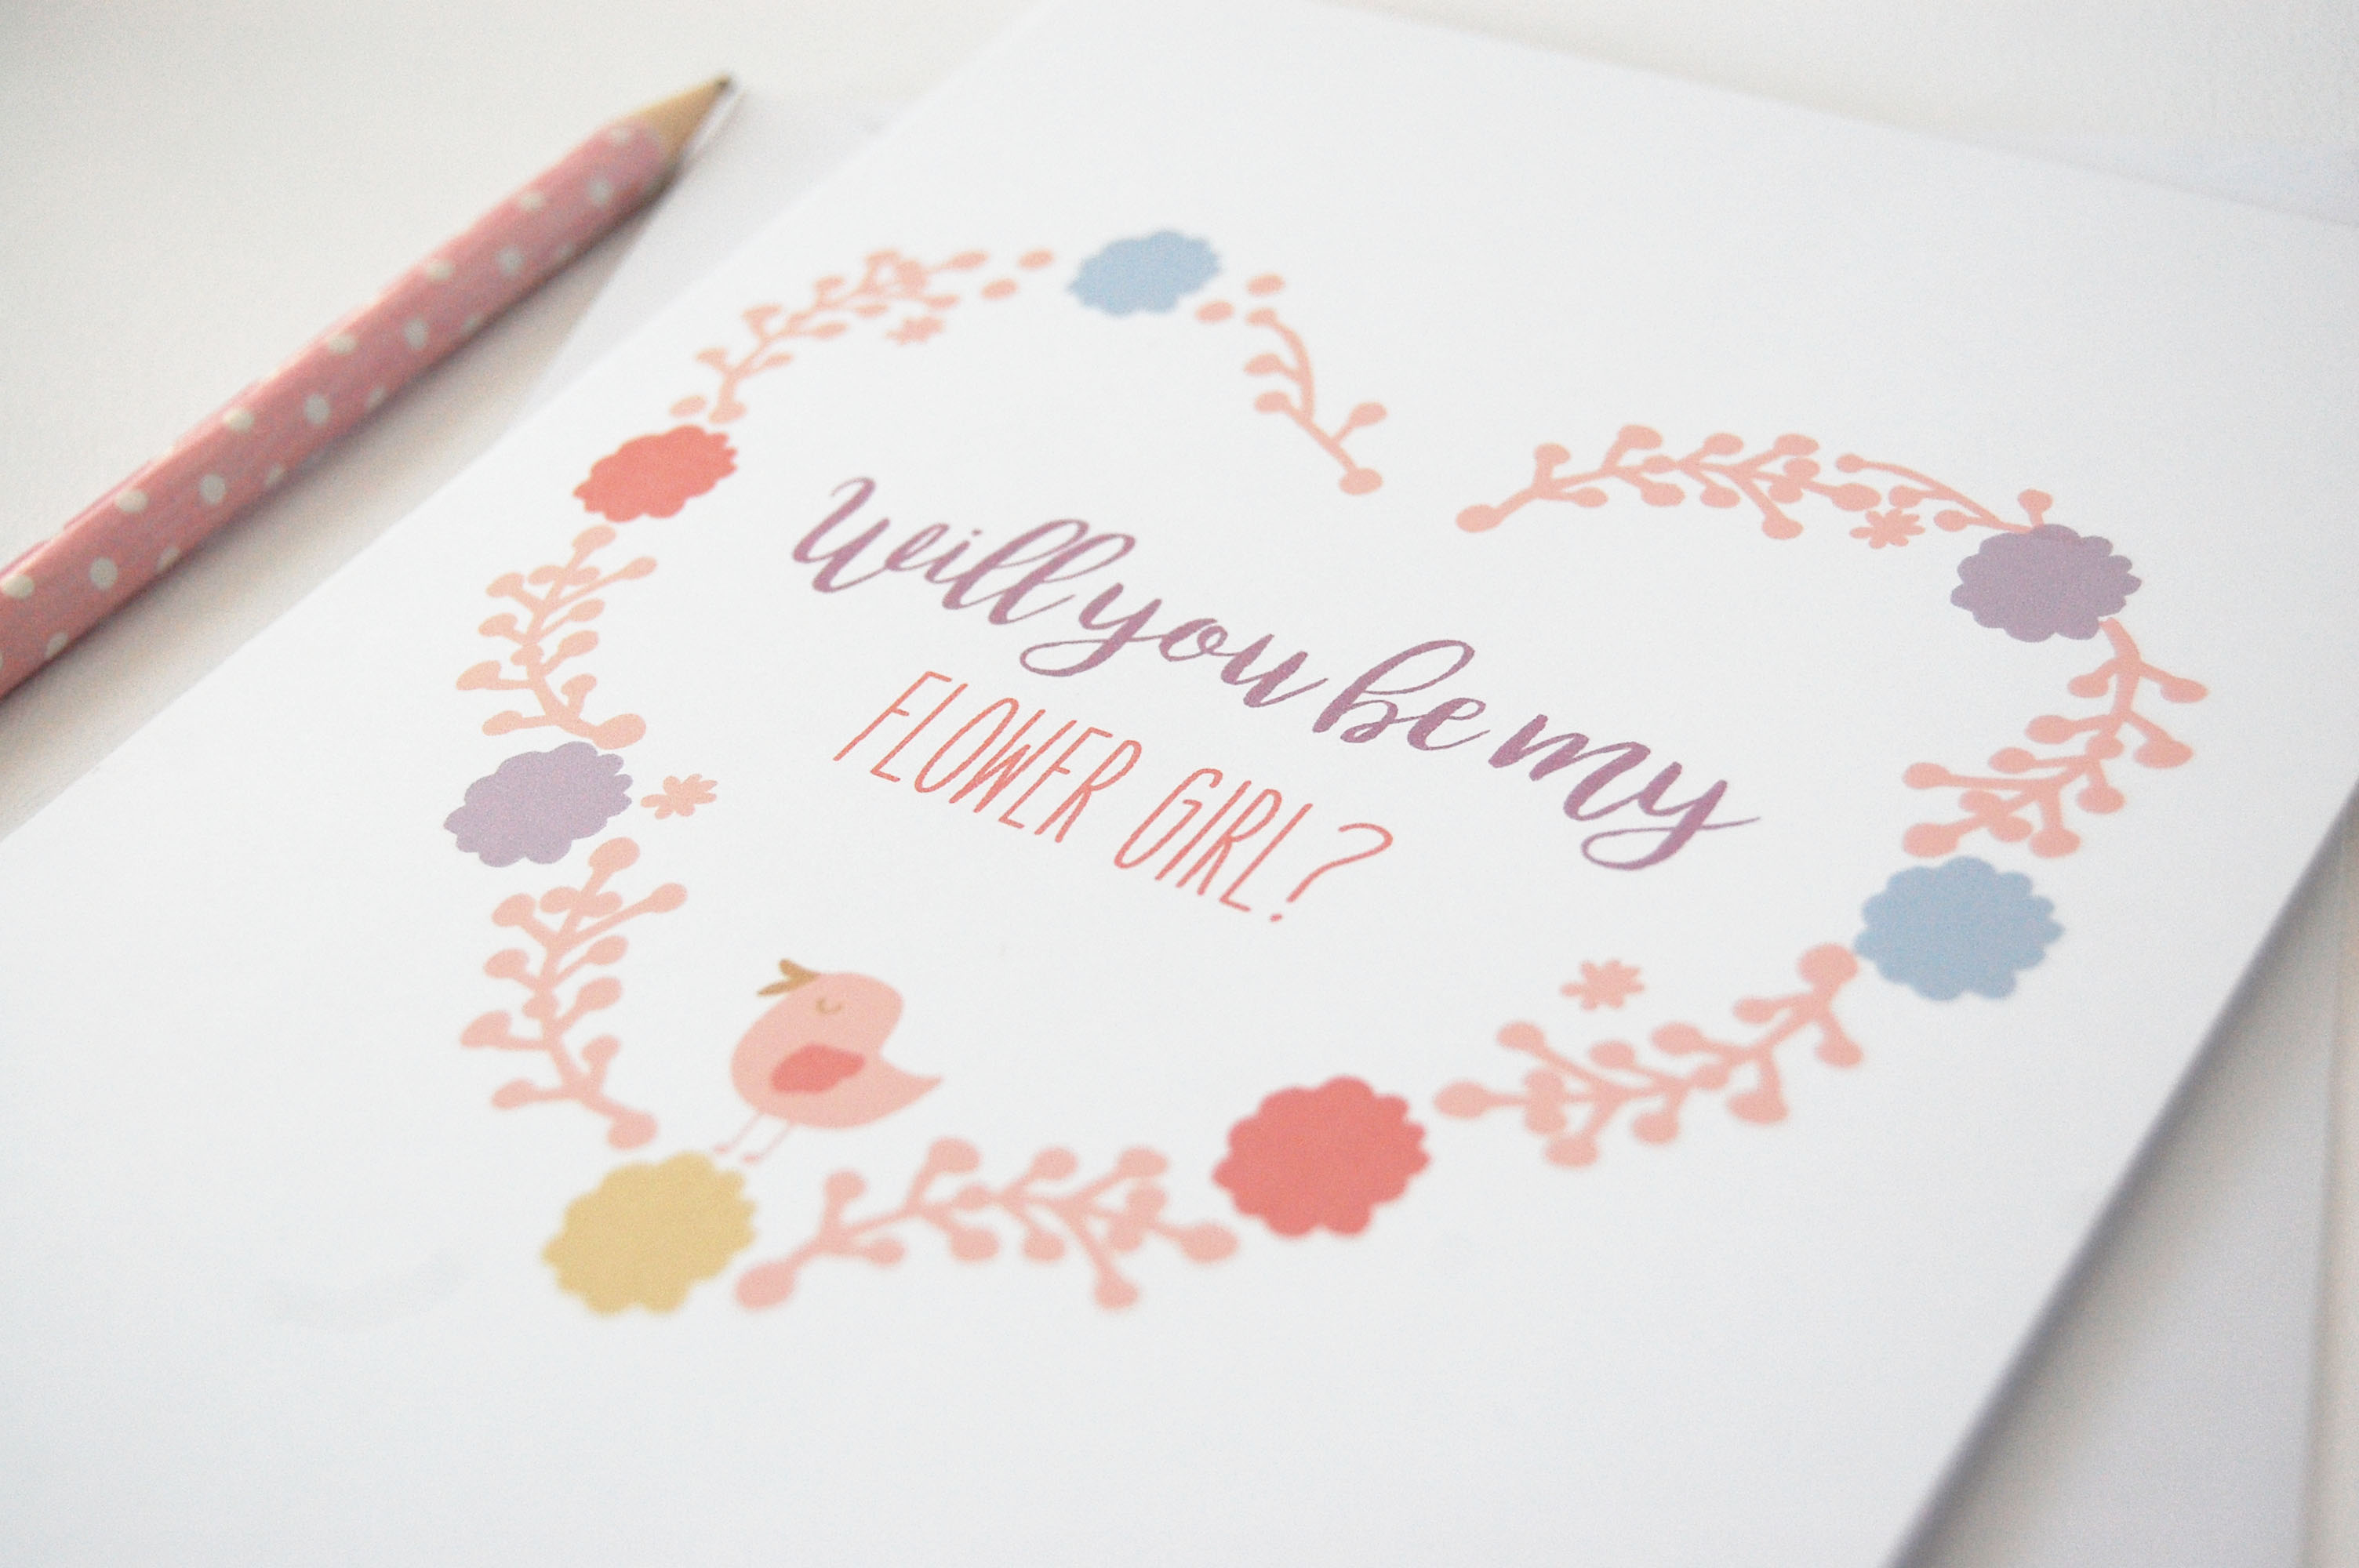
Now for this version. There are some absolutely adorable images online of flower girls and there is some beautiful stationery to match also. I warn you though, once you get started on those wedding blogs, you can say goodbye to a good few hours! I can imagine this flower girl card being perfect for a lovely little girl.
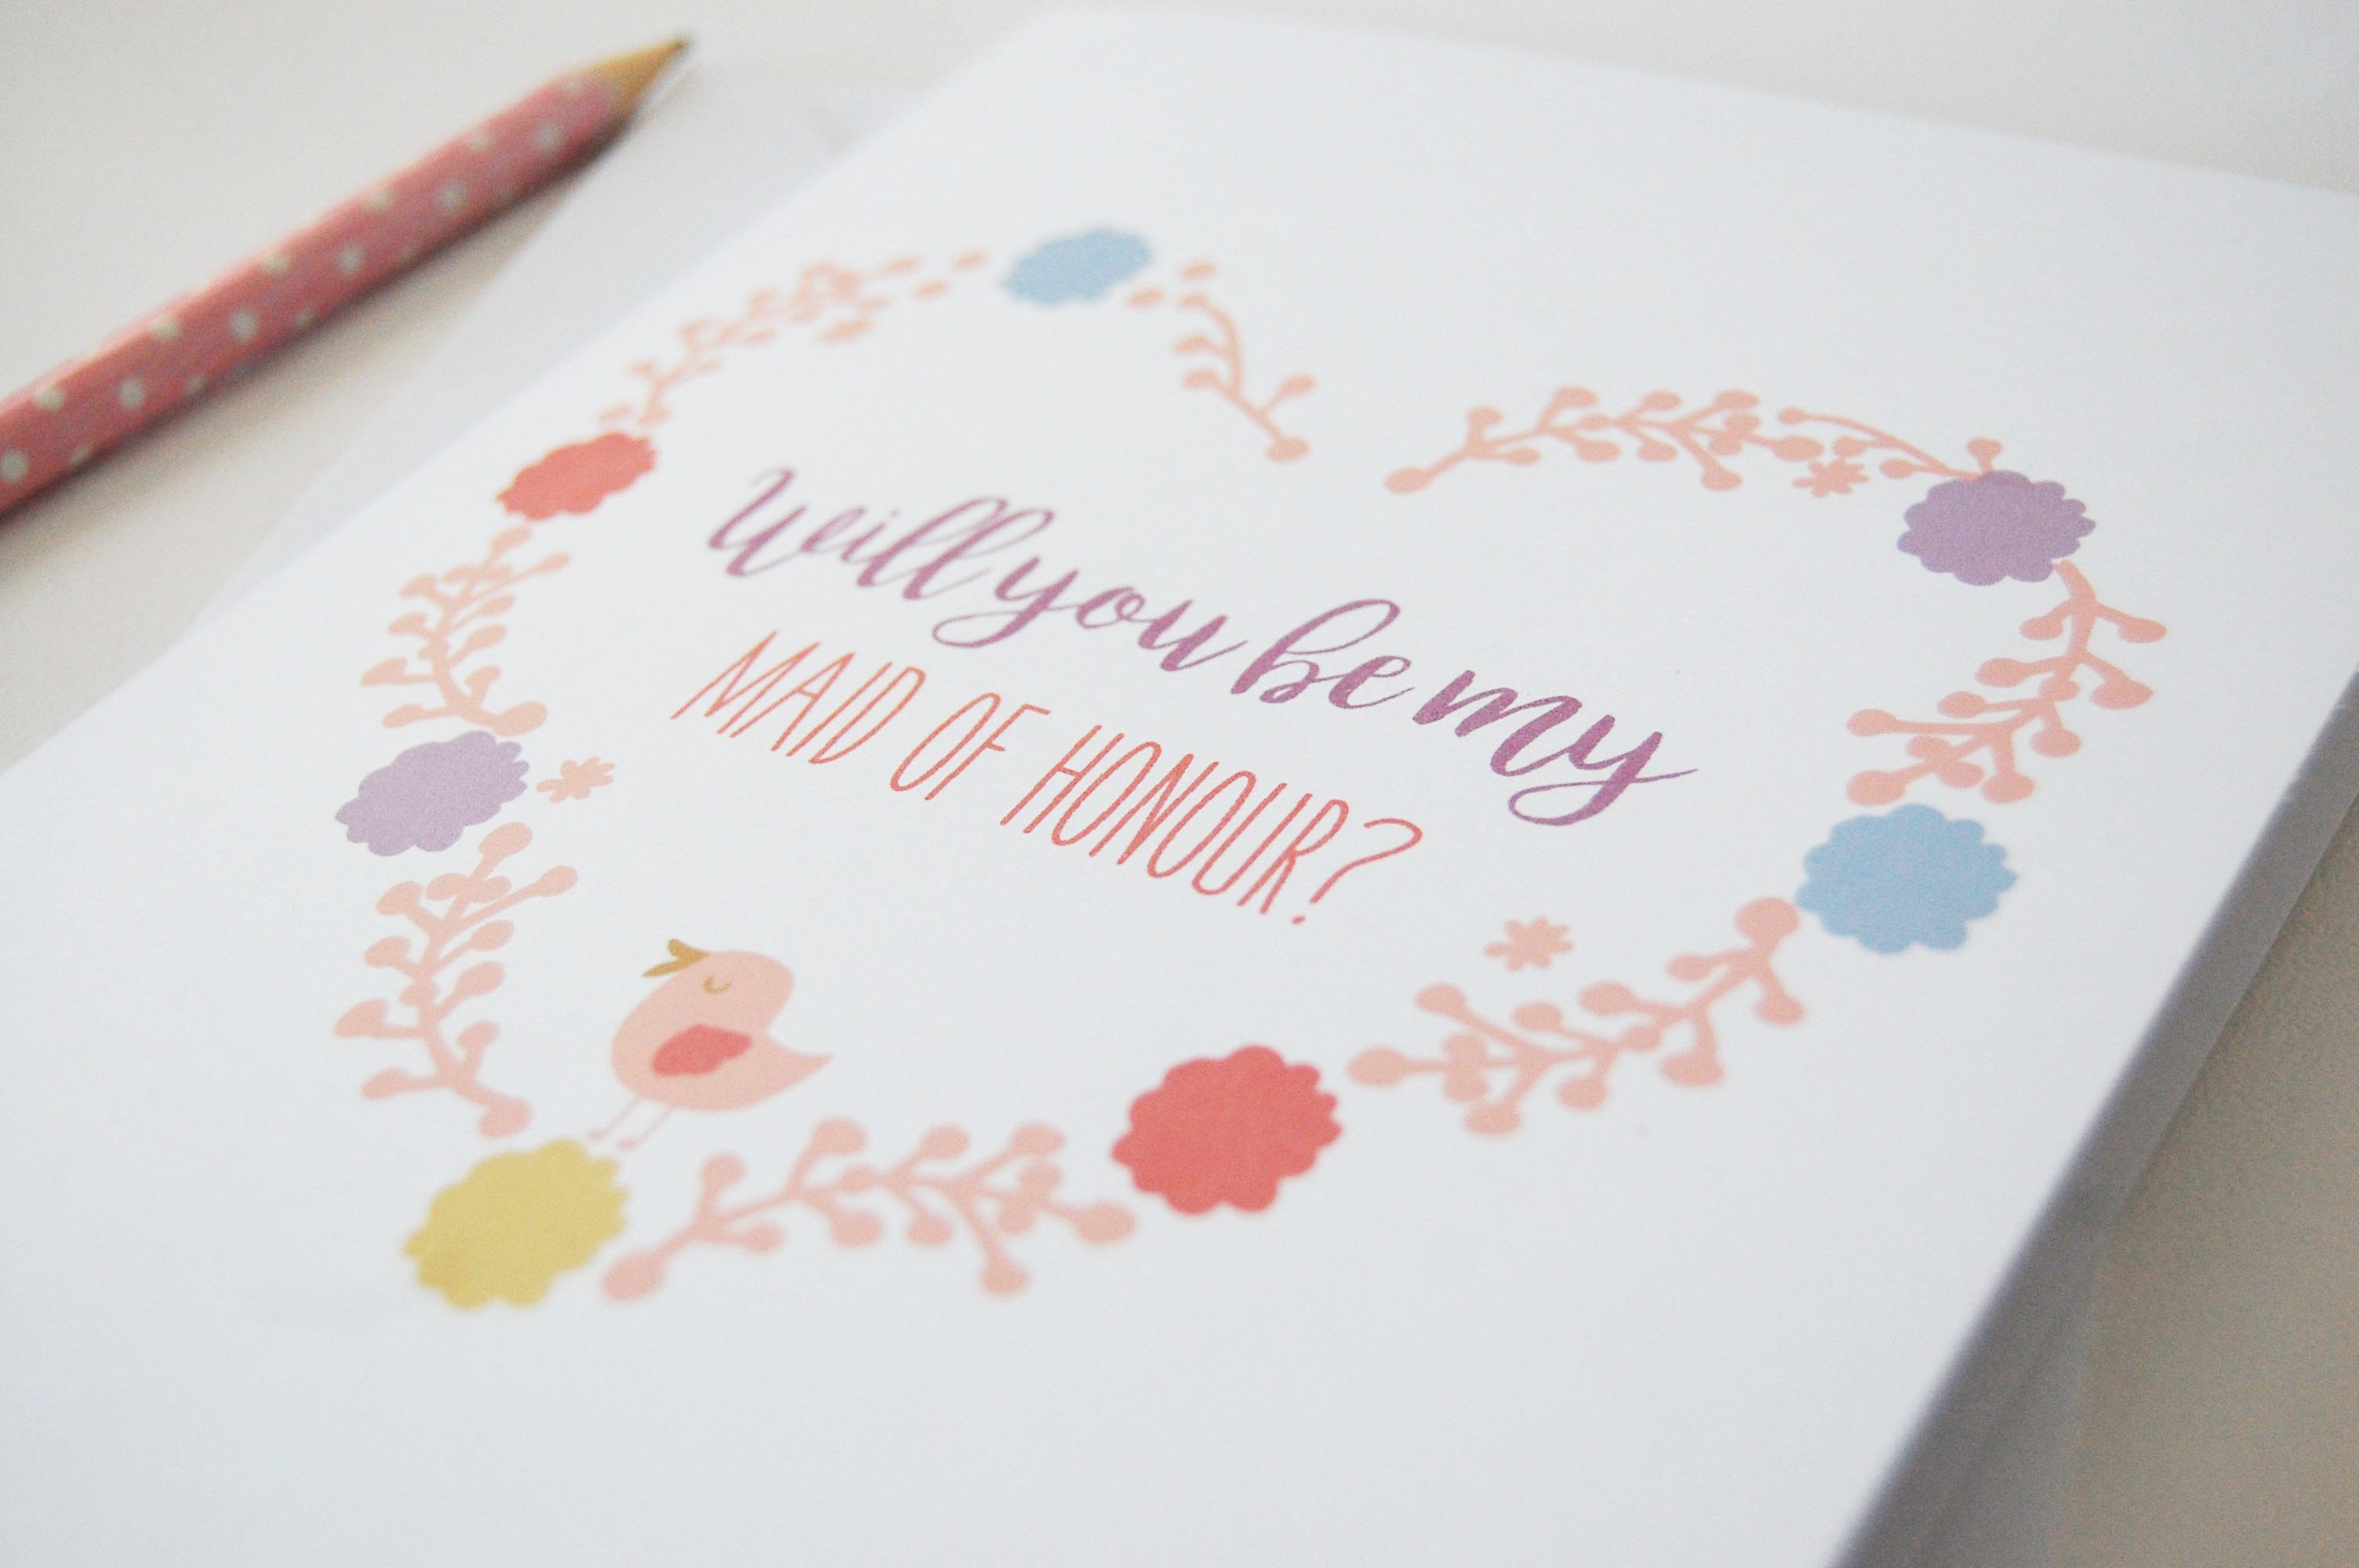
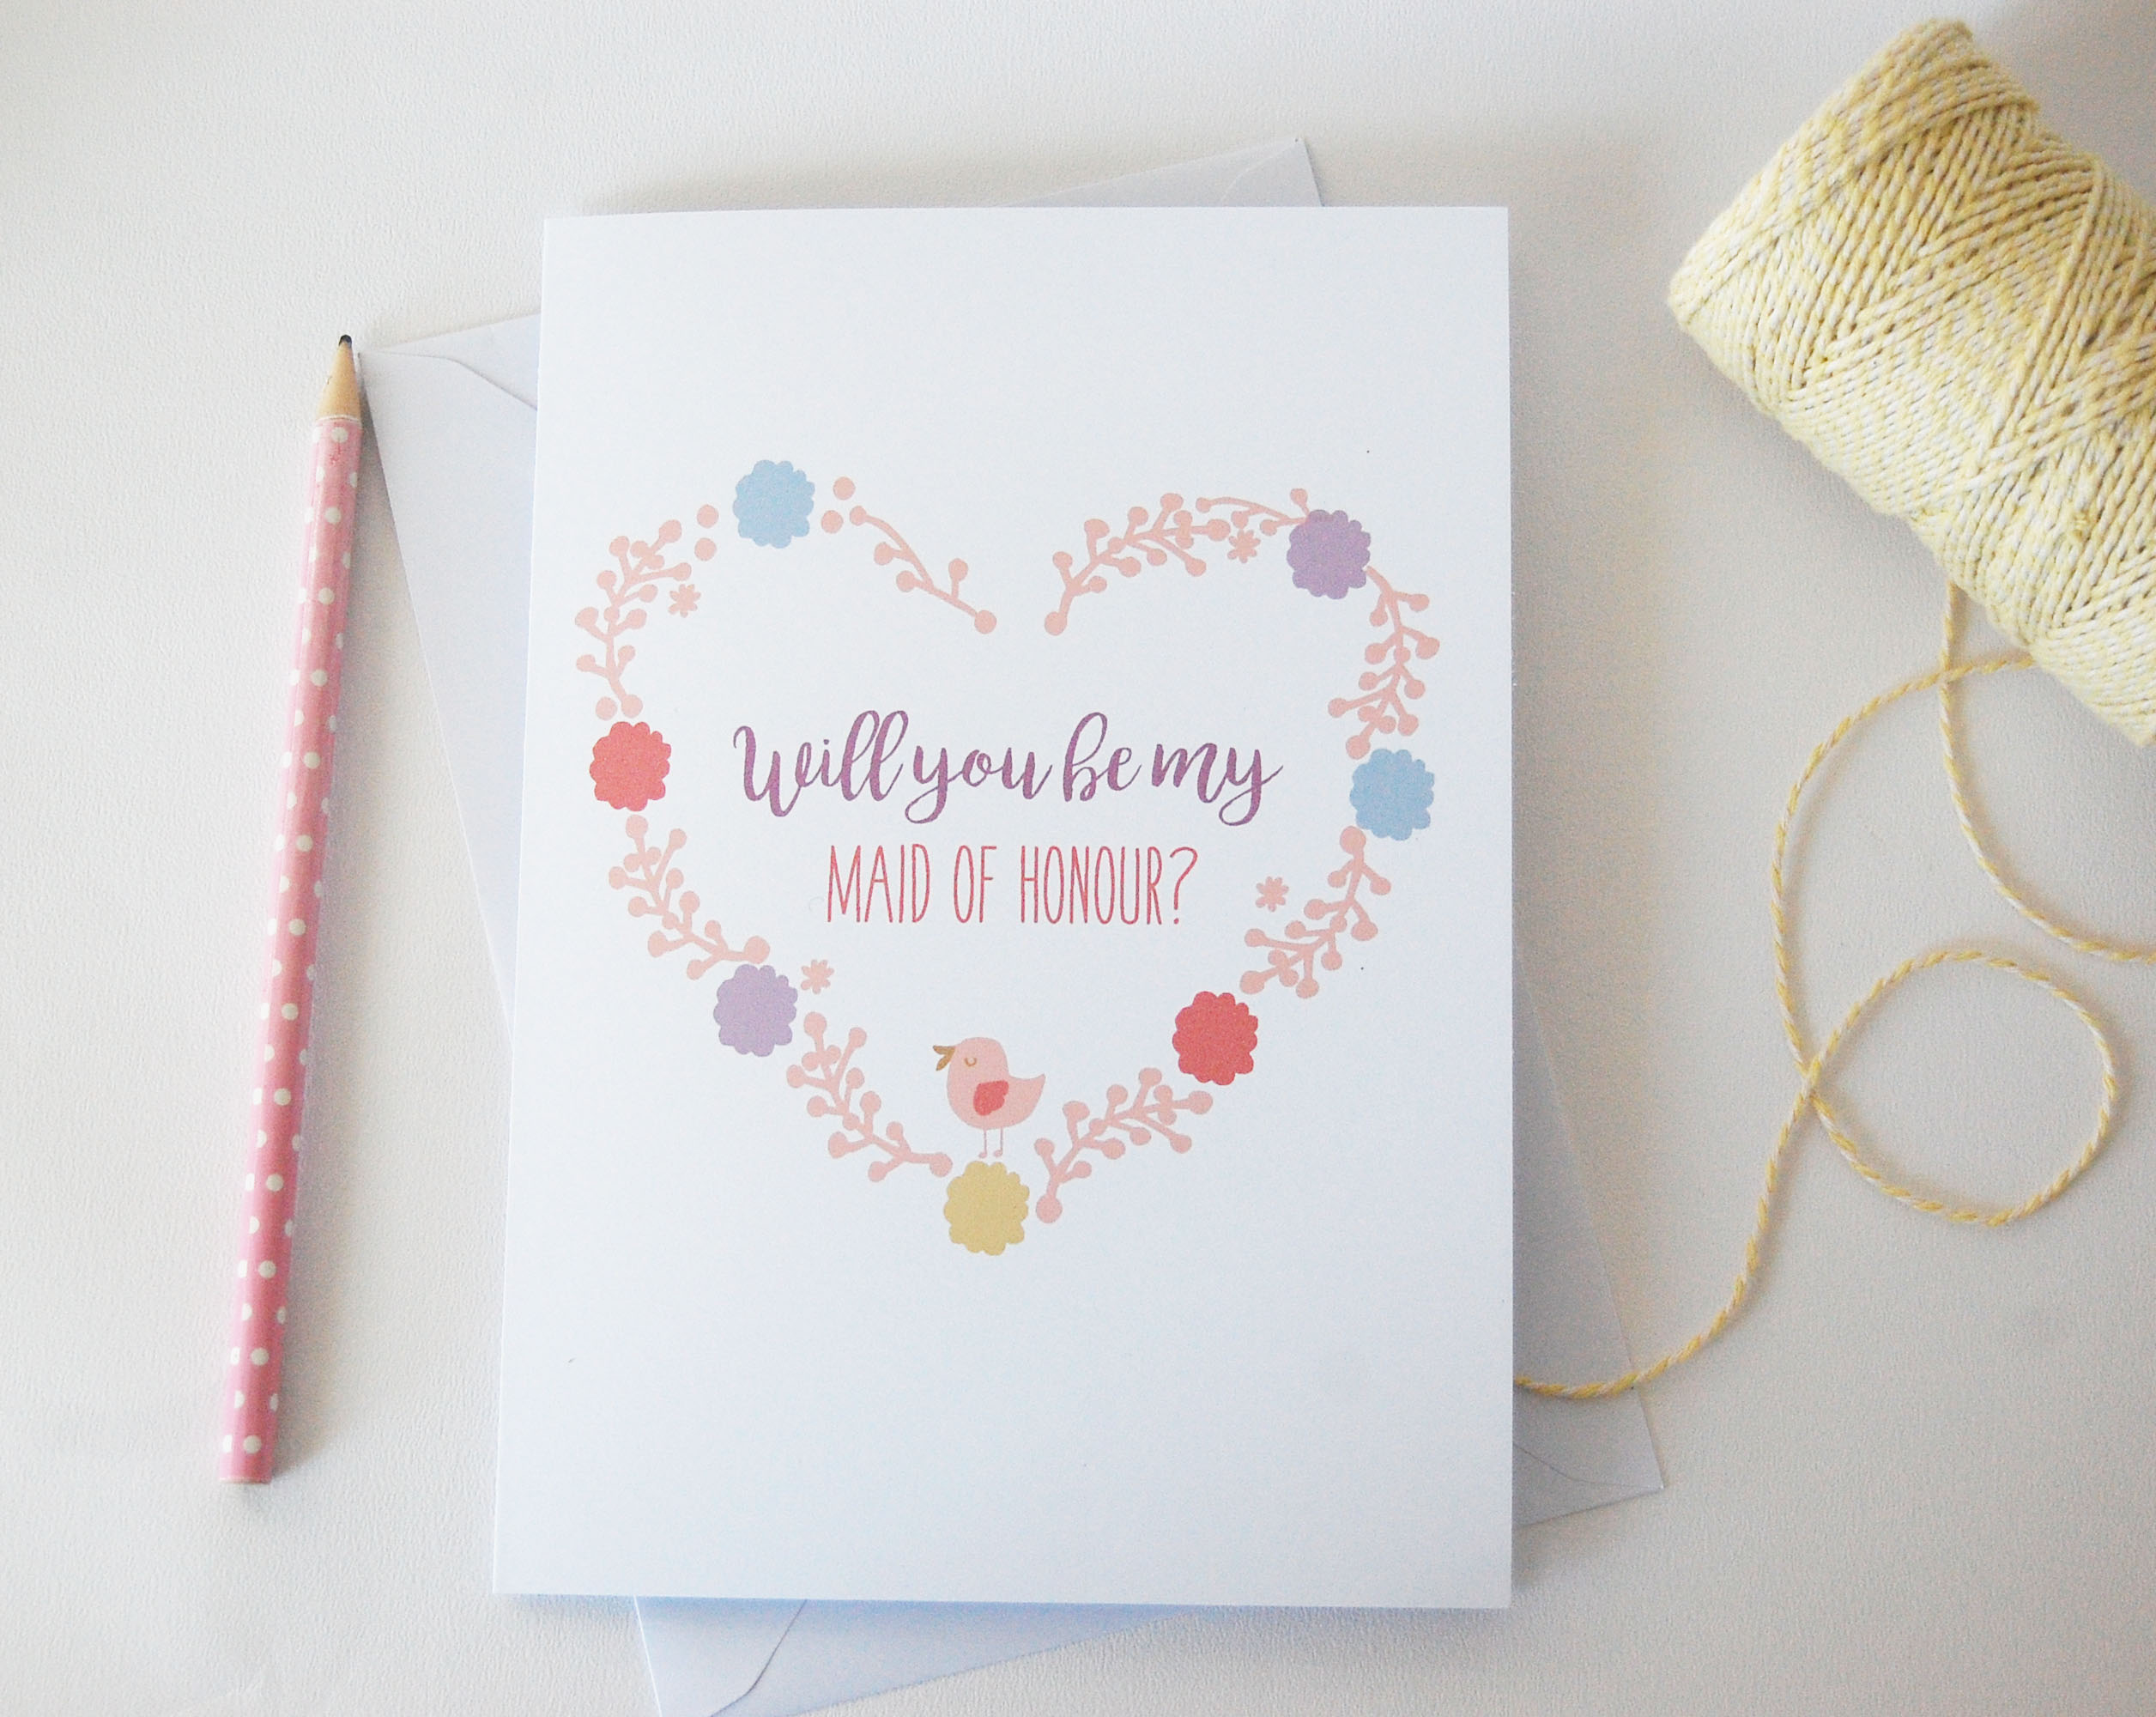
Last but certainly not least, is the maid of honour version. I’m an avid Instagram user and have noticed an increase in brides-to-be having maid’s of honour. Have you? I really hope these cards are a success. Even if they put a smile on one special person’s face on opening, that’s my job done! Do keep your eyes peeled as I am looking to expand my range on Etsy and Notonthehighstreet.
Happy Friday all! How has your week been? I thought I’d post a little update on the greetings cards I’ve been working on this week, available in my NOTHS and Etsy shops. I’ve designed two brand new cards, featuring my favourite colours. If you can’t get creative with your favourite colours when you’re busy designing, then when can you? I’ve decided to run a trial on personalised cards to see how much my lovely customers like them. After offering non personalised greetings cards before, with some success (but admittedly not as much as I’d hoped) I am feeling positive about these ones! What do you think?
I love the idea that personalised cards can potentially be treasured as keepsakes for some time. I always feel special when I’m given a lovely card, as I really appreciate the time that lovely person has spent choosing and sending it, particularly when social media and email is so prevalent now! Imagine how special the recipient would feel to know they have had a card designed especially for them?
I figured Personalised ‘Bridesmaid Thank you Cards’ and personalised ‘Happy Birthday Cards’ were a good place to start, but I hope to roll more designs out very soon. In the mean time, I hope you have a lovely weekend wherever you are in the world. Thank you so much for reading and I hope I’ve inspired you!
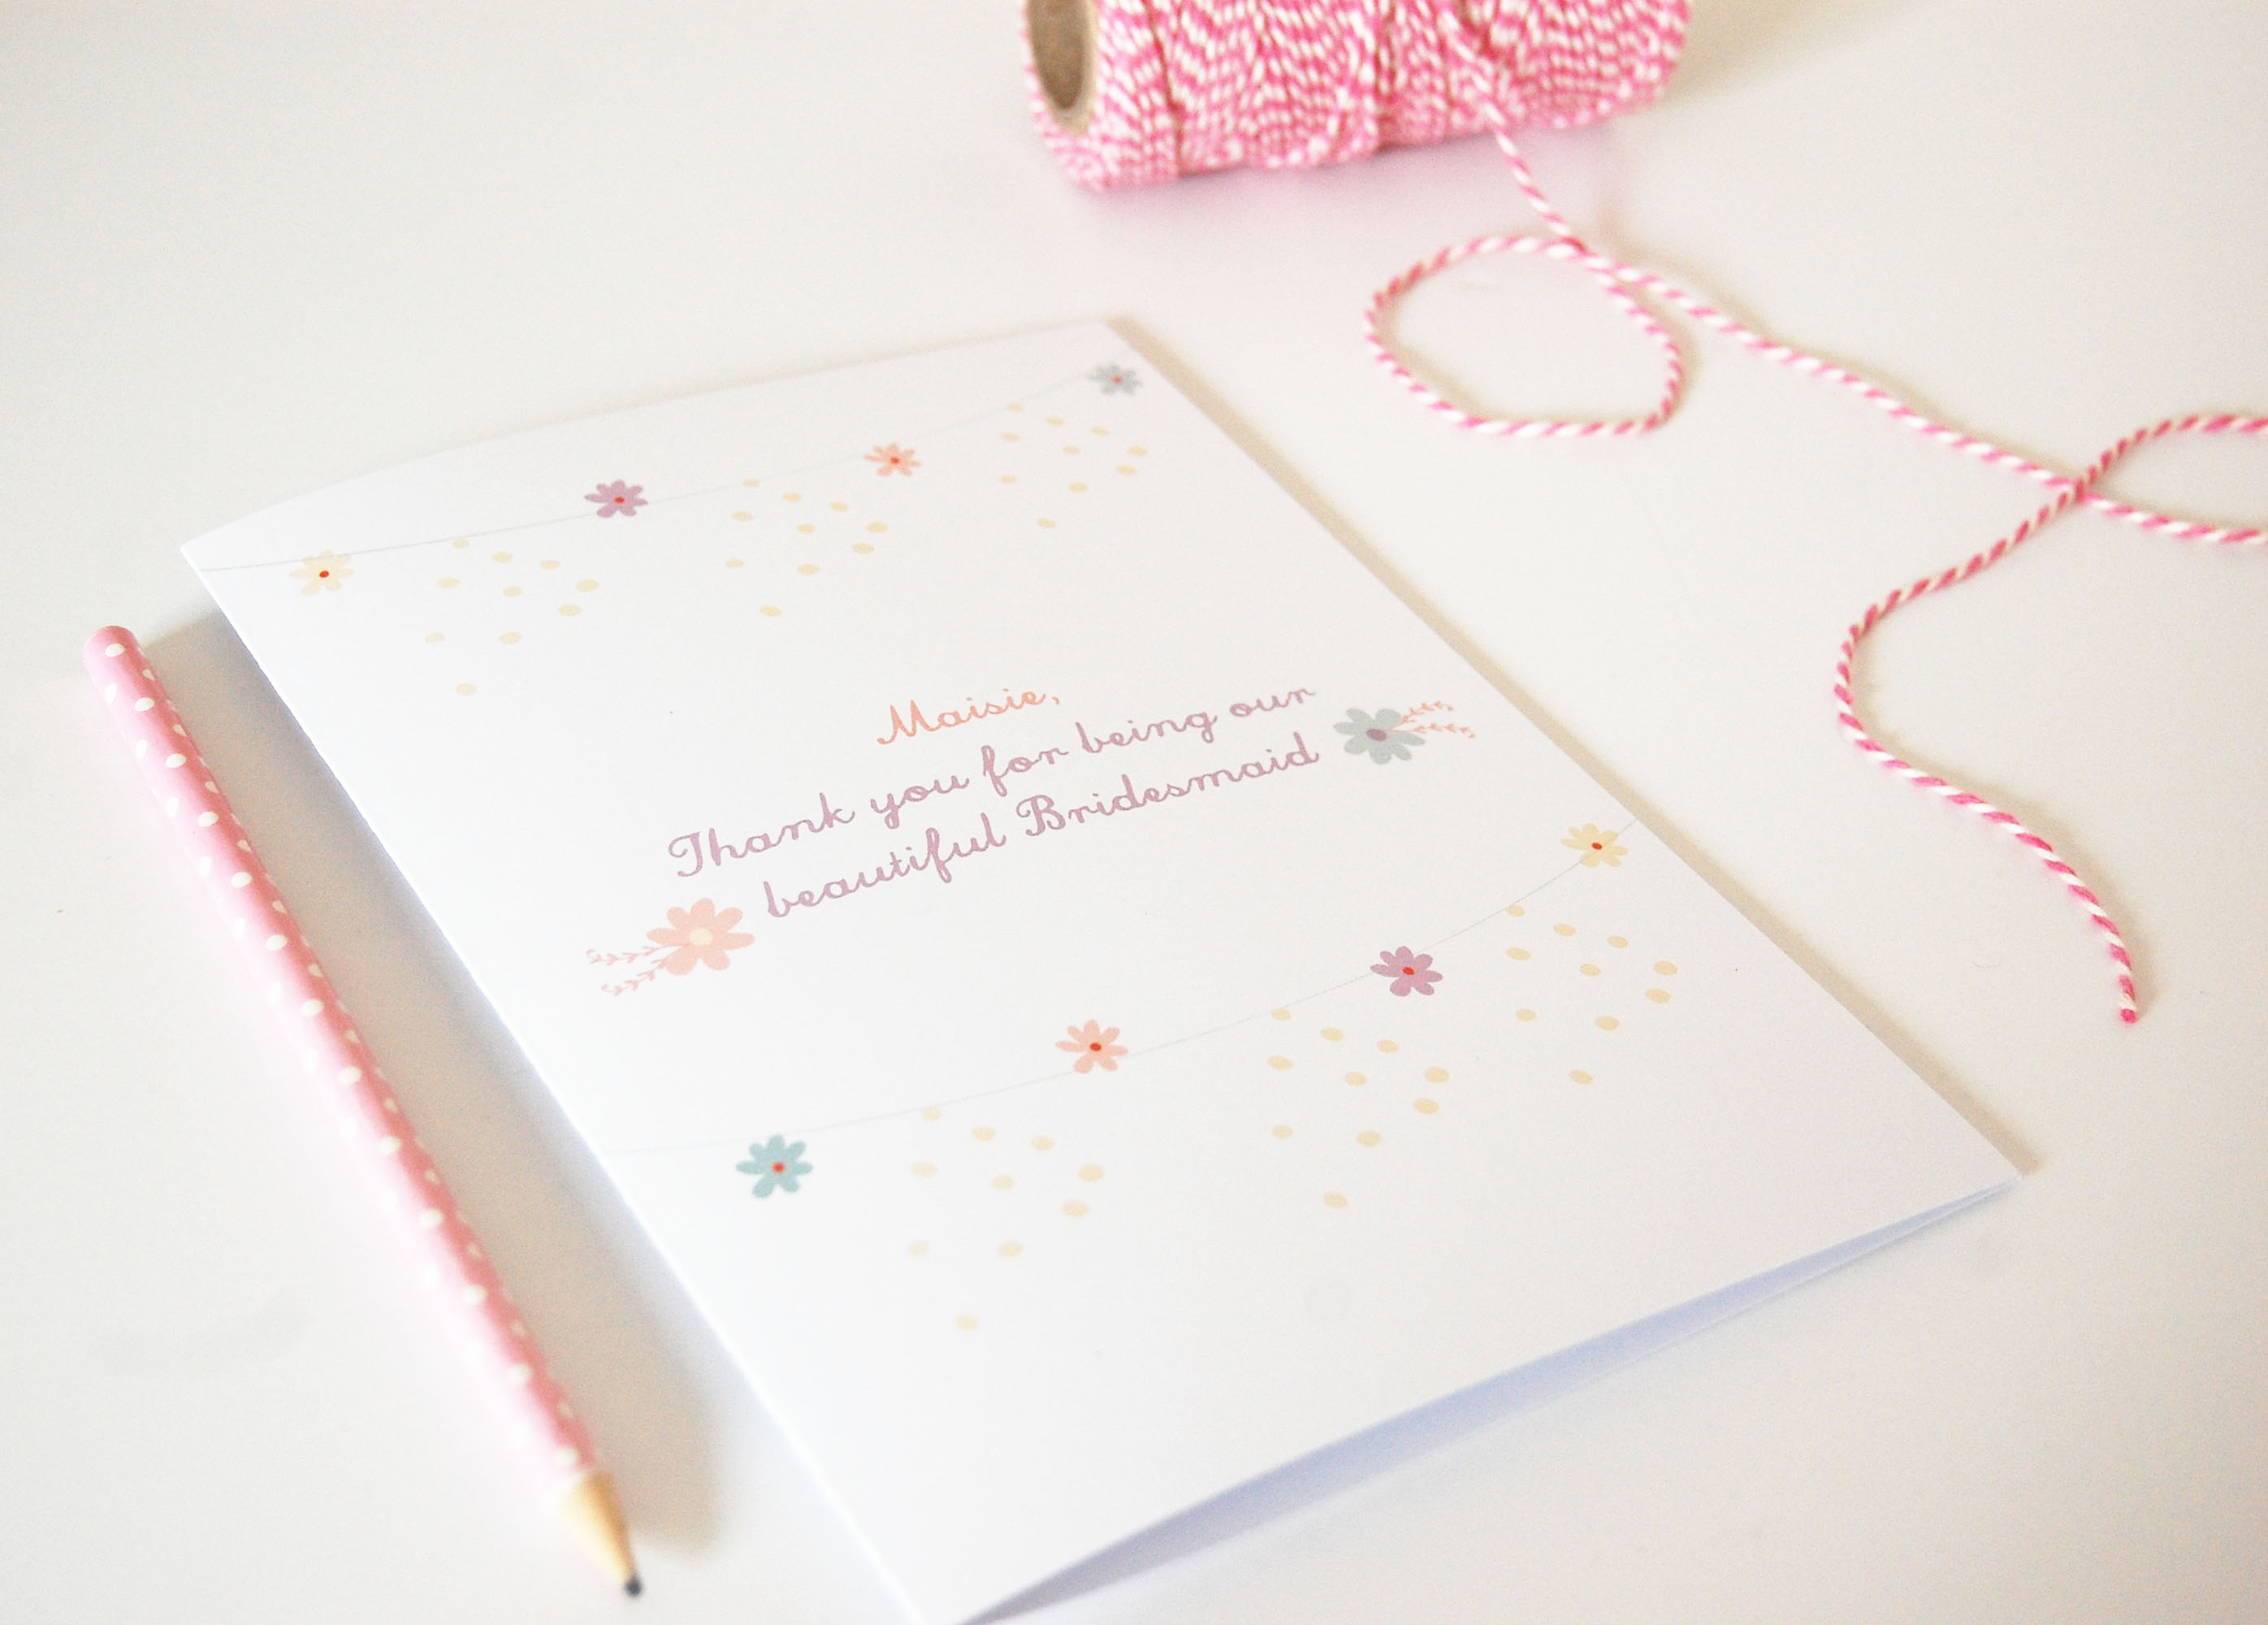
I recently had the pleasure of taking part in a craft swap with the lovely RubyRedcrafts. It was the first craft swap I’ve ever participated in and it was so much fun. I’ve been following Rachel from RubyRedcrafts on Instagram for some time and after seeing all of her beautiful makes, I was able to gain a real sense of what kind of things she liked. Here’s what I made:
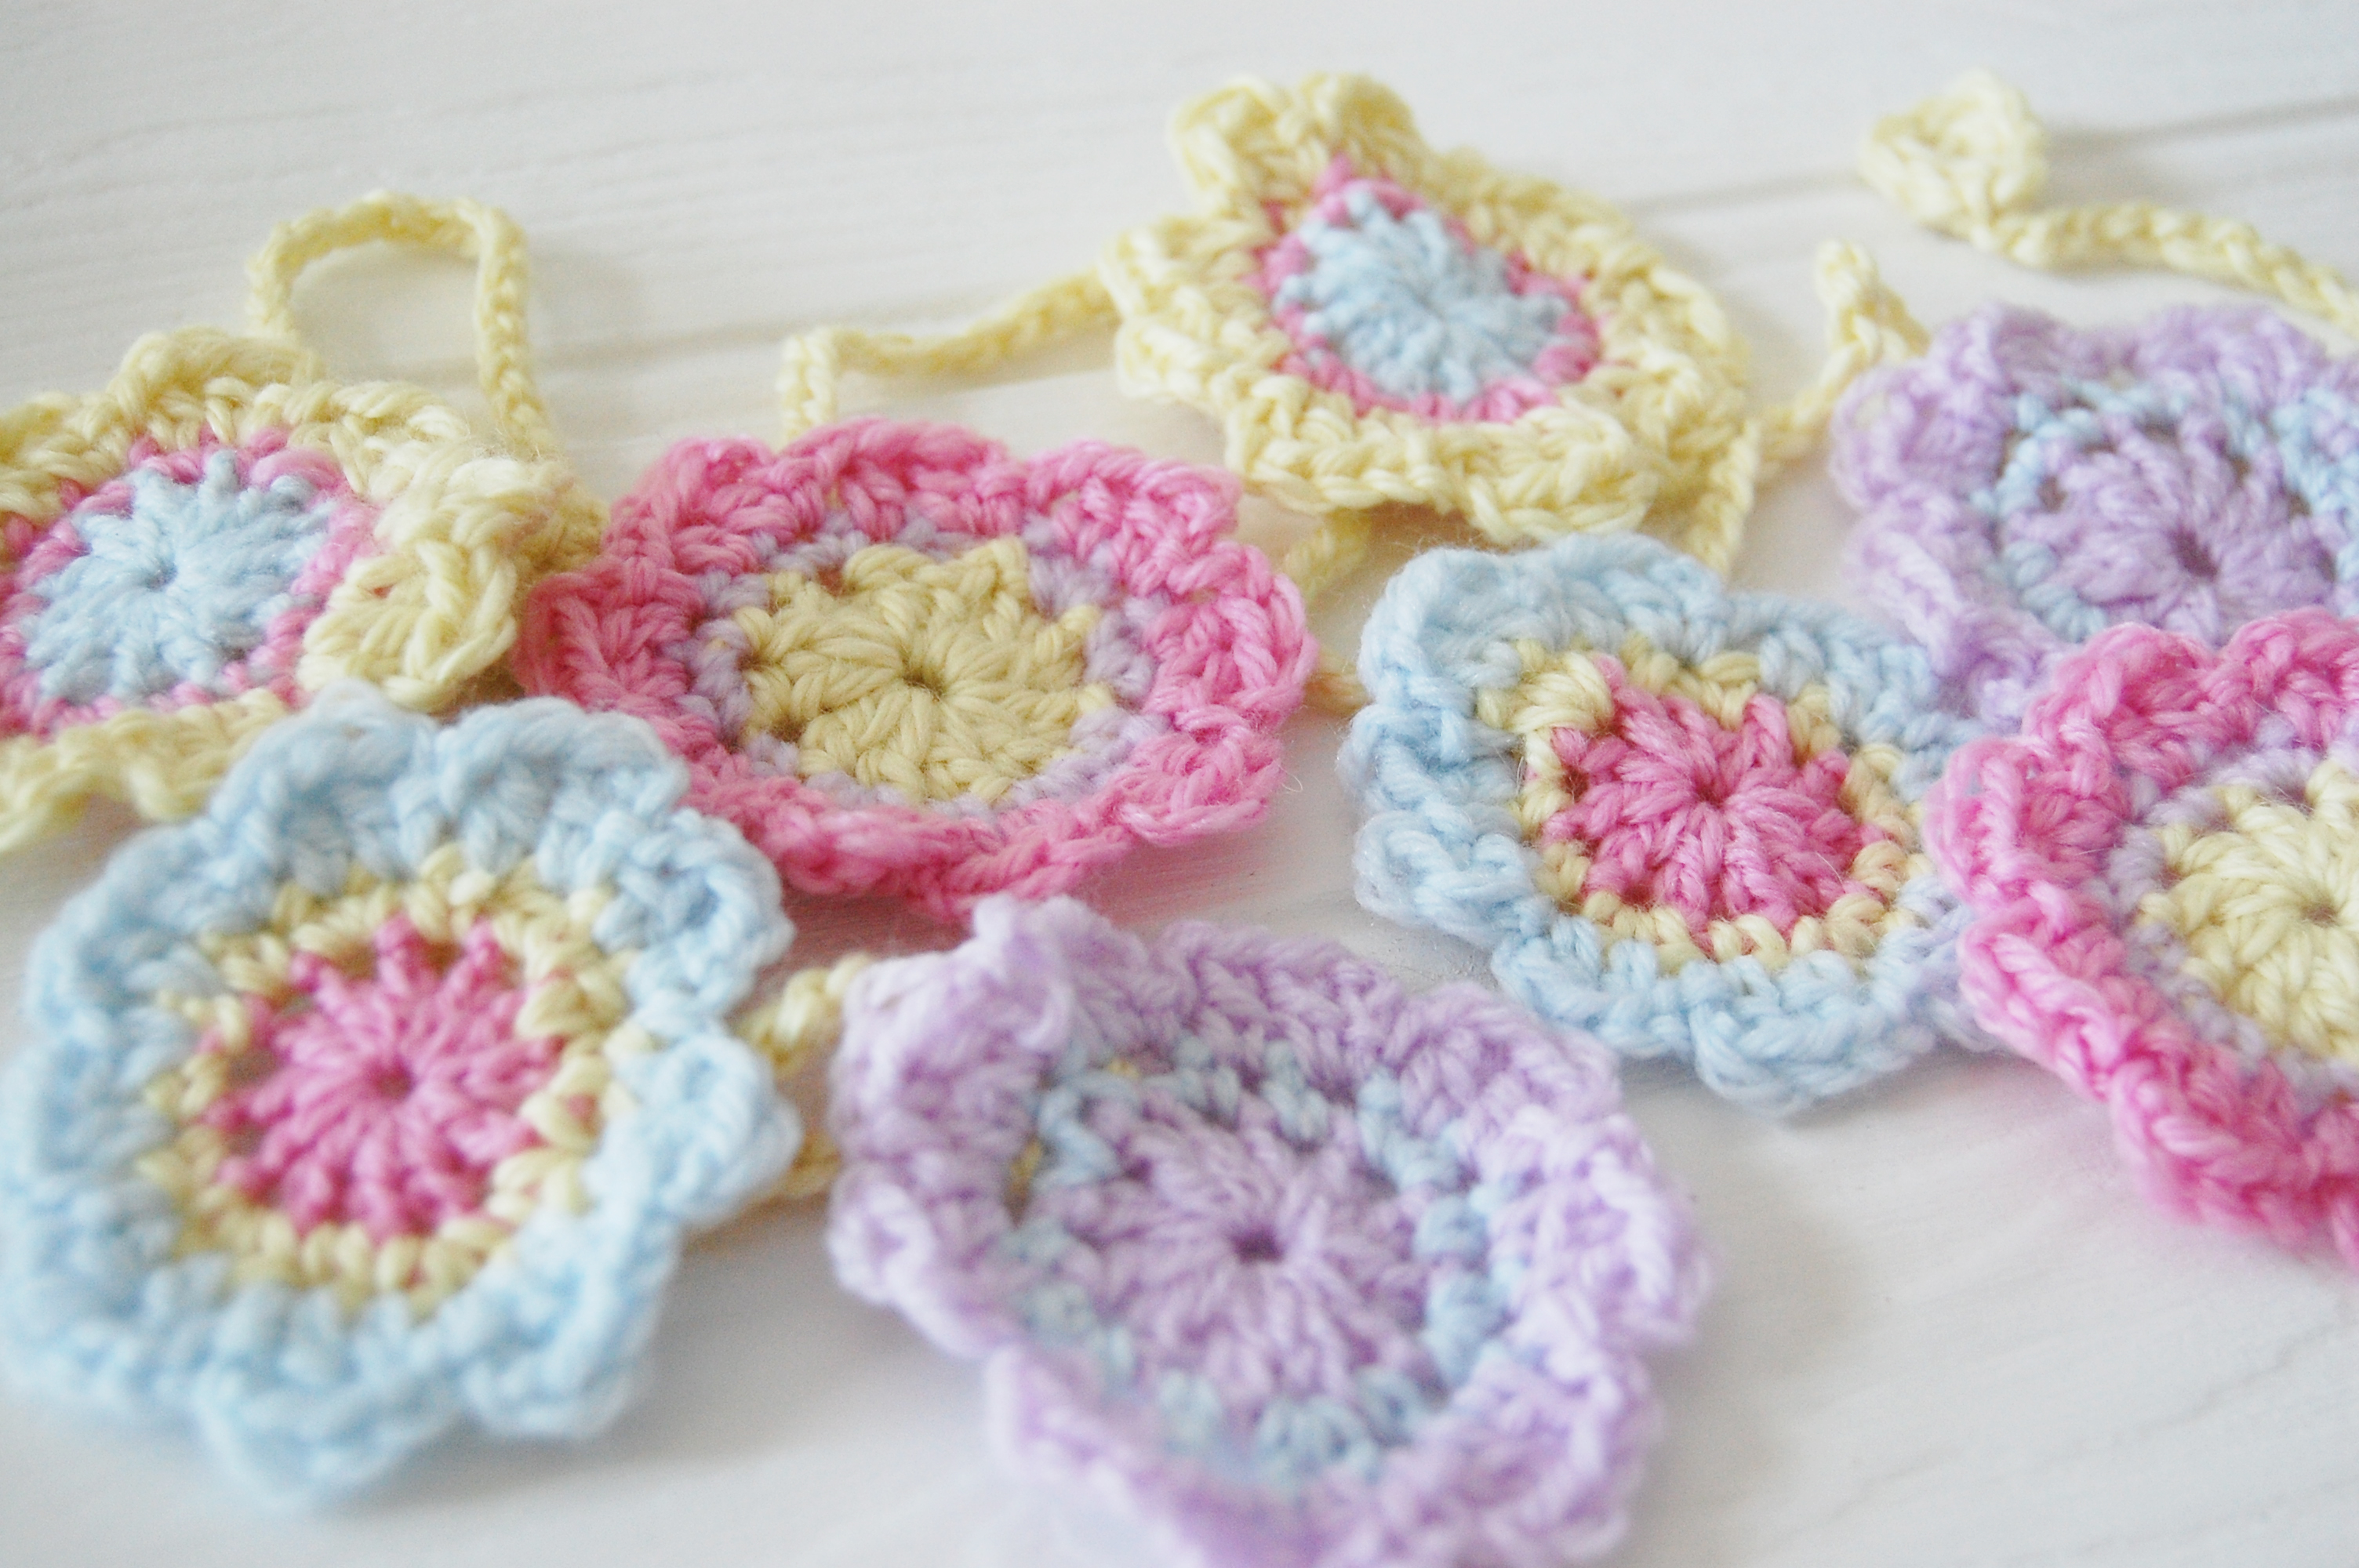
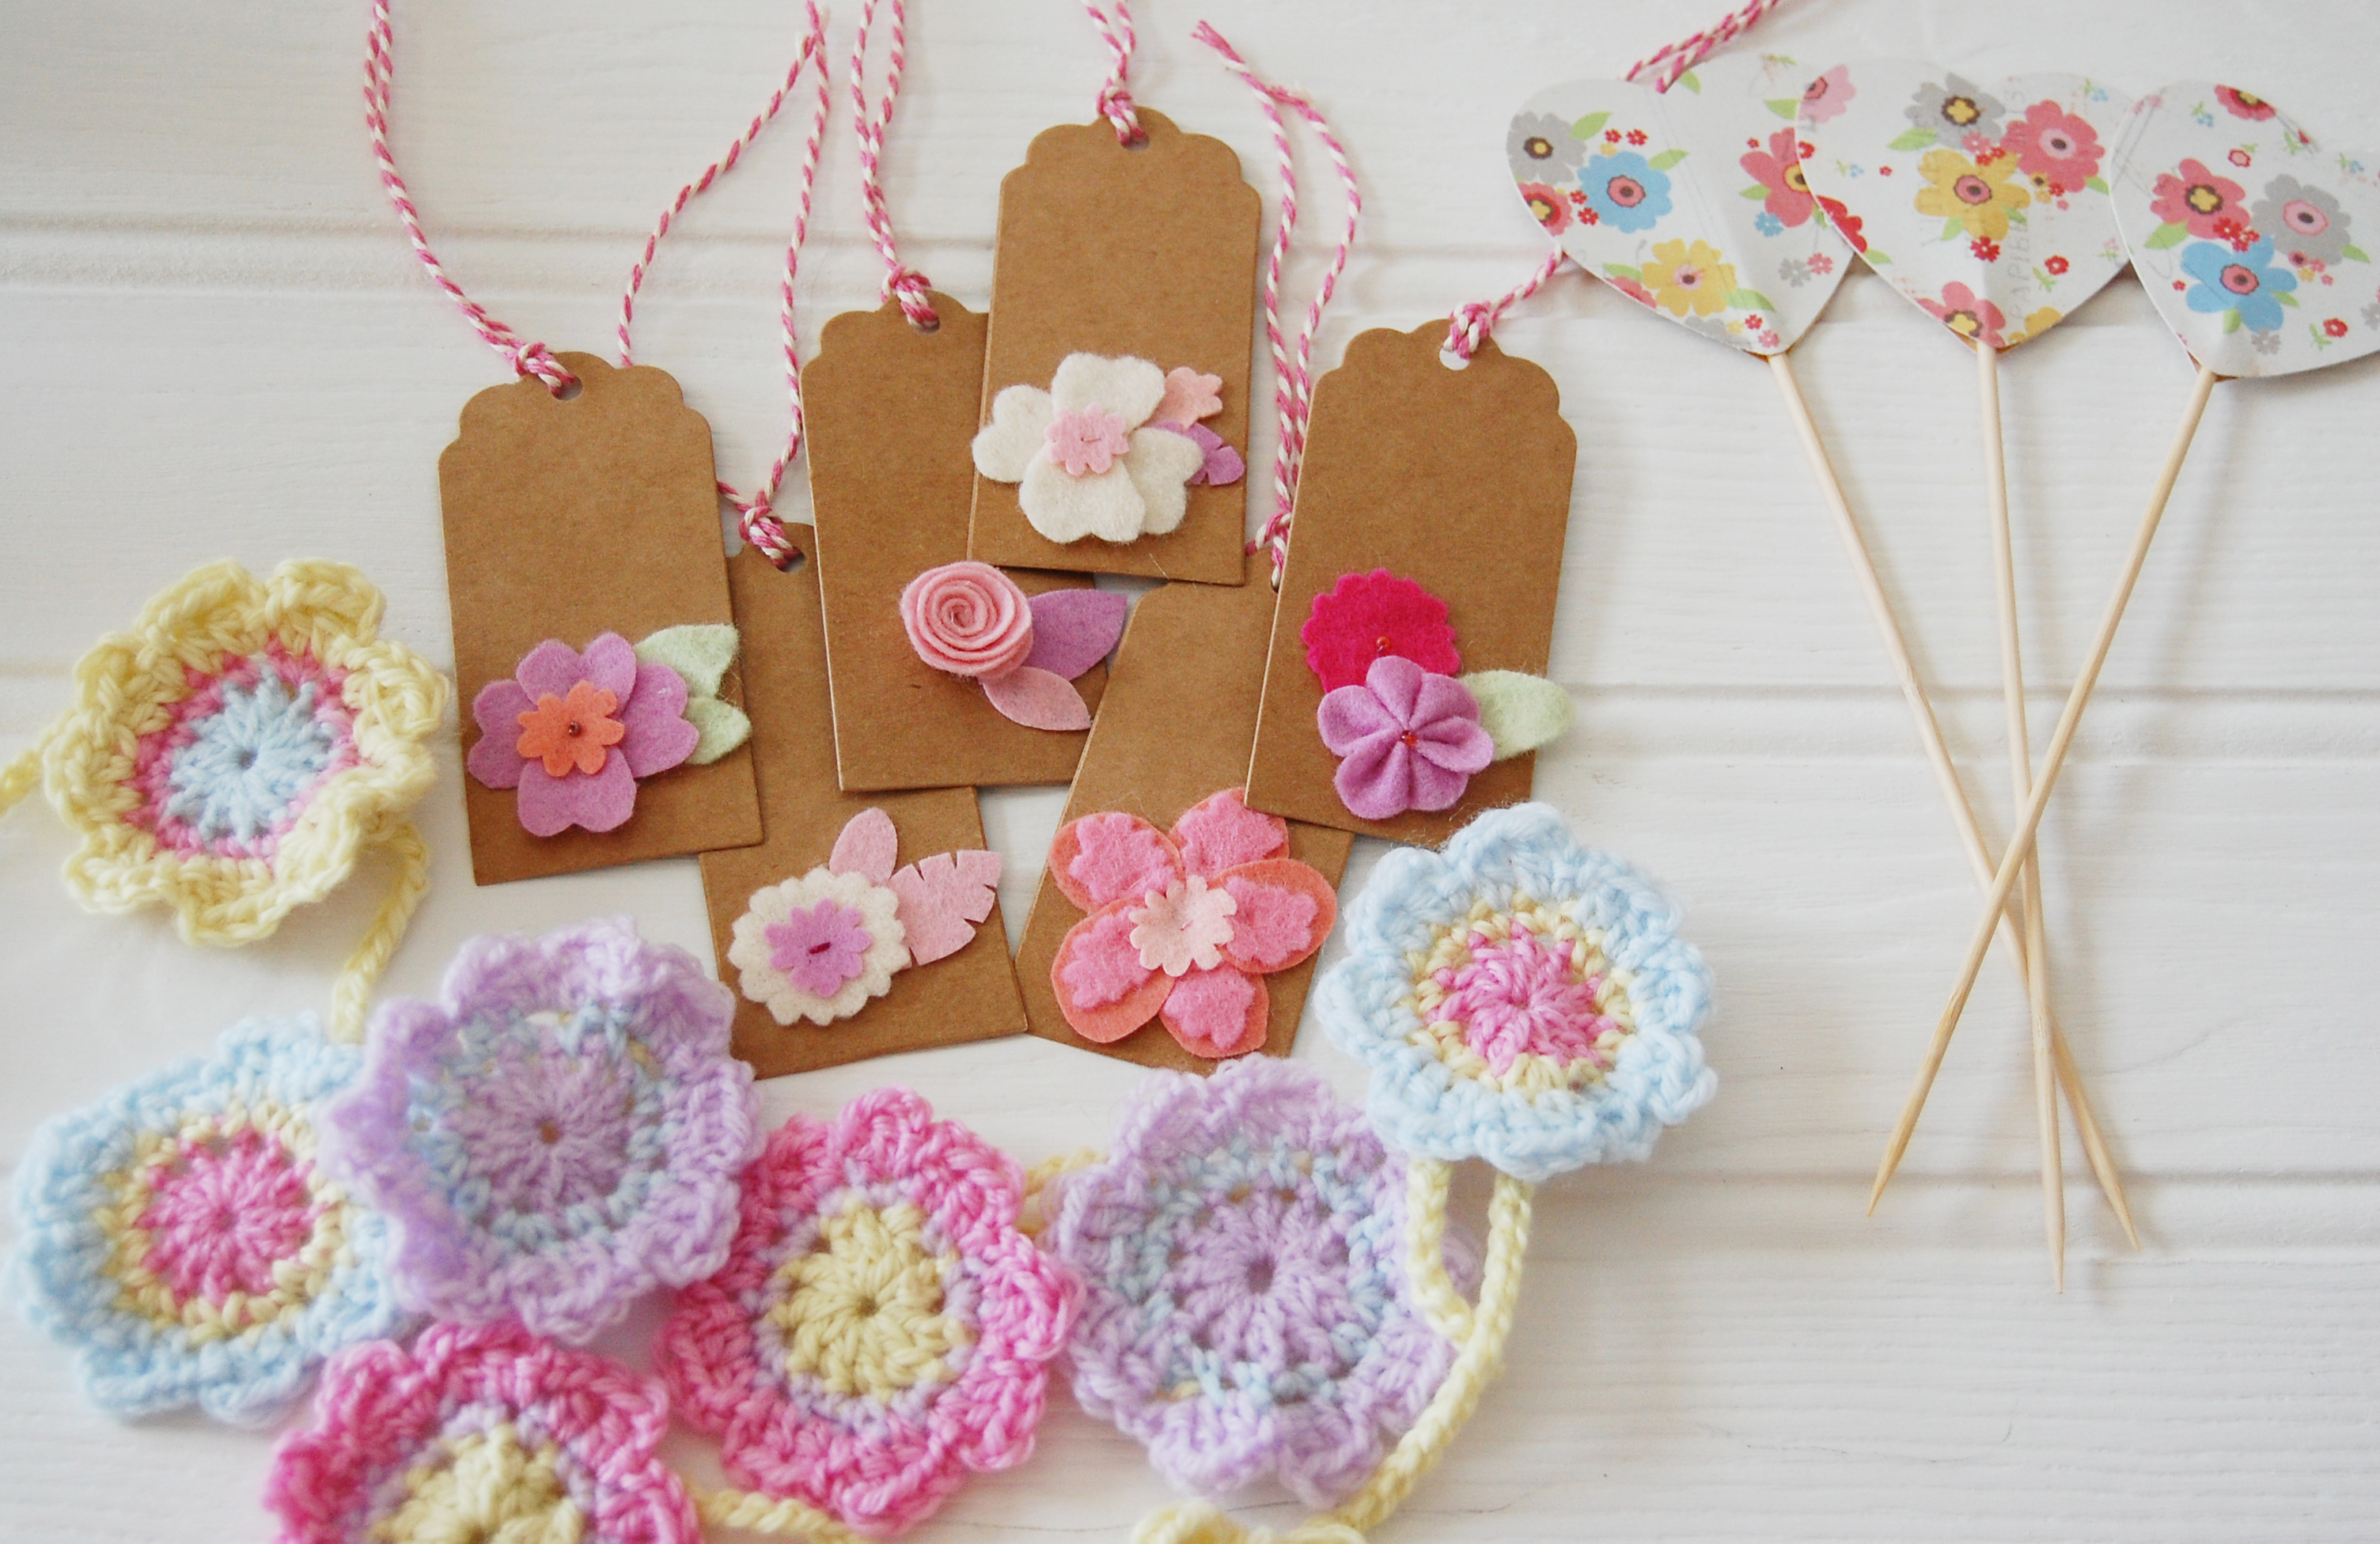
Anybody who knows me well, knows that I absolutely love crochet. I taught myself to crochet several years ago and have been happily ‘hooking’ ever since! I just find it so incredibly therapeutic (unless of course I’m following a very tricky pattern) and I love how easy it is to add colour. I run a local, fortnightly crochet group in a cafe, so a lot of tasty cake and warm hot chocolate was consumed whilst this was made. As Easter is coming up, I thought it would make the perfect garland. I’ve made quite a few crocheted party decorations similar to this and I always have so much fun with them.
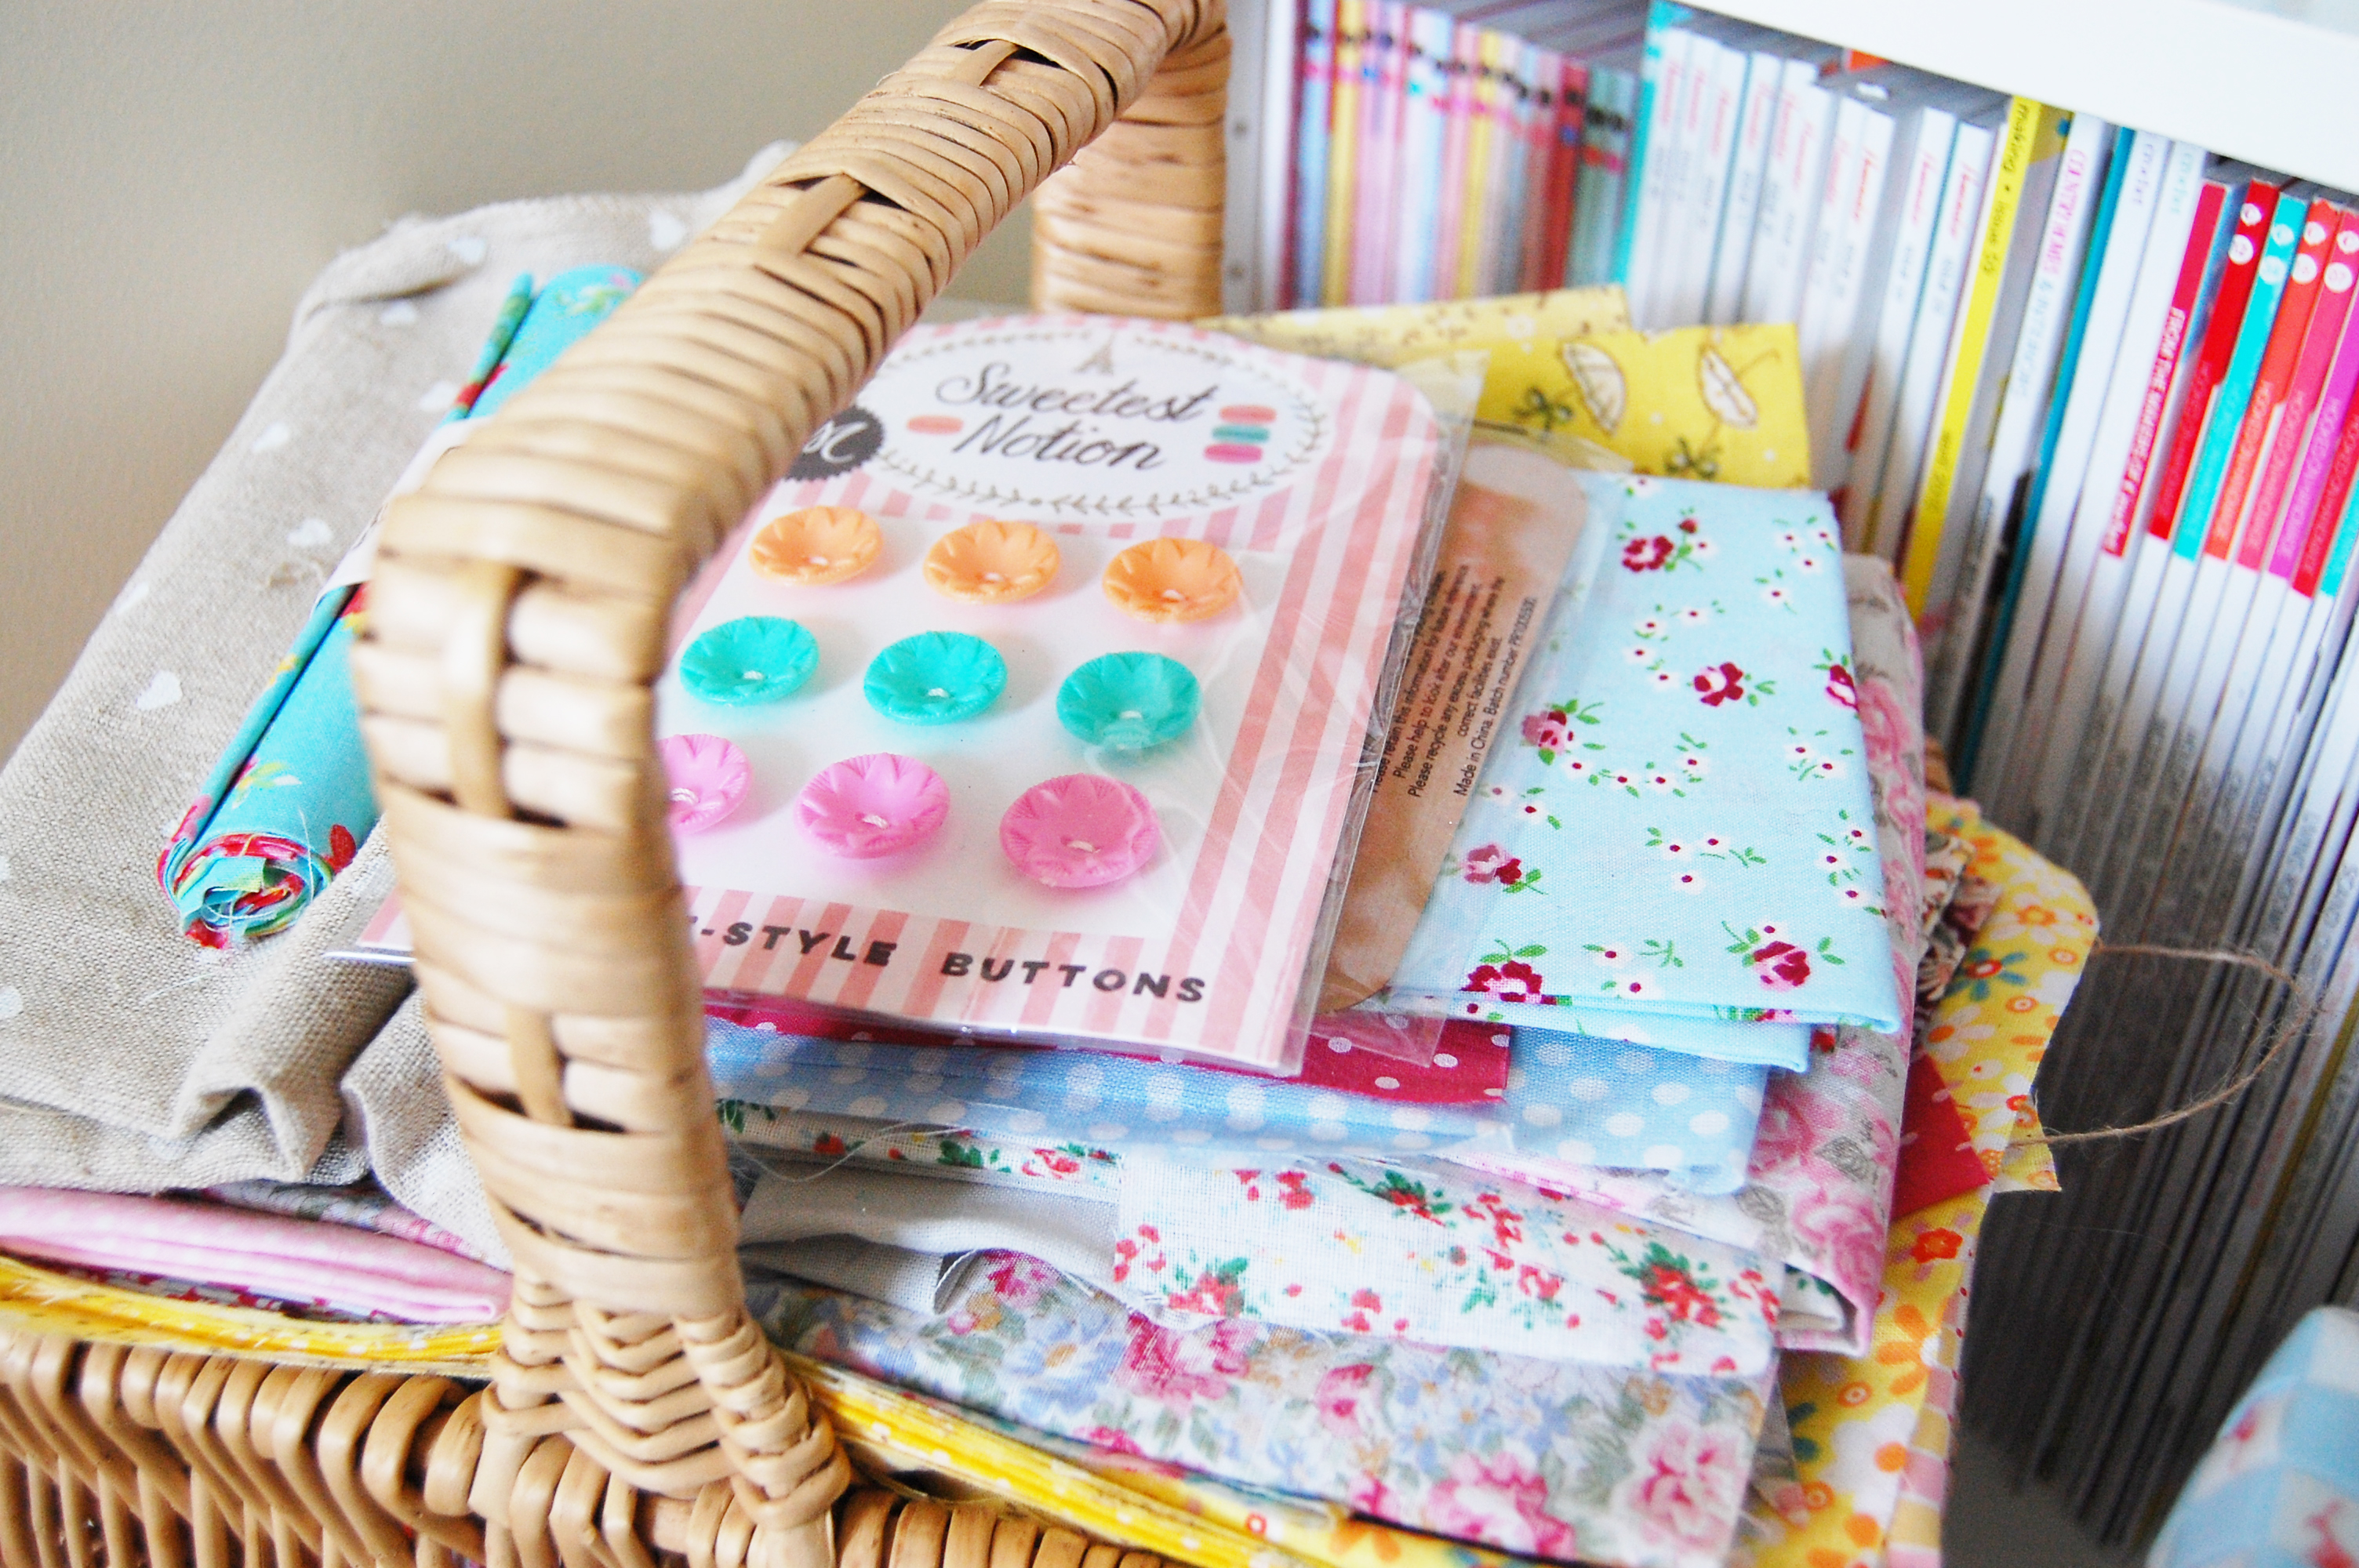
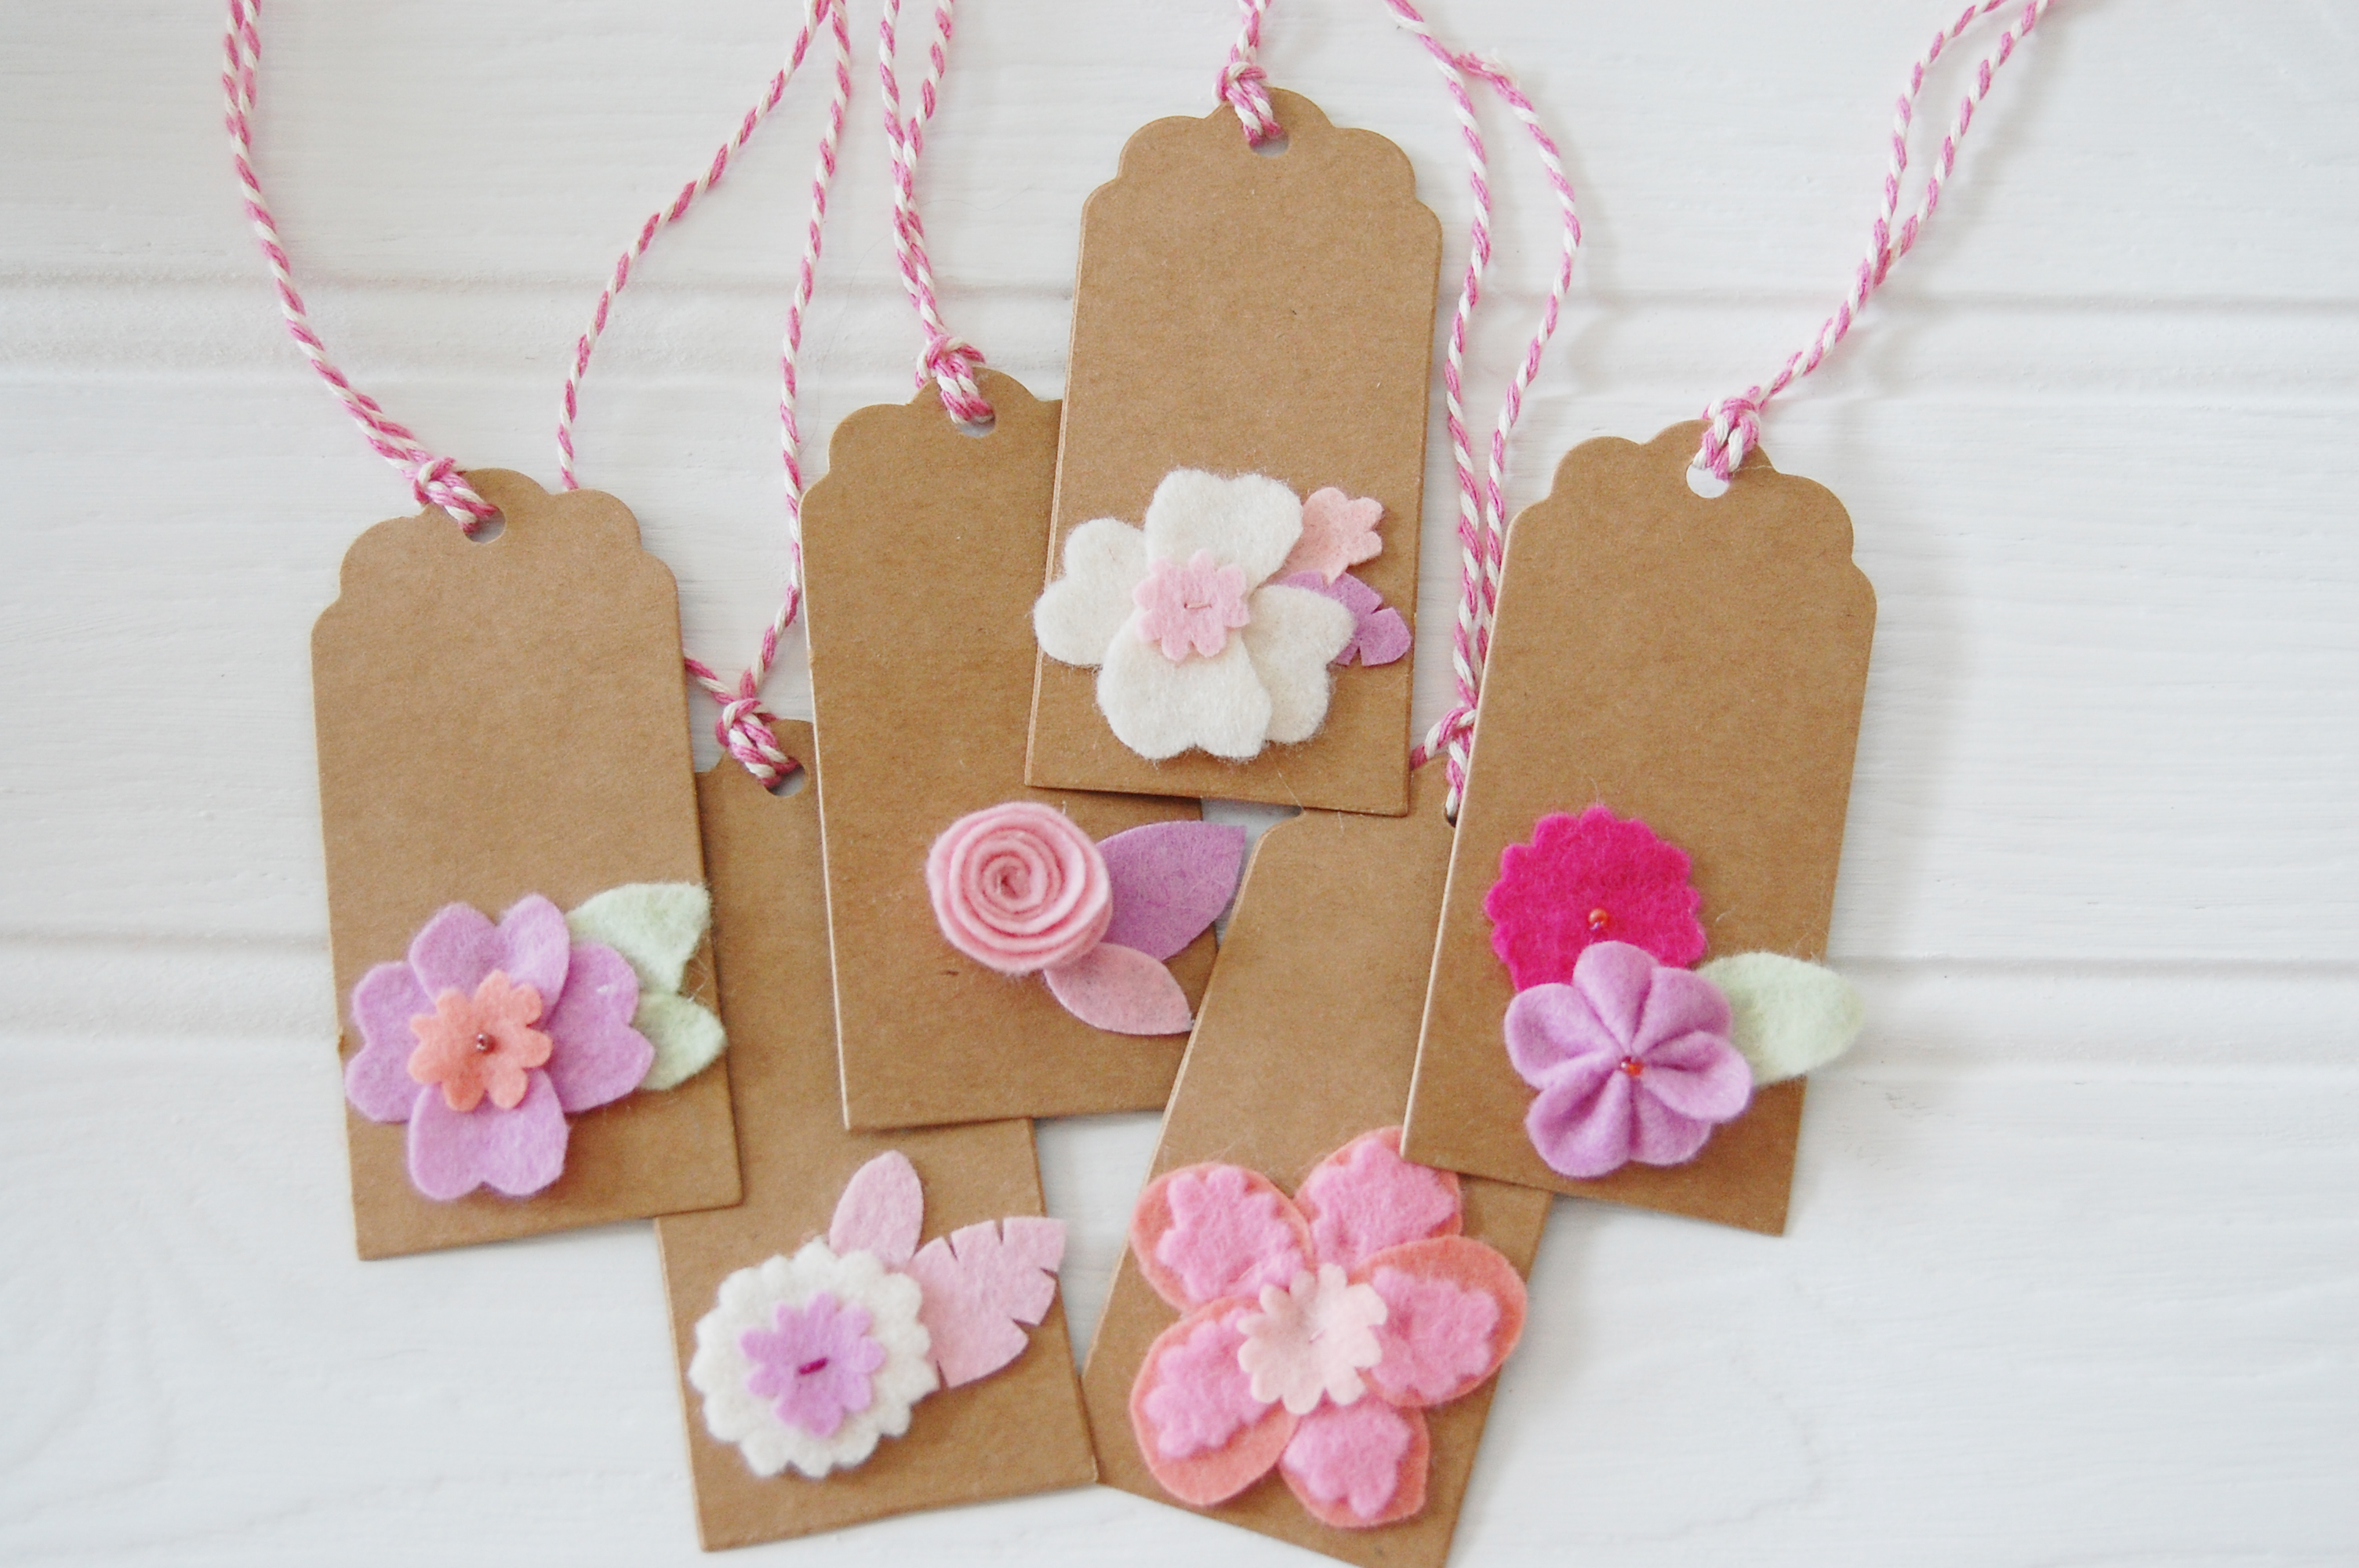
Pastel felt flower gift tags with pink twine, need I say any more? Rachel spends a lot of time in her craft room and plans to use these as organisational tags for all of her crafty bits. The felt flowers were all cut by hand by myself. I drew a brief outline of each flower on thin paper to start with to use as templates. After choosing the felt and cutting out each shape, I used a mixture of hand sewing and hot glue gun, with some added embellishments. The brown gift tags came from my local craft store and were the perfect colour, as the pastel colours really shine through against the background colour.
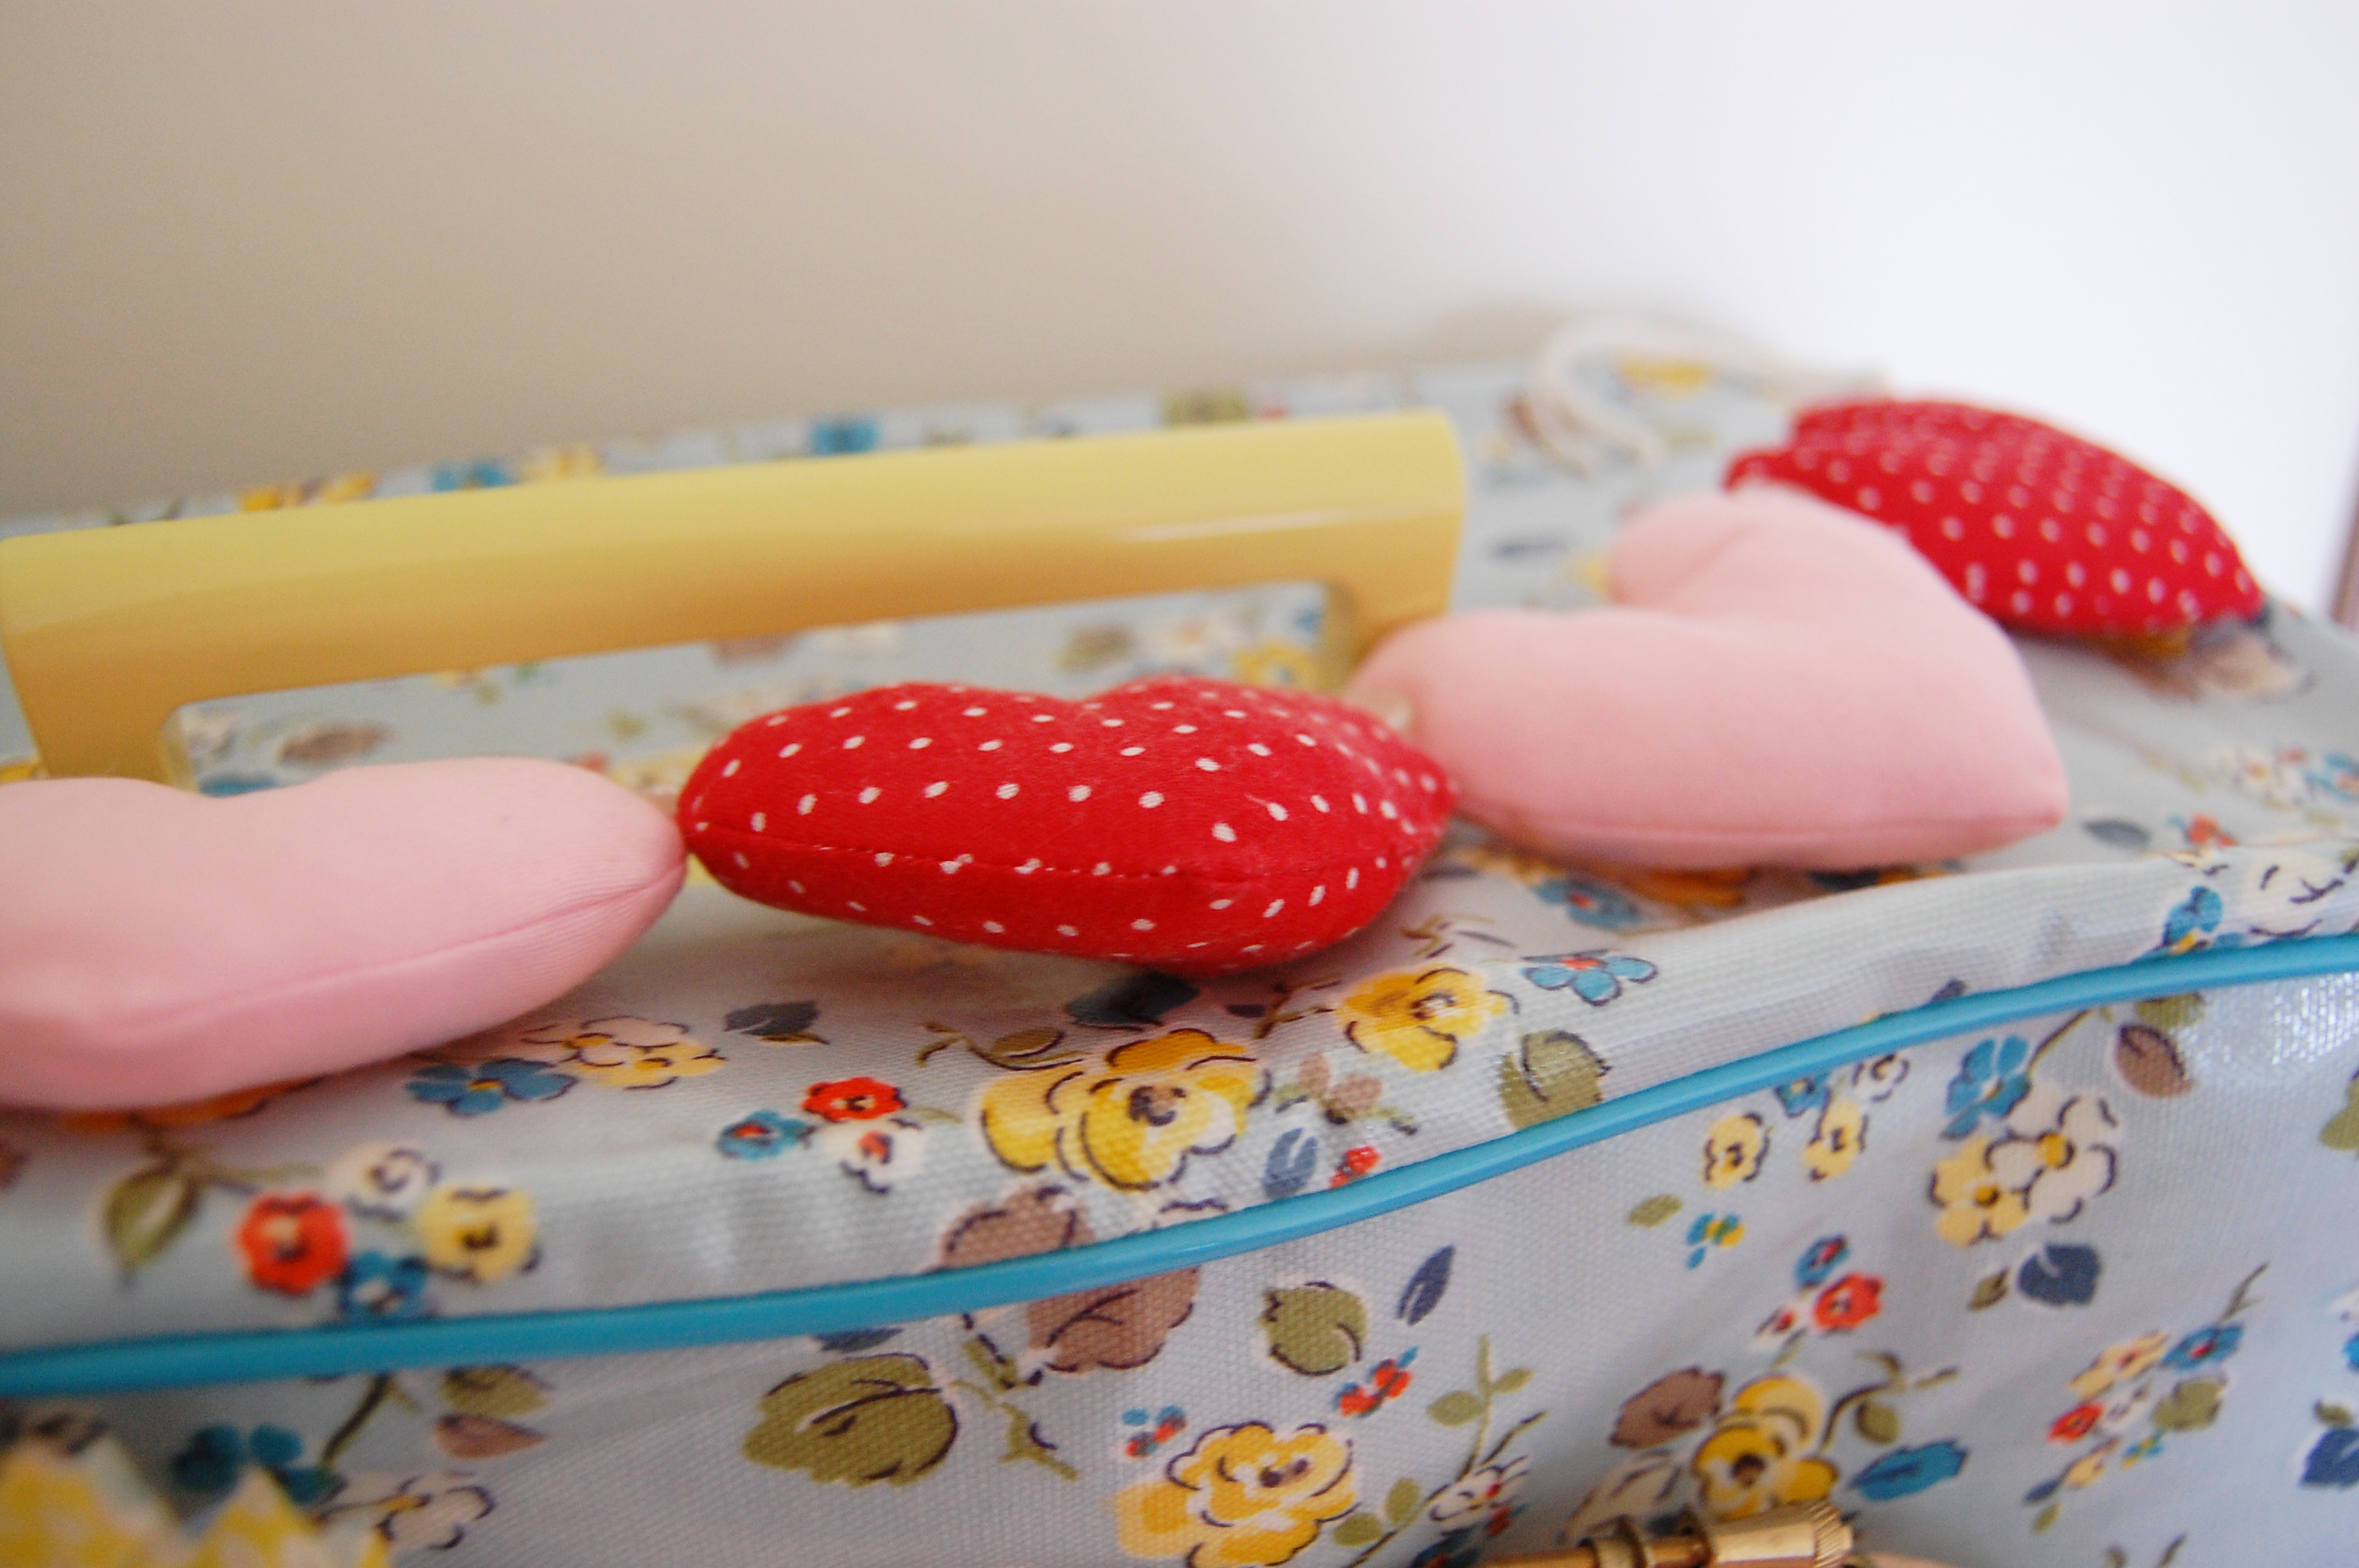
Rachel and I agreed on three items, the third being these tall, patterned heart cake toppers, perfect for decorating beautiful cakes with at special parties and events.
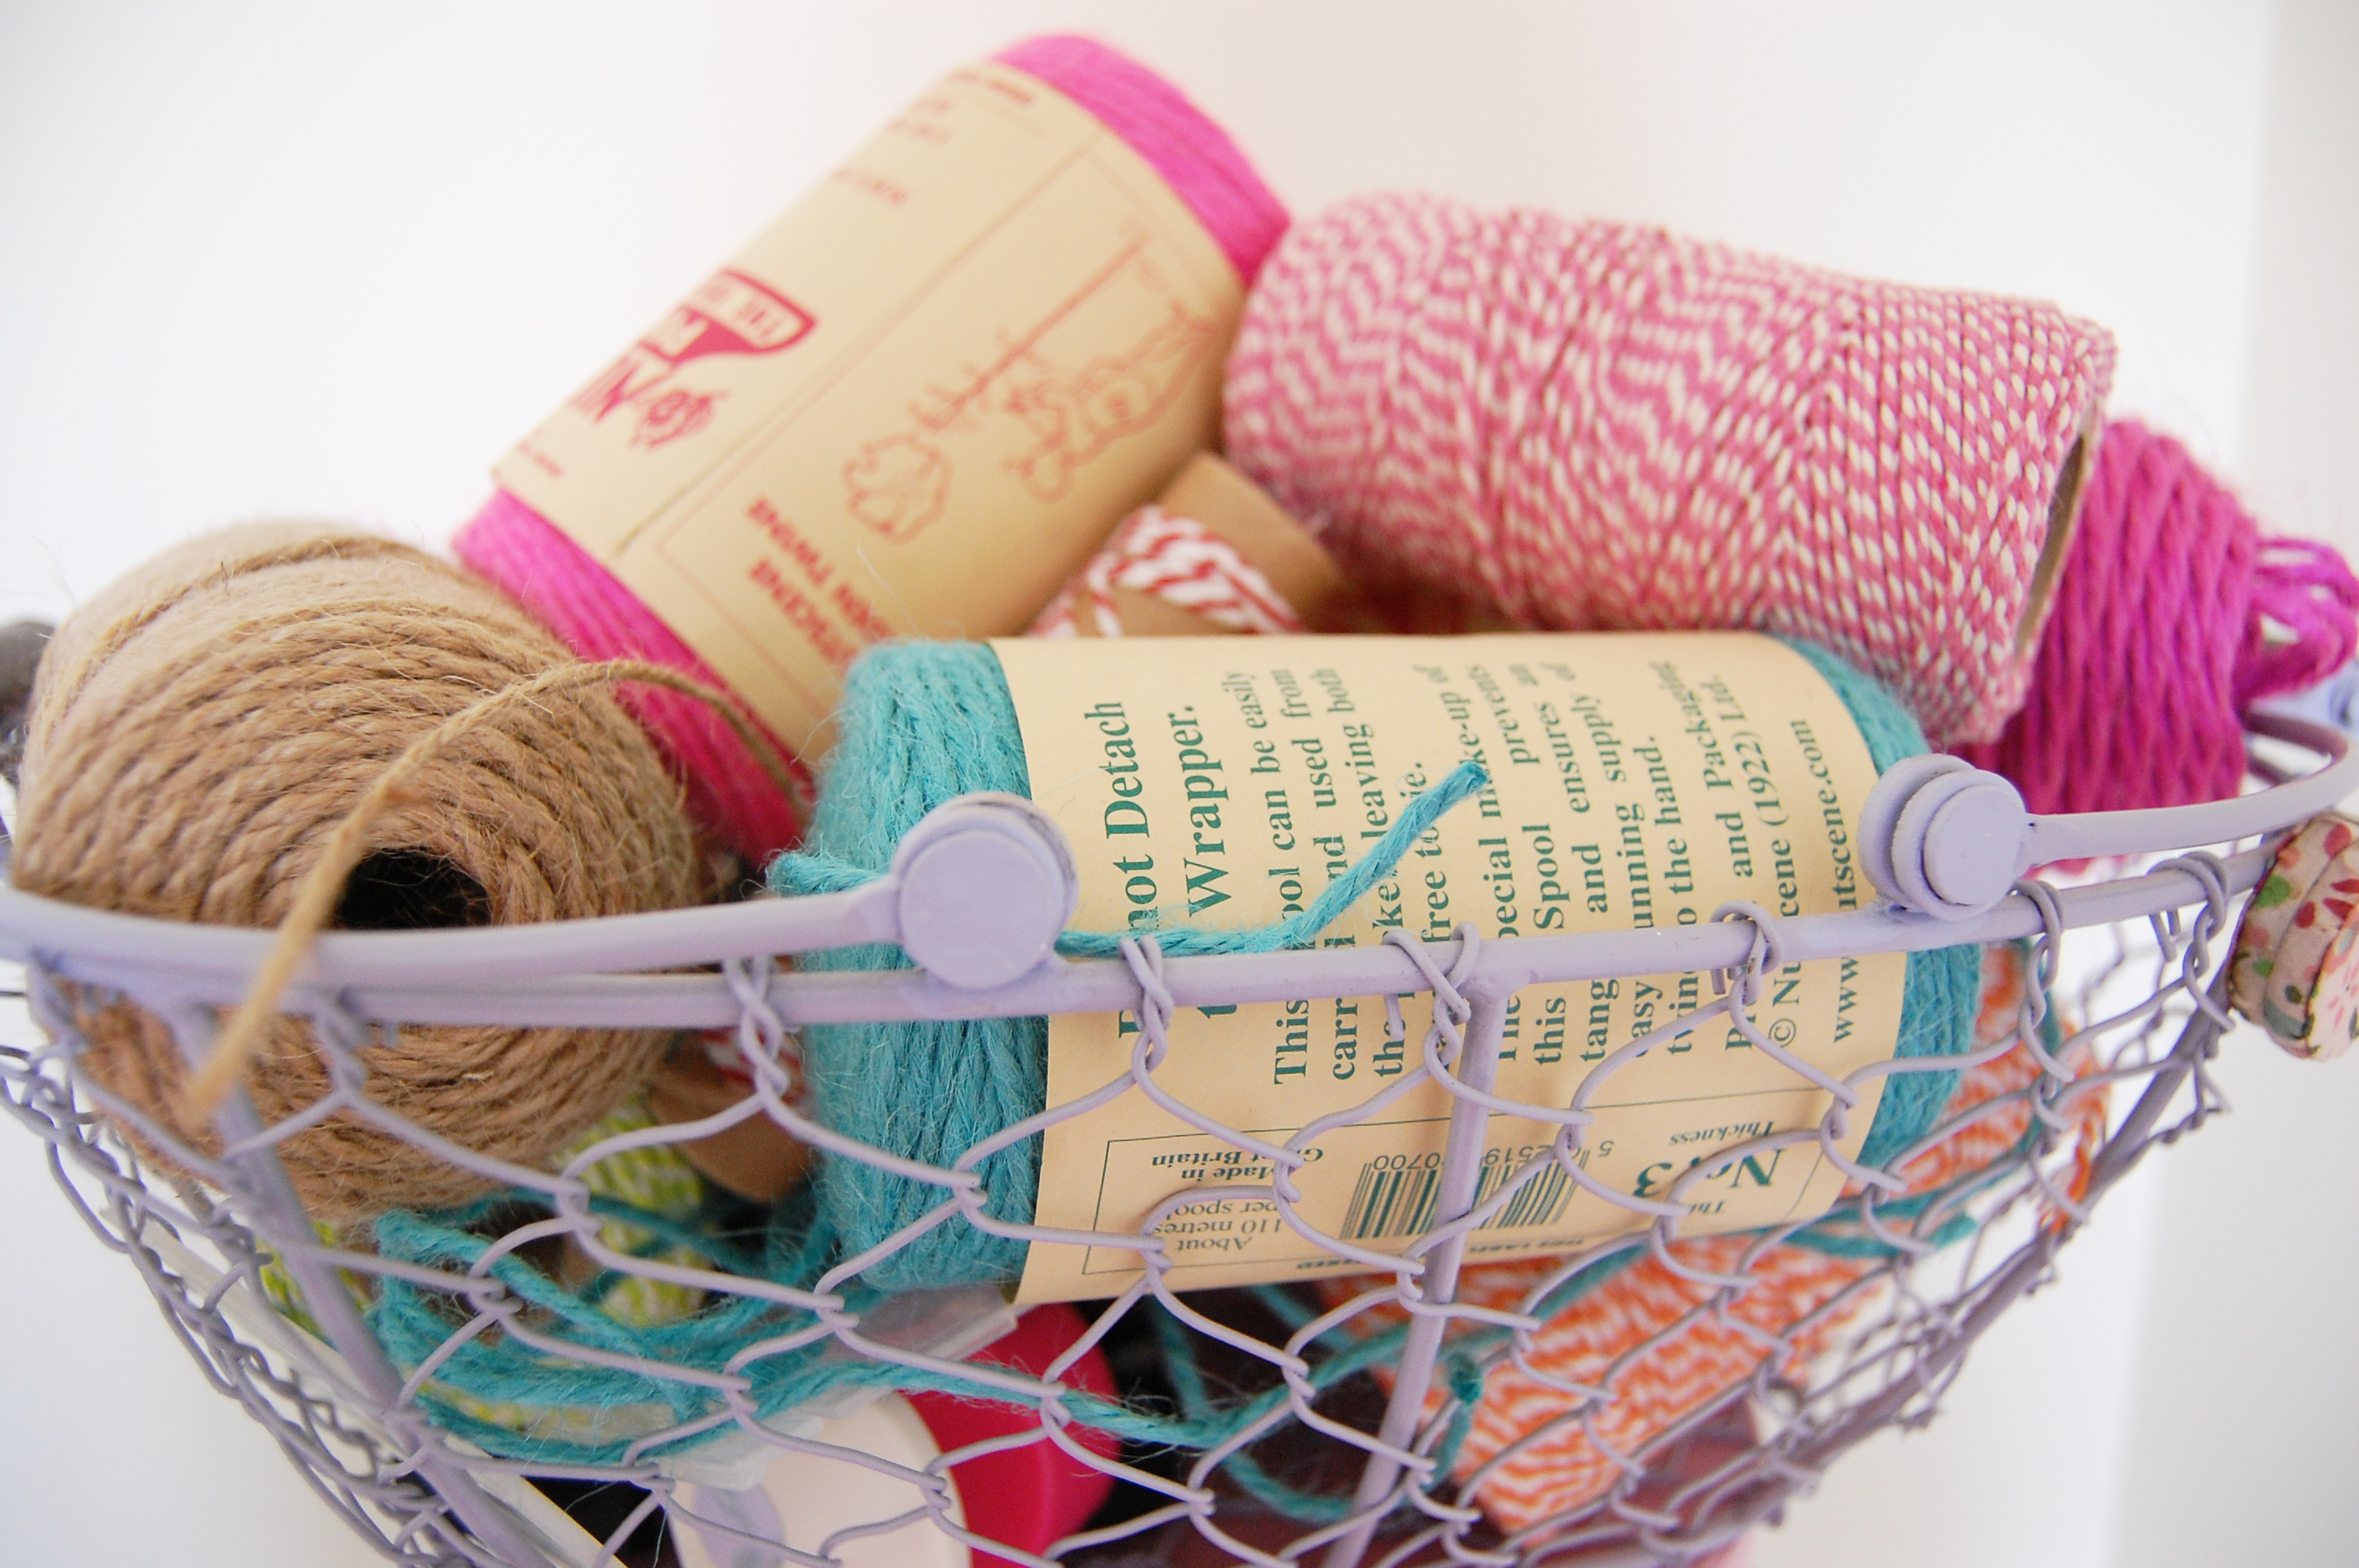
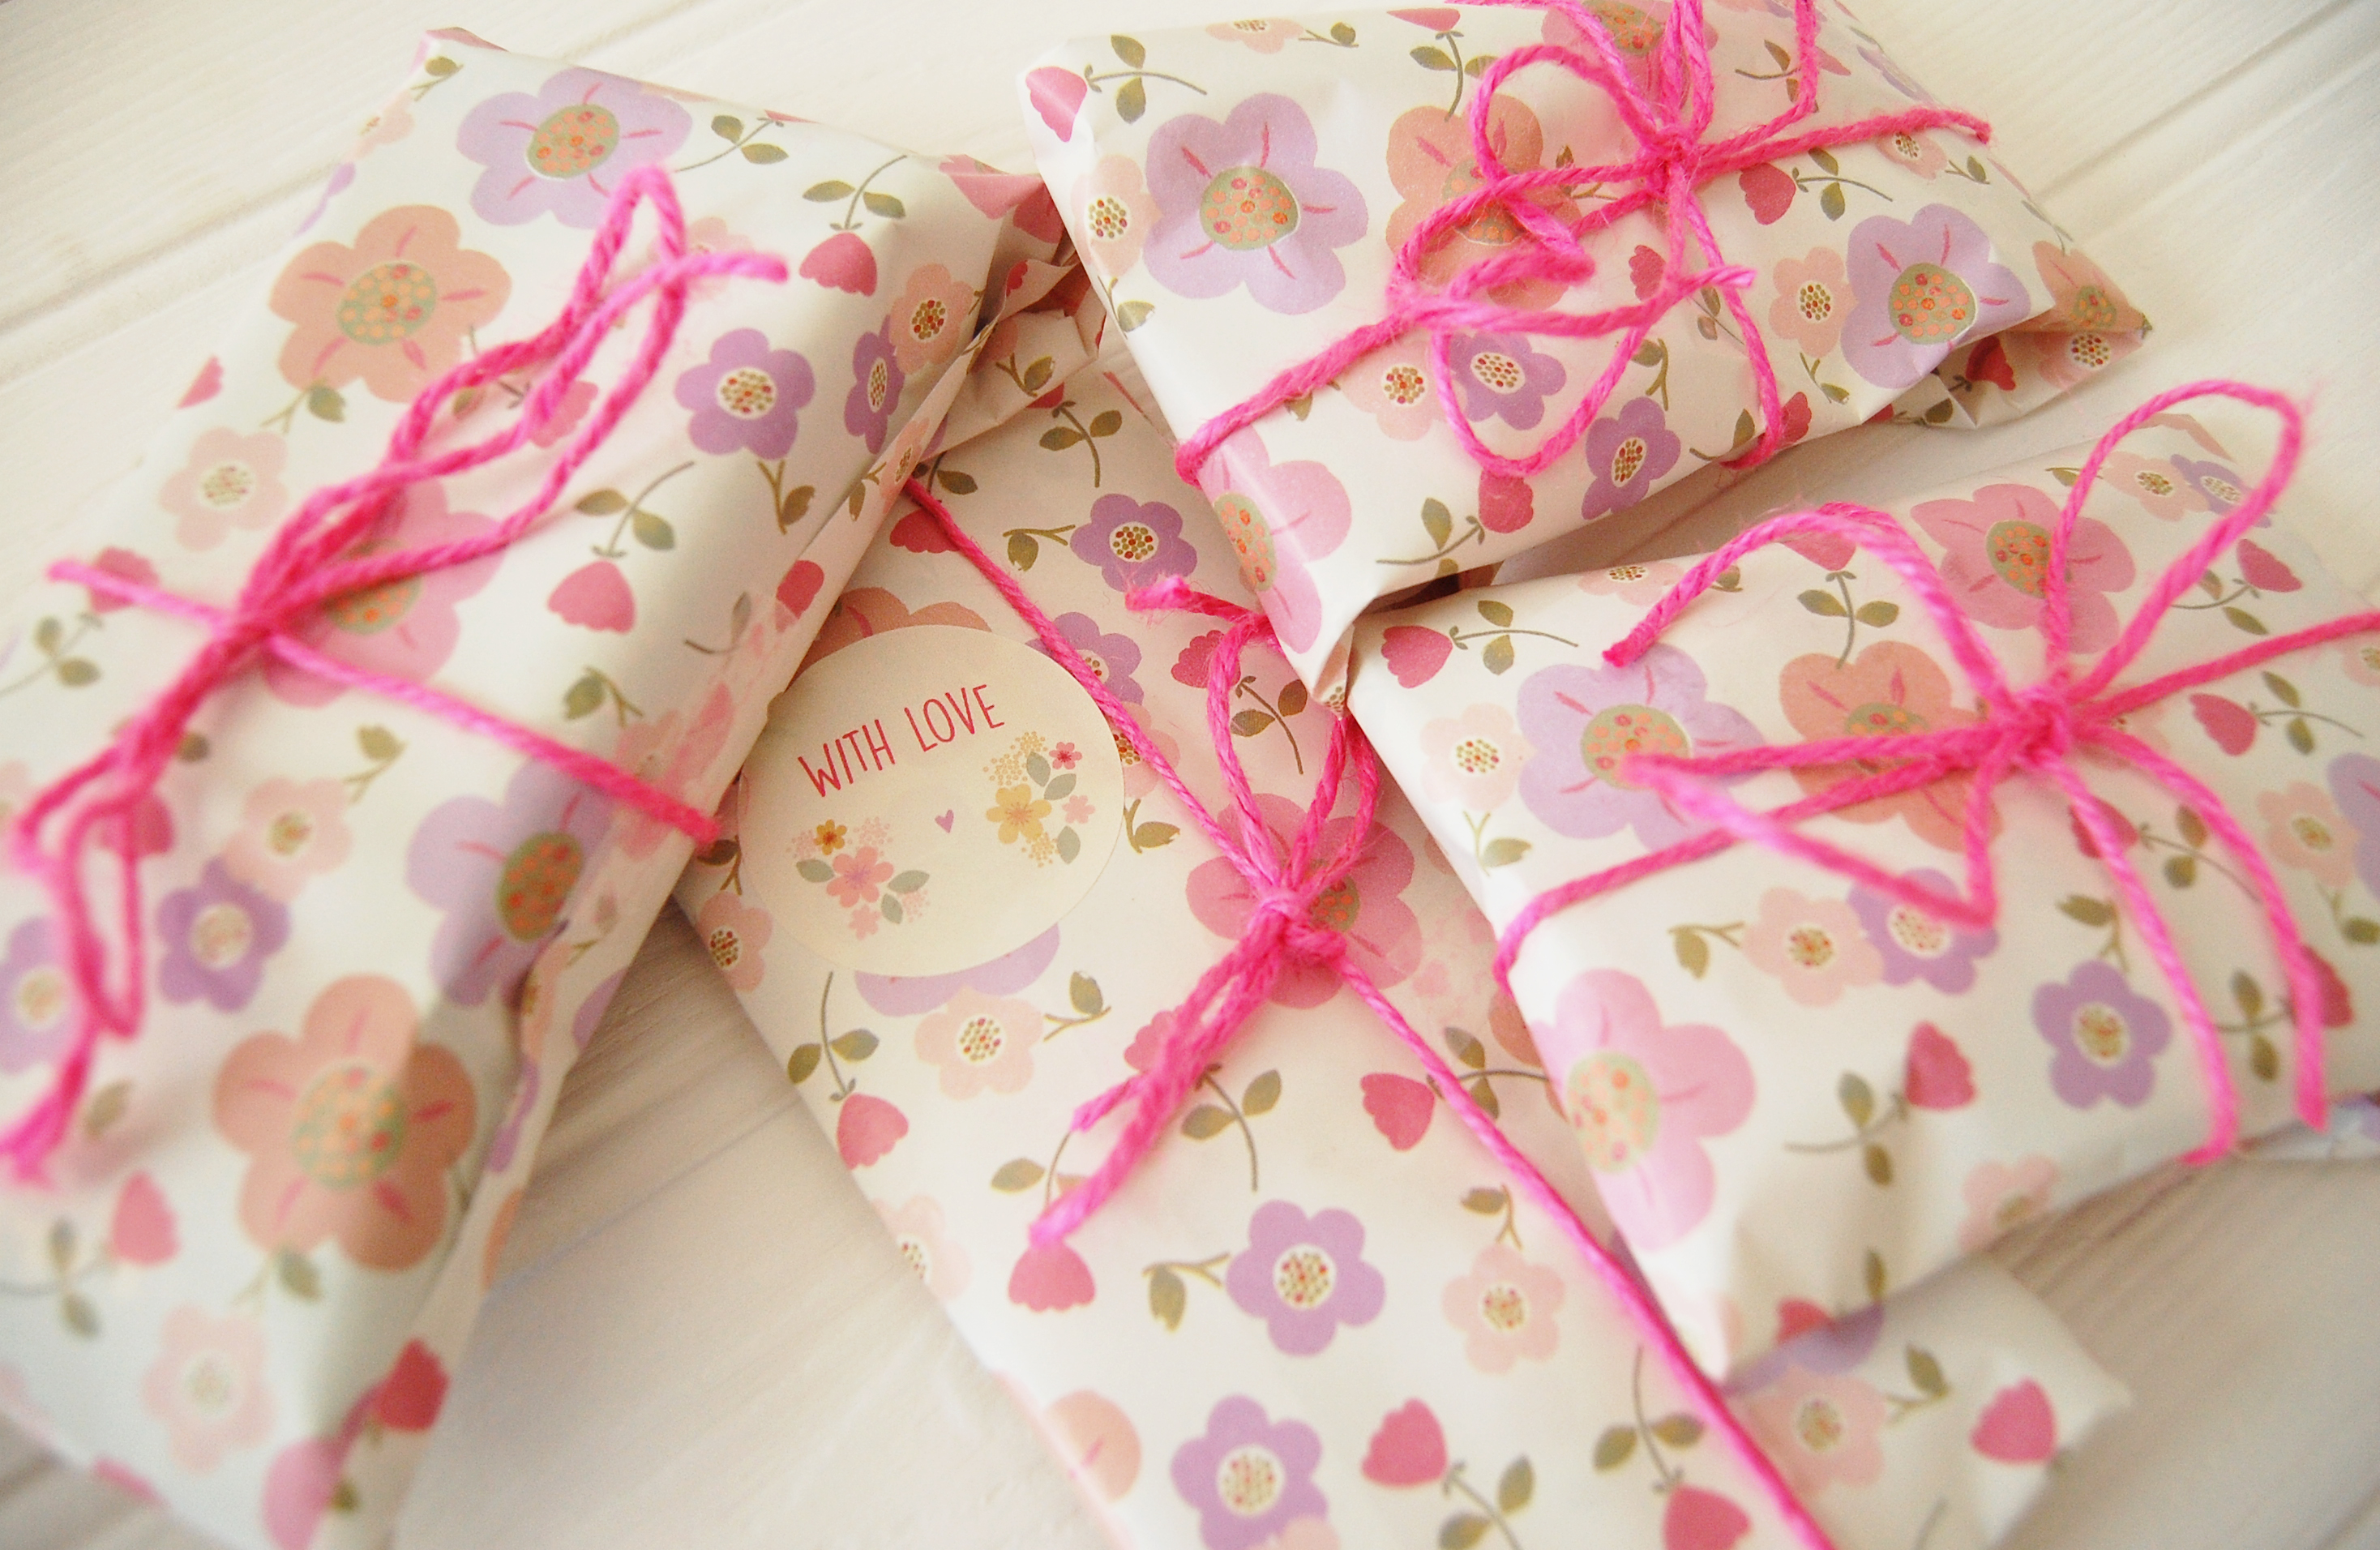
This wrapping paper I used to wrap the gifts in was perfect, as it felt so seasonal. The Spring like colours and delicate flowers stood out to me whilst choosing the wrapping paper and the pink twine was the perfect addition!
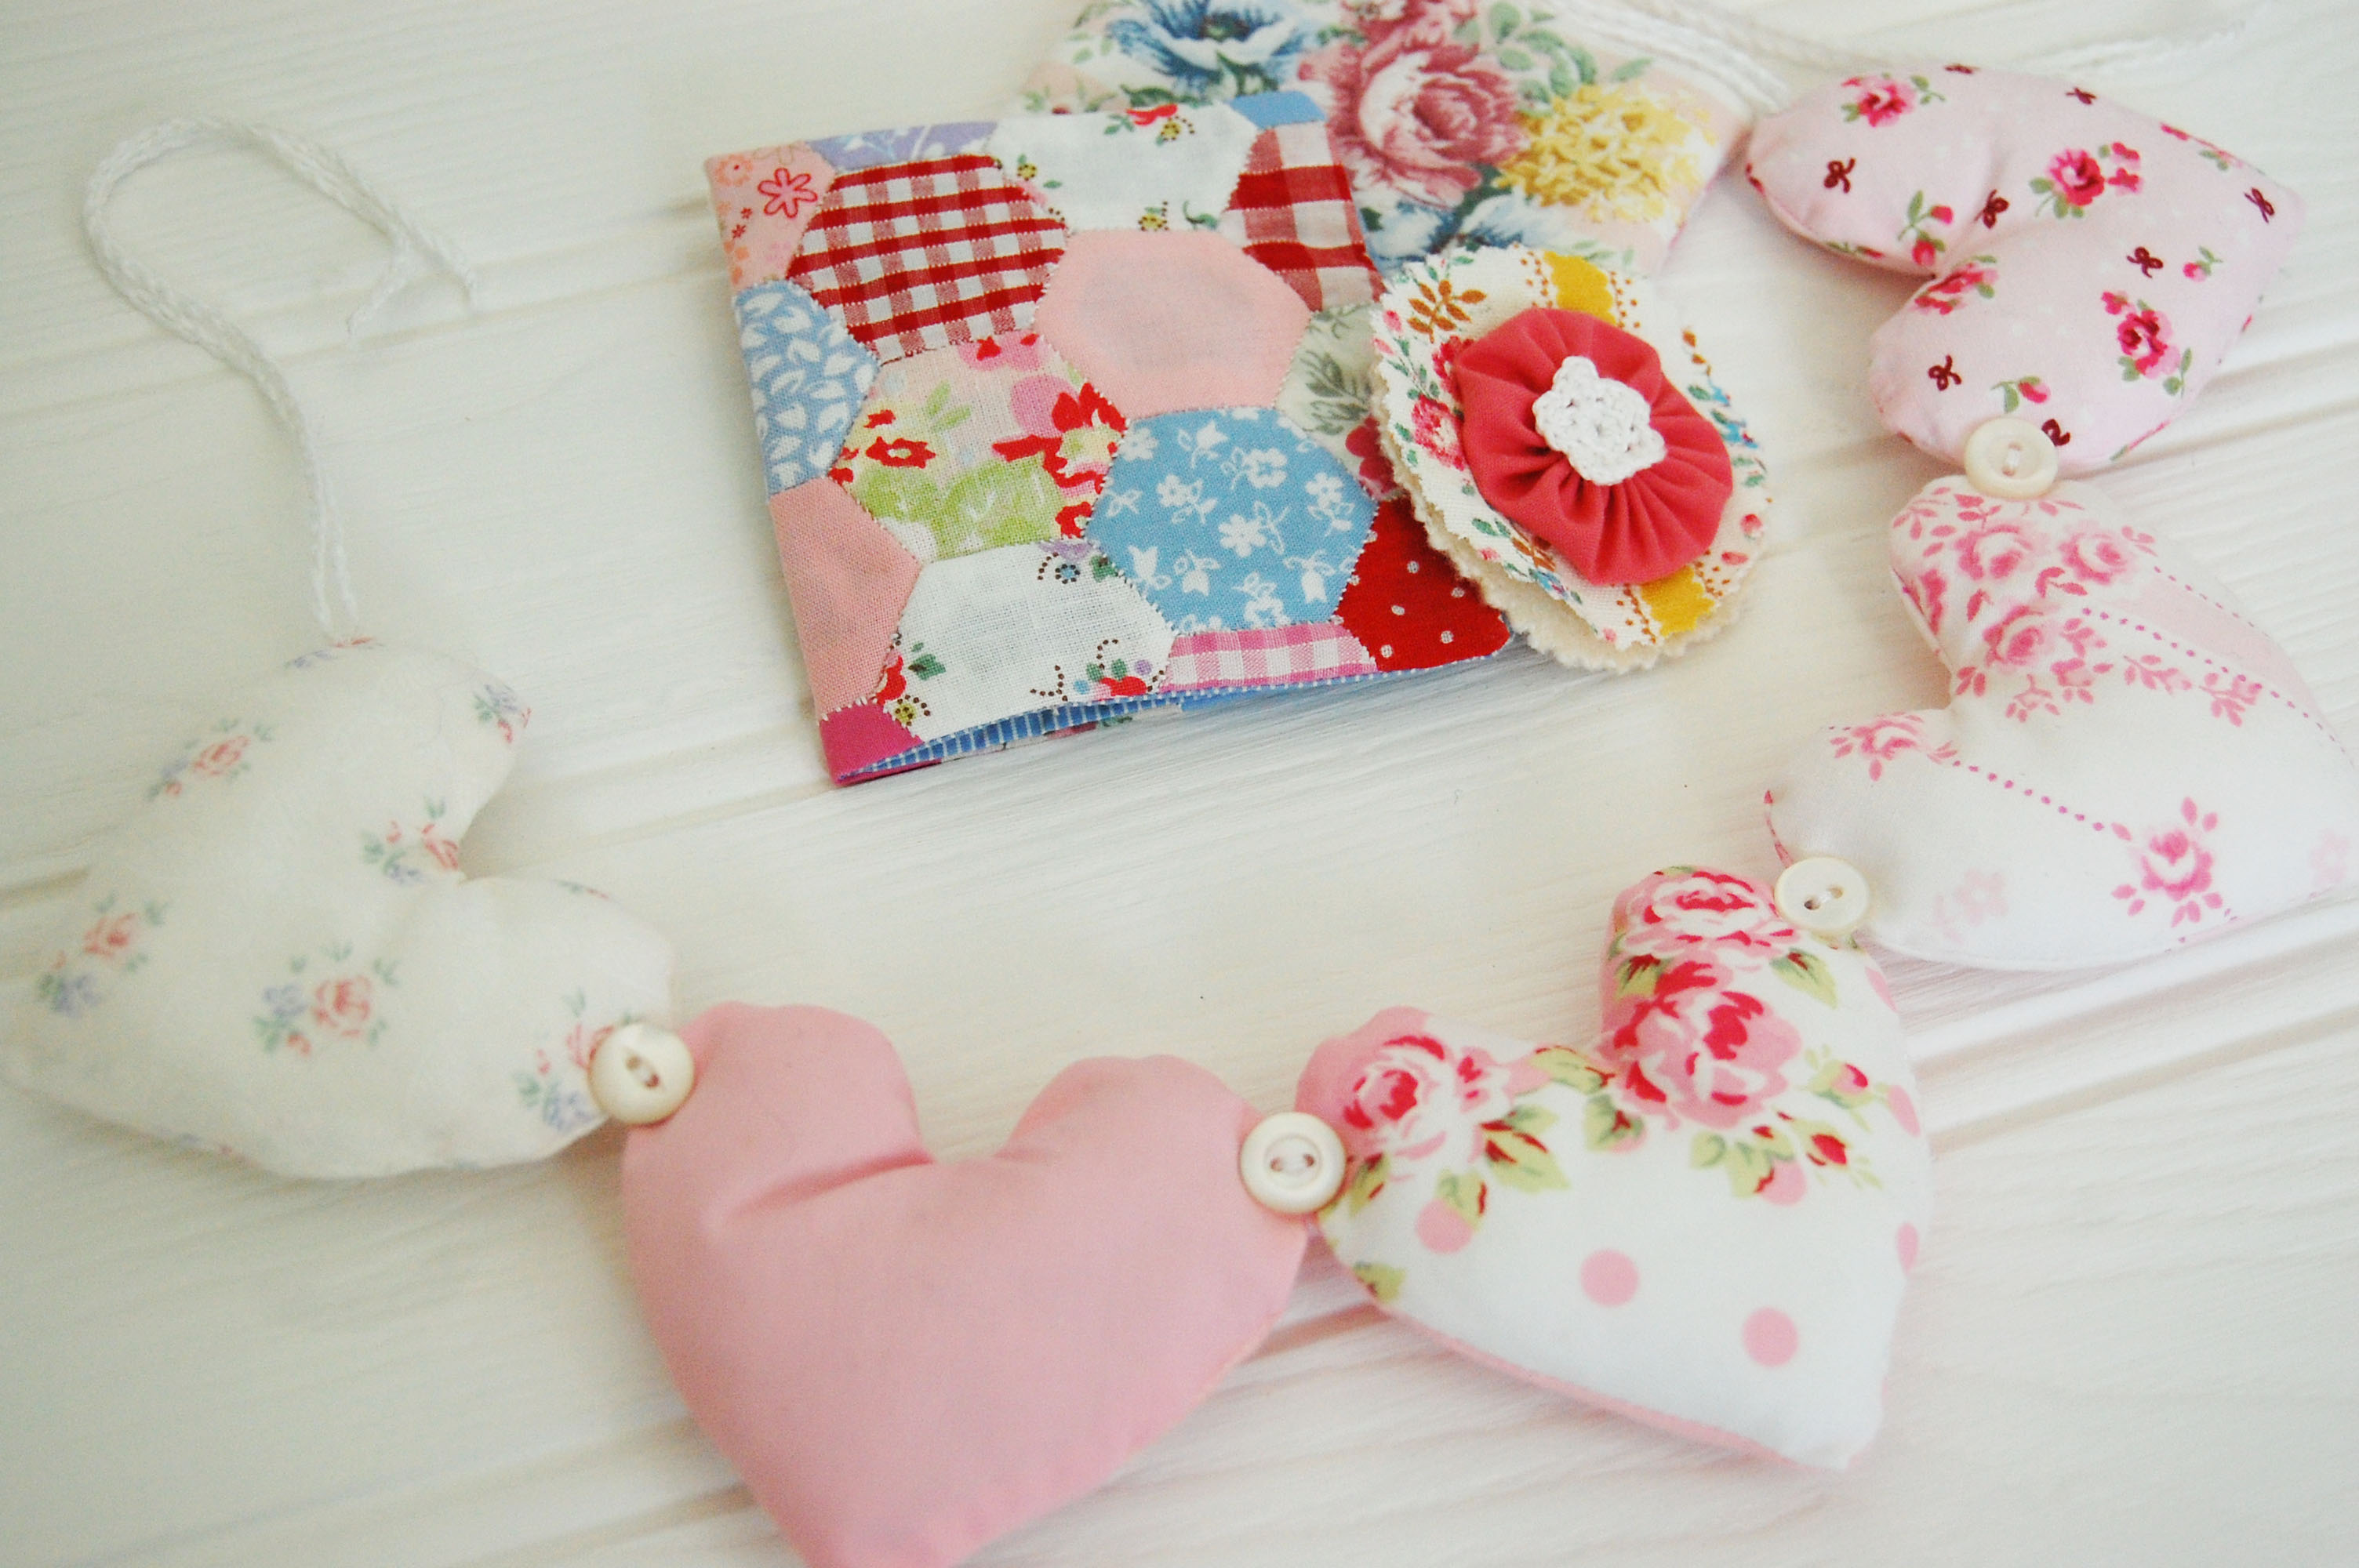
These fabulous handmade gifts were Rachel’s craft swap to me. How stunning are they? I love each and every one item Rachel sent and was so overwhelmed that they were created with love especially for me. I’ve now placed the gorgeous padded heart garland in my kitchen. The patchwork needle case is displayed proudly in my craft room next to my sewing machine. It will definitely be used as I’ve been thinking about teaching myself to make patchwork quilts and accessories for some time now. Rachel also included a beautiful handmade coaster for all of my lovely mugs and look at that little rosette!
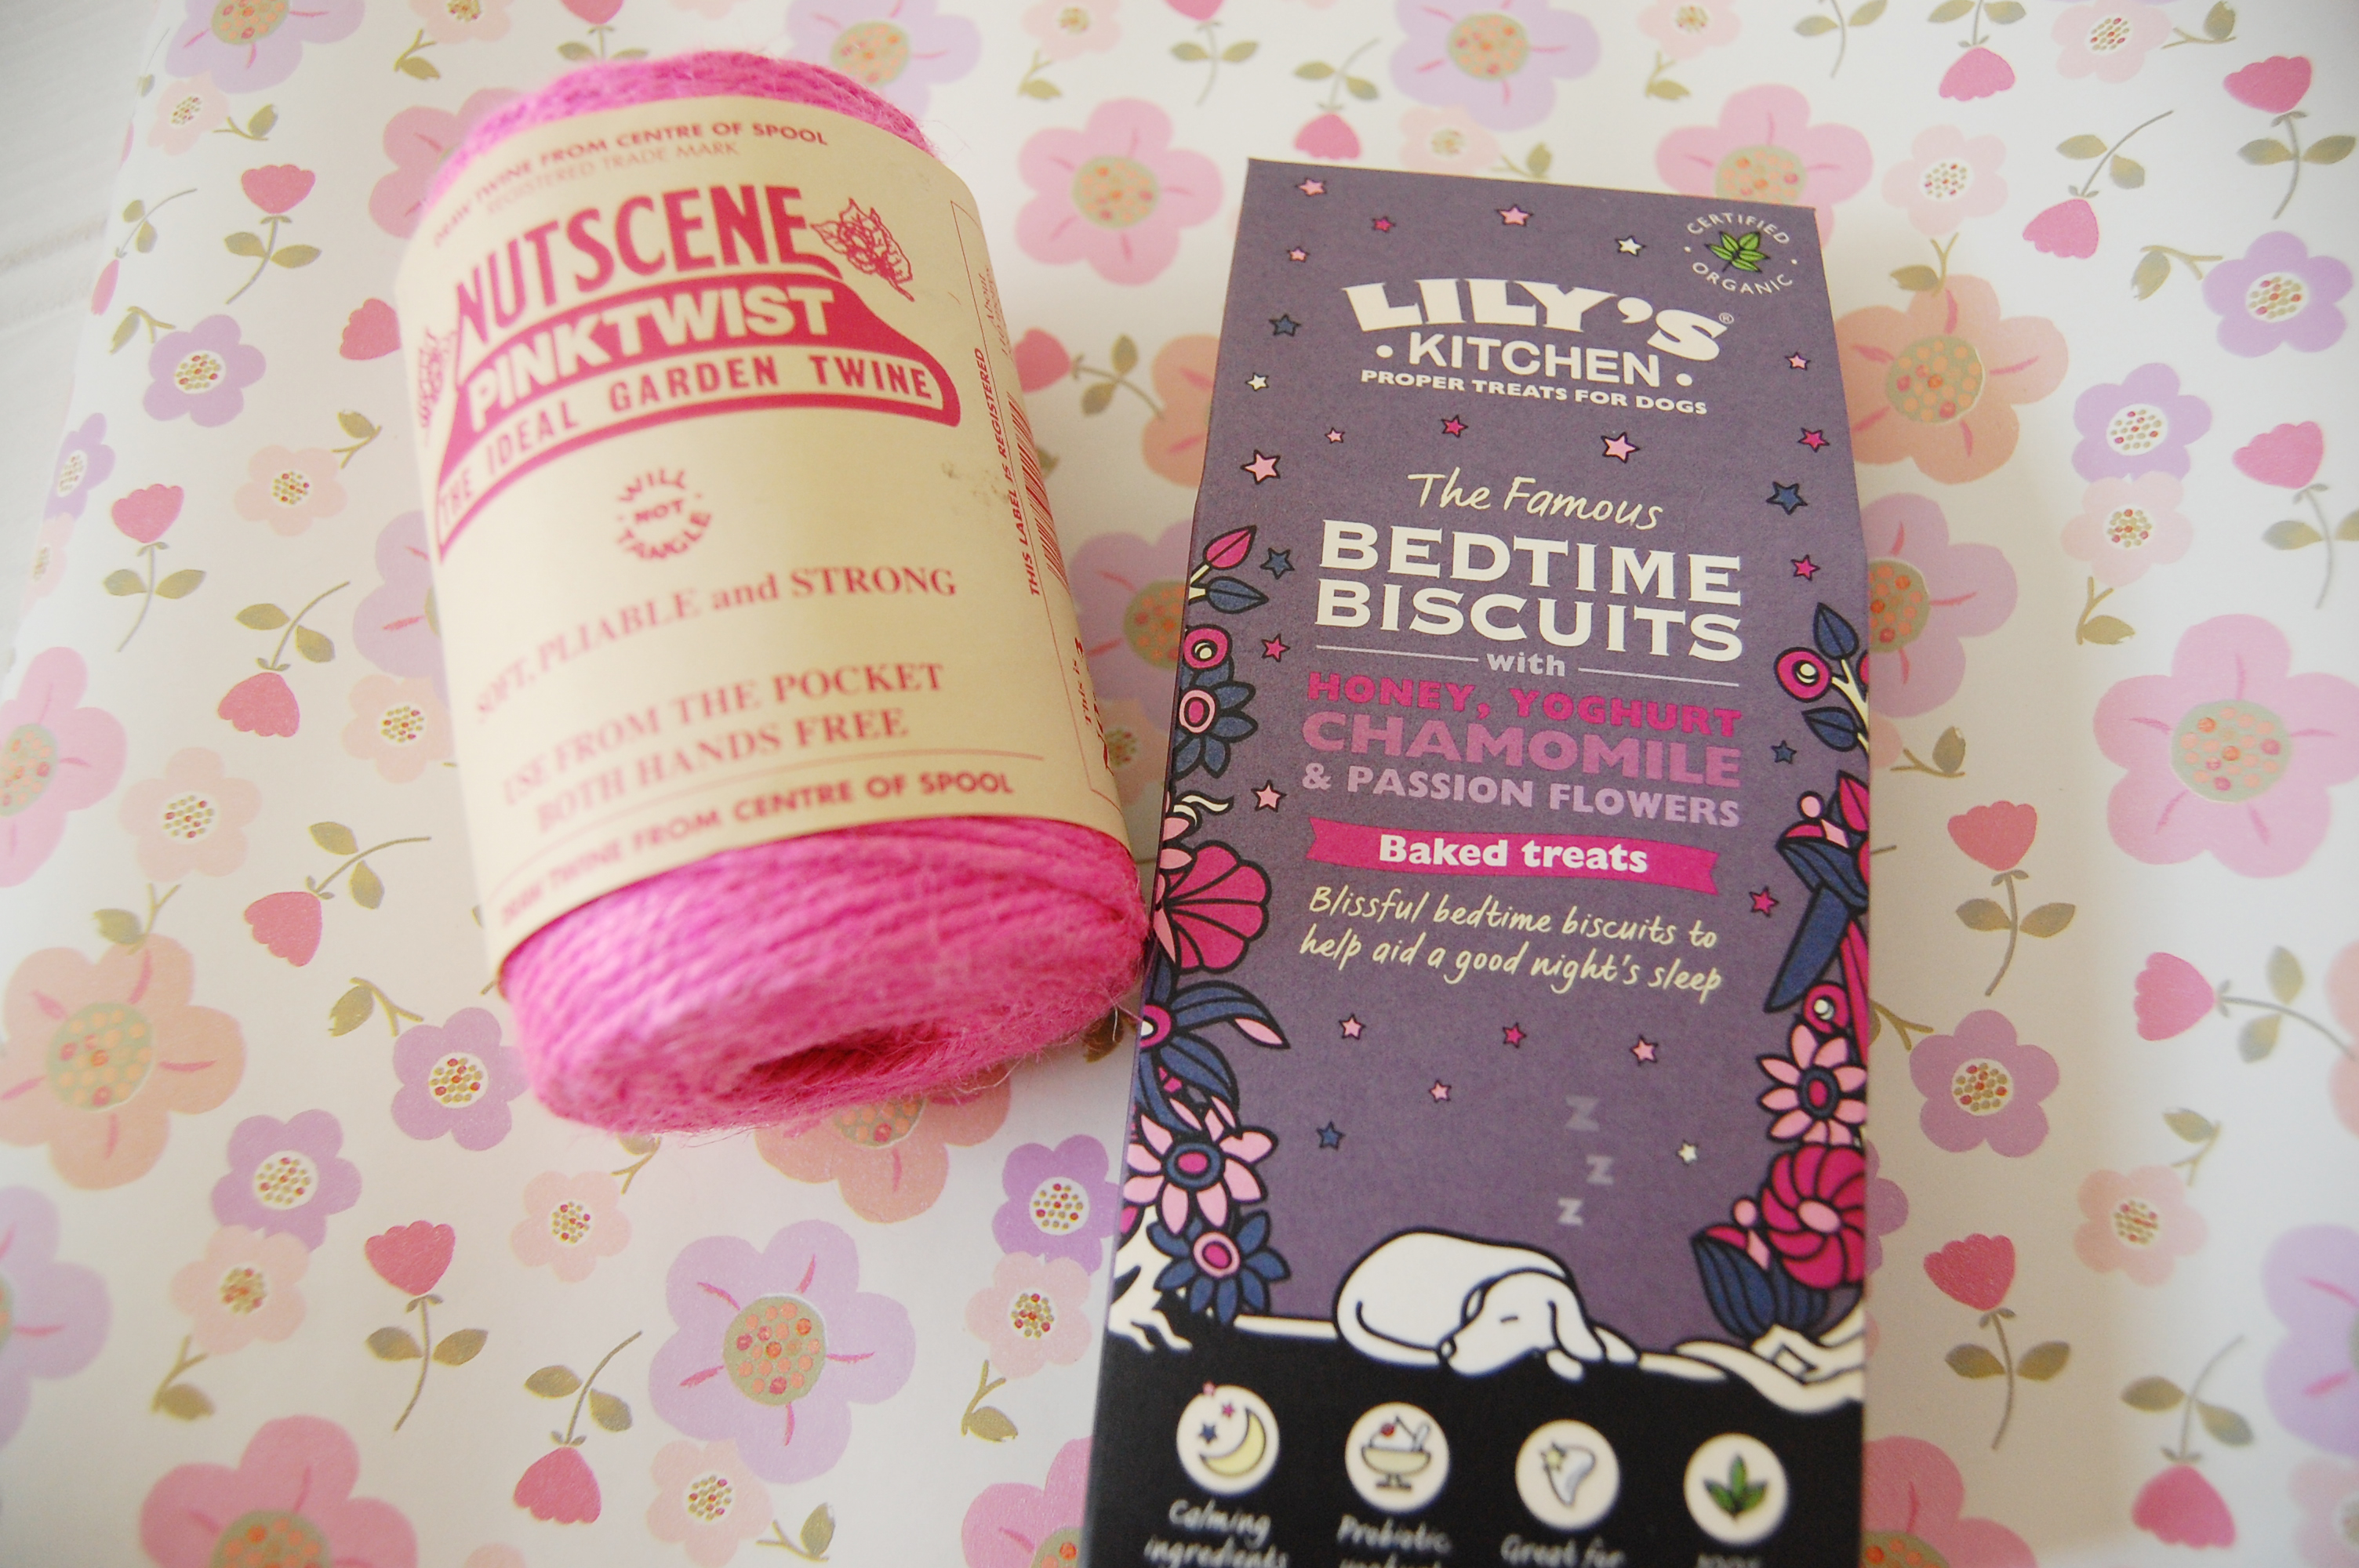
Last but not least, Rachel has an adorable dog named Wilson, so I couldn’t leave him out. I have two miniature poodles named Felix and Mabel, and they both love Lily’s Kitchen bedtime biscuits. They are the perfect treat for lucky pooches!
I hope you’ve enjoyed reading and do get in touch if I’ve inspired you! Have a lovely week.